The Kumano Kodo is one of the most unique experiences I’ve had to date. It was unlike any hike I’ve done before… in the most magical way.
This is a trail that’s less about “summitting an alpine mountain” and more about slowing down, visiting ancient temples, collecting stamps, and soaking in the journey of the pilgrimage.
It’s also not the kind of trail you can wake up one morning and spontaneously decide to do!
It takes planning, booking, and a bit of strategy. Luckily, I’ve just come back from the trail and in this guide, I’ll be taking you through everything I learned during my time on the Kumano Kodo trail. I’ll fill you in on what went well, what didn’t go so well and what I’d do differently next time.
So, without further ado… let’s get into the good stuff 😉
The Broke Backpacker is supported by you. Clicking through our links may earn us a small affiliate commission, and that's what allows us to keep producing free content 🙂 Learn more.
Quick Summary of the 5-Day Kumano Kodo Route
| Route I chose | I did the classic Kumano pilgrimage, just walked in reverse! – Following Ogumotori-goe from Nachi to Koguchi, – Then Kogumotori-goe into Hongu, – and Nakahechi from Hongu via Chikatsuyu back to Takijiri. |
| Total hiking days | 4 + 1 day exploring on foot or by bus |
| Start point | Nachi |
| Finish point | Takijiri |
| Hardest day | Hongu to Chikatsuyu. Most people often say that Ogumotori-goe is the toughest, but going in reserve, the elevations are different, and this day has the most elevation. |
| Best overnight stop | Hongu/ Yunomine (stay 2 nights!) |
| Total cost | ¥54,135/ $340 USD – done on a budget! |
| Would I do it again? | YES! |
What is the Kumano Kodo?
The Kumano Kodo is a network of ancient pilgrimage routes that wind through the forested mountains of Japan’s Kii Peninsula. It connects three sacred Shinto-Buddhist sites known as the Kumano Sanzan: Kumano Hongu Taisha, Kumano Nachi Taisha, and Kumano Hayatama Taisha.
For over a thousand years, emperors, monks, samurai, and everyday pilgrims have walked these trails seeking purification, spiritual renewal, and to connect with nature. Today, it is one of only two UNESCO-recognised pilgrimage routes in the world (the other is the more famous Camino de Santiago in Spain).
Is the Kumano Kodo Right for You?
The Kumano Kodo is unlike any hike I’ve done before. Most of the hikes I’ve done in my life are to marvel at some spectacular viewpoint, either at the summit or along the way. Kumano Kodo is not about the viewpoints, but rather about the spiritual journey that it takes you on. For me, it was a real highlight of the time I spent travelling in Japan.
You’ll Probably Love the Kumano Kodo If…
The Kumano Kodo trail is perfect for a few types of hikers (including solo travellers in Japan). Not necessarily your usual throw on ya hiking boots, summit-a-mountain-type, but instead those who want to challenge themselves and go deeper within. There is a peace to this pocket of the world that is hard to put into words, but you can sense how special this place is. It is a challenging hike, but it rewards those who take it slow. Stopping at temples, taking time to reflect and collecting stamps along the way. Slow and steady definitely wins the race here.
You Might Not Enjoy the Kumano If…
You are after an intense, fast-paced, alpine view, summit-type of adventure. You might be better off heading into the Japanese Alps or up Mount Fuji for those!
How Hard Is “Moderate” on the Kumano Kodo Trail?
Before I went, I kept seeing the word ‘moderate.’ After hiking it, I’d describe it as a challenging trail.
I would count myself as a pretty fit human, but there were times I was grunting aloud, trudging one foot in front of the other while climbing a (literal) mountain of stairs… especially between Hongu and Chikatsuyu. I would highly recommend building up your fitness before attempting to tackle the Kumano Kodo.
You’ll be hiking between 5-8 hours per day, with an average daily distance of about 15-25km and 900-1200m in elevation. There are a hell of a lot of steps and uneven, rocky surfaces. But the trail winds through a deep, ancient forest, so the good news is that even if the sun is beaming or it starts to rain, you are surrounded by towering trunks to protect you.
There are limited places to stay along the trail, so it’s hard to add extra nights to break up the route. But I’d highly recommend giving your body a rest and staying in the Hongu area for a couple of nights, and enjoying a day of soaking in the onsens (more on this to come!)
Choosing Your Kumano Kodo Route and Why I Picked The Route I Did
I did the classic Kumano pilgrimage, walked backwards, following the Ogumotori-goe from Nachi to Koguchi, the Kogumotori-goe to Hongu, and then the Nakahechi in reverse from Hongu through Chikatsuyu back to Takijiri.
Although I’m talking you through the 5-day route (which is, in my opinion, the optimal number of days to do the hike in), I did the route in 3 days and utilised the bus system along the way. This was due to time constraints and last-minute planning on my behalf! I will go into what to expect from doing the whole 5-day trail, but I’ll also let you in on how to make the most of a 3-day itinerary.
Why I Picked the Route I Did
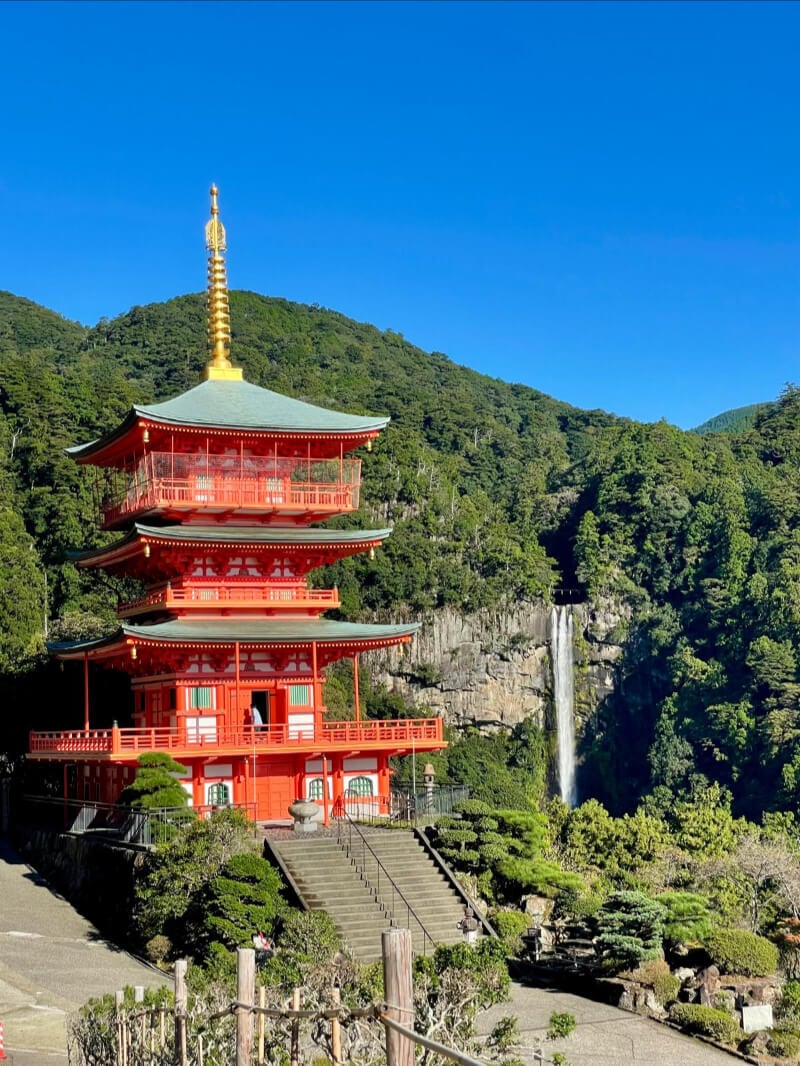
I chose the route because it is the classic! You get to see the most magical shrines along the way, and it’s the route to take to experience the local towns. It’s the most popular trail, and for good reason.
The reason I chose to do the route in reverse was mostly due to time constraints. We had to get to our airport hotel the same day that we finished the trail. Finishing in Takijiri/Tanabe and heading up from there made sense as it’s much closer than the usual endpoint of Nachi/Katsuura. So we decided to do that big travel day on Day 0, minimise travel on our final day and do the hike in reverse!
And honestly, I’d recommend it! The only downside is that you see the most spectacular shrine of the trail first, instead of having it as a final on the last day. On the flipside, it also meant that there were no crowds at 8 am when we started, as most people arrive from the other direction in the afternoon. So you win some, you lose some!
3 days vs 4 Days vs 5 Days: What Each Actually Gives You
| Duration | Best For | Tradeoff |
|---|---|---|
| 3 days (the route I did) 2 nights – Hongu/ Yunomine | Speed! If you’re short on time, this is the fastest way you can experience the hike and the onsens in Hongu | Parts of the trail will need to be skipped using the bus routes |
| 4 days 3 nights – Koguchi, Hongu/ Yunomine, Chikatsuyu | You get to do the entire hike, no skipping with buses | No extra time in Hongu to soak in the onsens, eat ramen, and visit the shrines |
| 5 days (best option) 4 nights- Koguchi, 2x Hongu/ Yunomine, Chikatsuyu | A good balance of hiking days and time to soak in onsens, eat ramen and explore the Hongu area | No trade-off, you get to experience it all |
My Kumano Kodo Route: What I Did and What I’d Change
Note that the elevation gain/loss is the opposite if you hike it the usual route (from Takijiri to Nachi).
Day 1: Nachi to Koguchi (Ogumotori-goe)
- Overall mood: Big hiking day & the best shrines of the trail
- Route: Nachi → Koguchi
- Distance: 24km (recorded by my Strava. Online sources say it’s 13- 14 km, but our door-to-door effort was much longer, as you walk around the three shrines in Nachi and then have to get to the village in Koguchi at the end of the trail)
- Elevation: 930m elevation gain, 1260m elevation loss
- Time: 5-7 hours, longer in the other direction due to higher elevation
- Where to stay: Koguchi Village by WhyKumano (higher end) or Koguchi Shizen-no-Ie (cheaper)
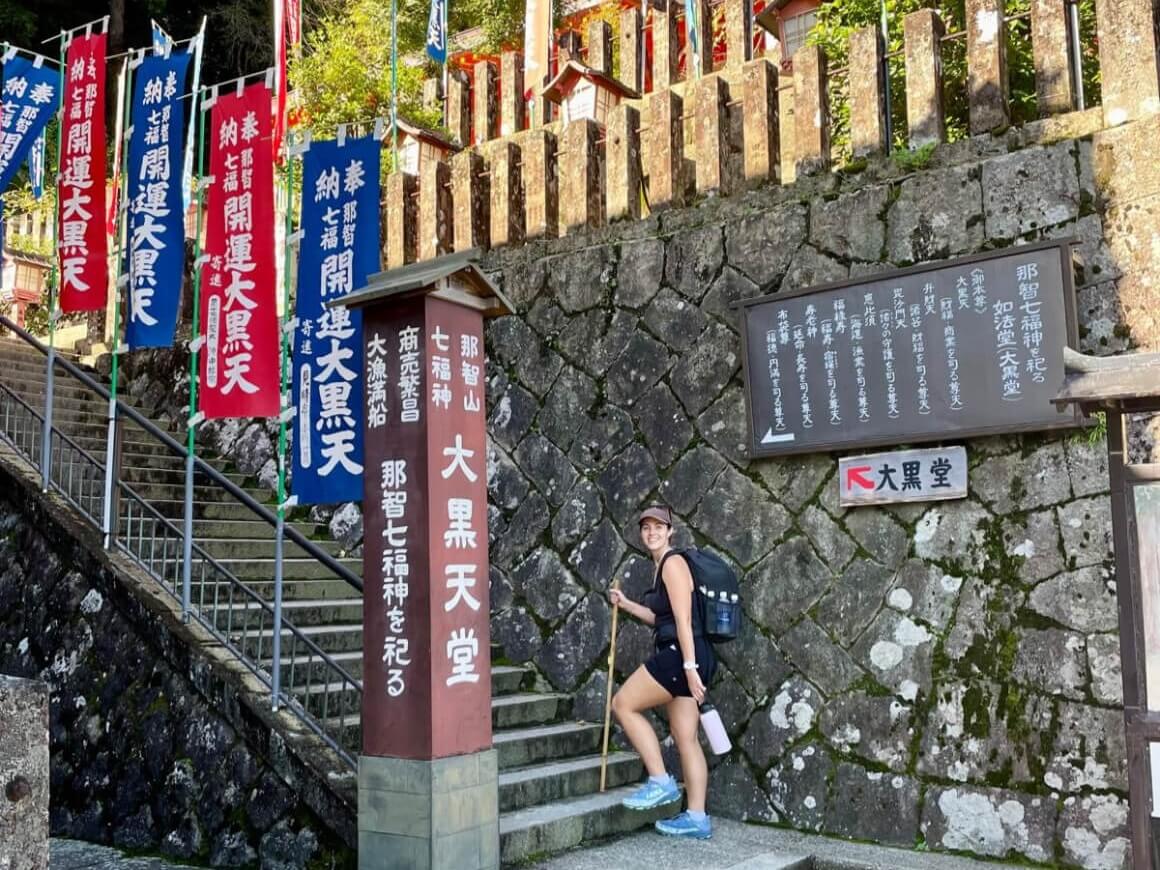
On day one, we left our homestay in Nachi (Guesthouse Ann), which was just a 10-minute walk from the bus stop, to jump on the Nachisan Line (31) that took us up to the shrines and the start of the trail. It was an early rise to get on the bus just before 7 am, but man, was it worth it. There are three shrines to visit here before starting on the trail: Kumano Nachi Taisha, Hirou-jinja, and the Seiganto-ji Temple (don’t forget to get your stamps at each!)
As we were doing the trail the opposite way to the “norm”, we only saw a few others. We were marvelling at the spectacular Seiganto-ji with not one other traveller around. As the hikers from the other direction arrive in the afternoon, this place gets a lot busier.
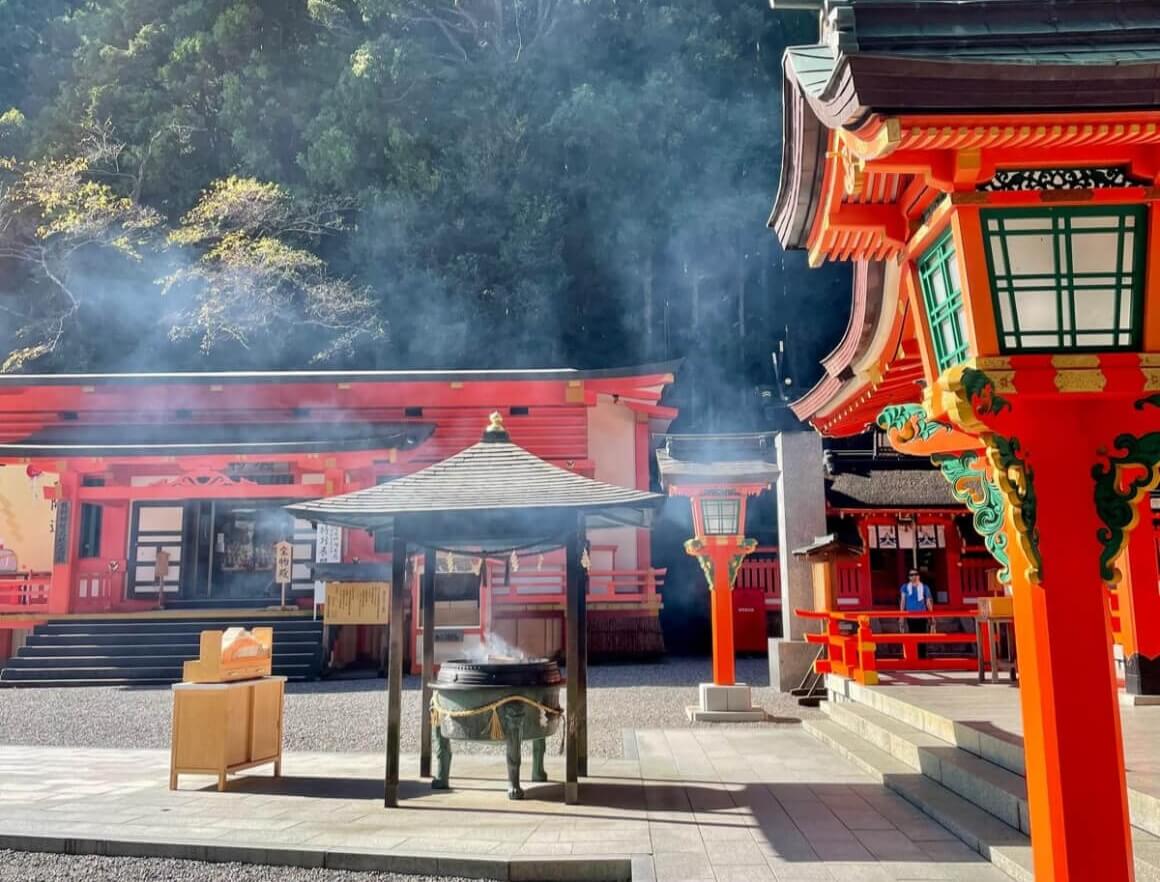
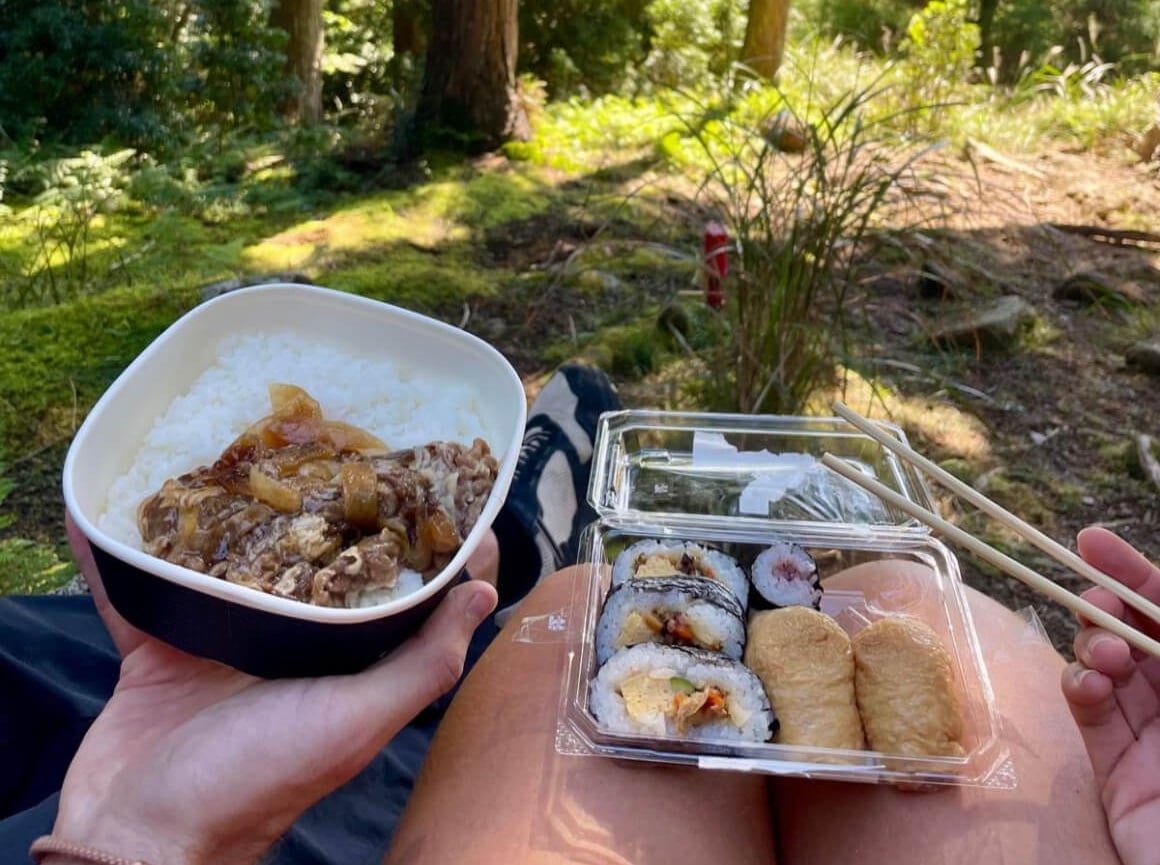
Nachi to Koguchi (Ogumotori-goe) was a solid first day. We had picked up some sushi from 7/11 the night before and stopped at the viewpoint looking out over Taiji Bay a couple of hours in to enjoy it. This was the only viewpoint on the Ogumotori-goe; the rest of the trail is cedar forest, stone path, small shrines, and a stretch along the road. But remember, the Kumano Kodo is less about the viewpoints and more about the spiritual journey that you are taking :). Having said that, it’s still one of the most stunning places in Japan for many reasons.
At about halfway, we started to see hikers coming from the other direction. It was about that point that I started to be very grateful that we climbed in the direction that we did. The second half of the trail was a killer on the knees, just straight downhill for 800m elevation STRAIGHT. I can’t even imagine how cruel and never-ending that would’ve felt coming from the other direction.
Once we arrived in Koguchi, we picked up some snacks from the small corner shop and perched up at Kumoma Cafe to enjoy a fresh coffee and cake while we waited for the bus. If you are staying in Koguchi, you can hike straight to your accommodation.
We didn’t stay in Koguchi (there were no affordable places left when we tried to book 2-weeks in advance), so we took the bus to Hongu. The bus picked us up from the bus stop just up the road. There was a line, and the bus was full. To get to Hongu, you need to get on line 65/63 to Kanmaru, then transfer onto line 51/53/302. You can find the timetable here.
Day 2: Koguchi to Hongu (Kogumotori-goe)
- Overall mood: Shorter, least challenging day of hiking along the trail
- Route: Koguchi → Hongu
- Distance: 13km
- Elevation: 690m elevation gain, 670m elevation loss
- Time: 4-6 hours
- Where to stay: See table below.
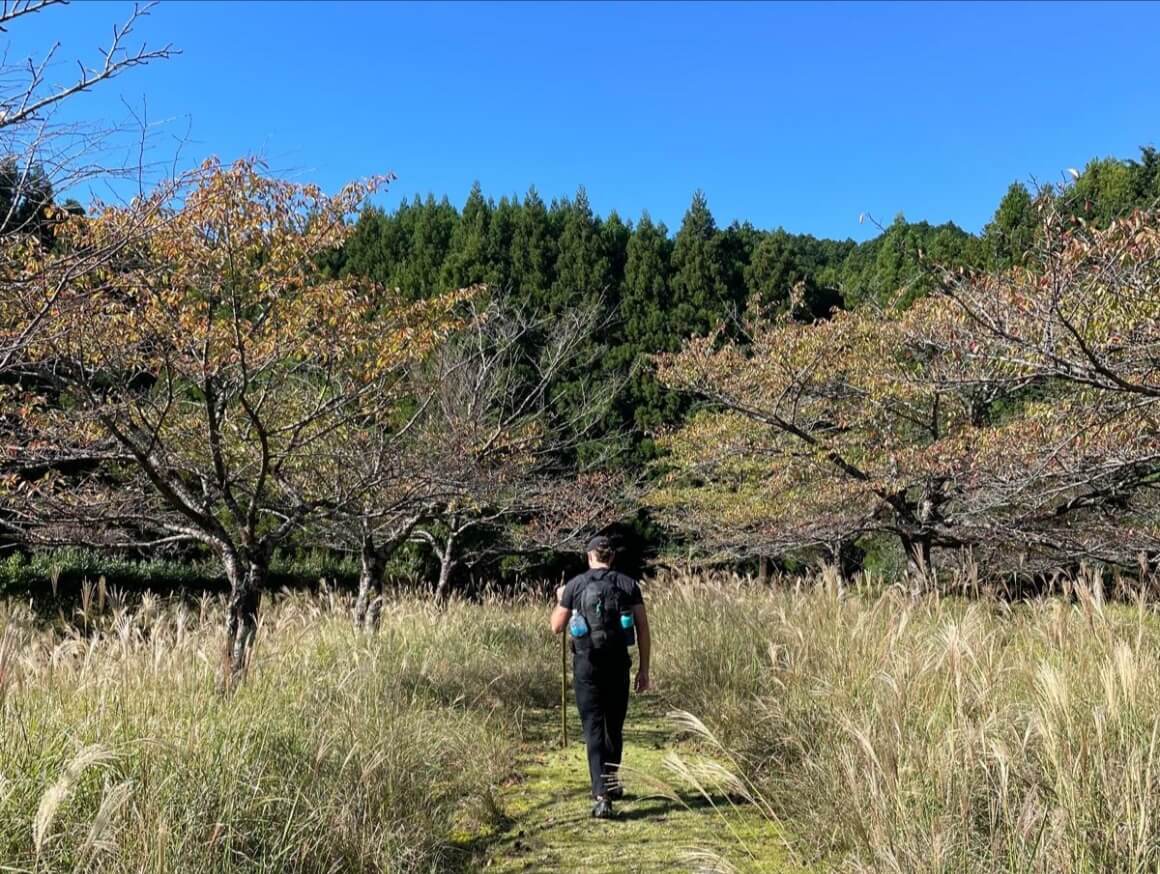
This part of the trail we decided to skip; it was the shortest and, from what I read, the least eventful day on the trail. There are gentle ups and downs, and a ridge-walking section. There is one key viewpoint along this part of the trail at the Hyakken-gura lookout, where you can look out over the Kumano Mountains. The rest of the trail is more trees and mossy stone path and small shrines – with a bit less challenge than the day before.
When you arrive in Hongu, you’ll arrive in Ukegawa. Depending on where you stay, this can be a huge trek to your hotel/homestay. So I’d suggest planning your arrival so that you can jump on the bus from Ukegawa to your town (it’s the same bus route as I linked earlier).
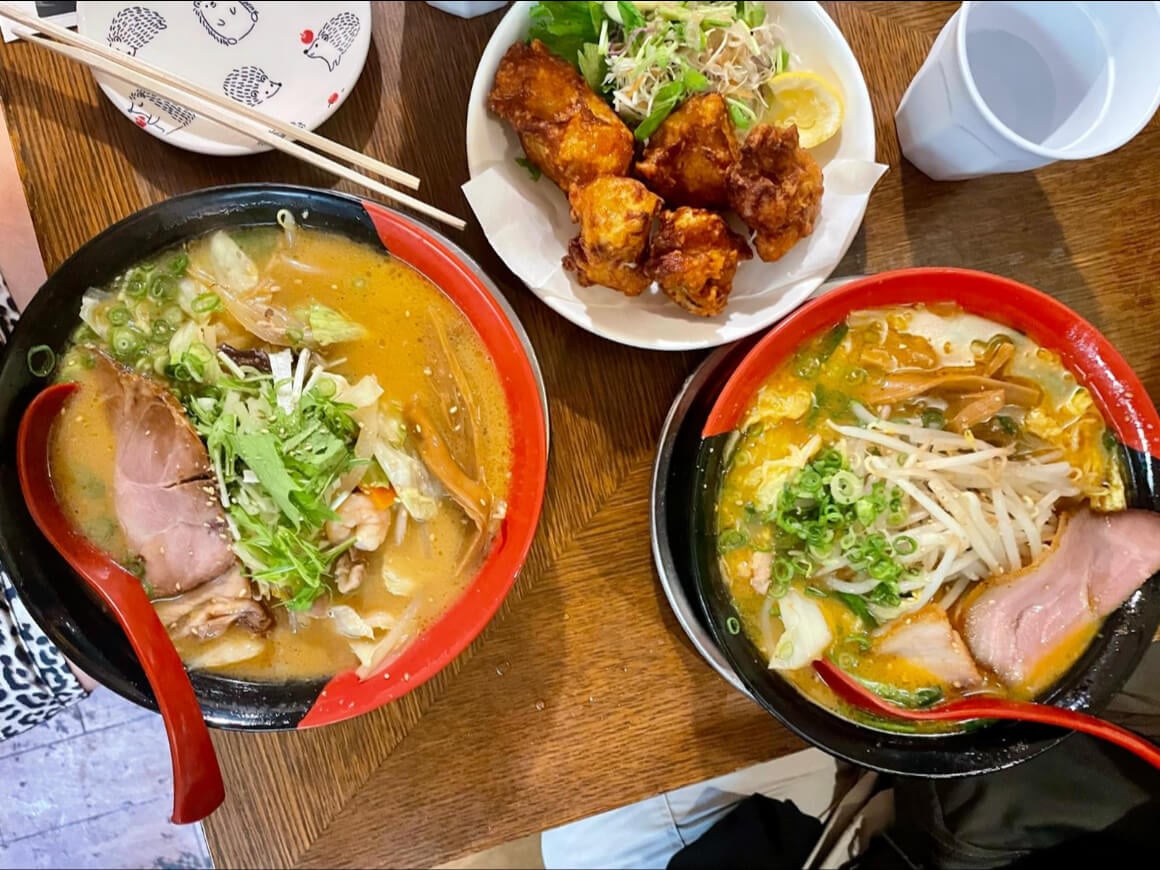
If you have time, and it’s open, I can highly recommend the chicken soba shop right by the trailhead for a cold beer, some salty, deep-fried chicken and a bomb-ass bowl of ramen.
There are a few places to stay in this part of the trail:
| Location | Vibe | Higher-End Stay | Cheaper Stay |
|---|---|---|---|
| Hongu | The centre, near Kumano Hongu Taisha and the “town”. Less cute, but convenient for exploring the shrines and for arriving/ departing on the Nakahechi route to Chikatsuyu. | SOLA Wellness Retreat Kumano | Guesthouse Yui |
| Yunomine | A very cute, photogenic area, home to the oldest onsen in Japan. This is where I’d stay if I had my time again. | Ryokan Adumaya | J-Hoppers (best for backpackers) |
| Watarase | A tiny area by a river with a couple of guesthouses and an onsen. I strolled through here on my way back to Kawayu – seemed like a simple, relaxing area, but not a lot around. | Watarase Onsen Hotel Yamayuri | Guesthouse Okagesan |
| Kawayu (where we stayed): | A small area with guesthouses, onsens and a thermal-heated river. The river was awesome – dig your feet into the rocks on the riverside and it’s HOT water, jump into the river, and it’s freezing. | Sansuikan Kawayu Midoriya | Sansuikan Kawayu Matsuya where we stayed It’s not as bad as the reviews say. It’s a great budget option. No food offered, yes – the beds are hard (it’s Japan!) but you get access to an amazing onsen next door. |
Notes on the accommodation:
- Many places to stay will be Japanese-style with futons on the floor. It can be a bit uncomfortable for us Westerners who are used to plush beds – but it’s traditional and a unique experience 🙂
- There is also a chance you won’t have a shower or bath to use after your day of hiking. Instead, throw on a komono and slippers, and embrace the onsen experience! There are sit-down showers in the communal, gender seperated onsens to use before and after soaking in the natural pools. I can truly say it was the cleanest I’ve ever felt!
Day 3: Exploring Hongu/Yunomine
- Overall mood: Slower, fun day to explore shrines, eat ramen and soak in onsens
- Key highlights to see: Hongu Taisha, Hongu Taisha Otorii, Yunomine onsen, Kawayu – Thermal Oto River
- Where to stay: We stayed in the same place in Kawayu. If I had my time again, it would make more sense to move closer to the trailhead for the Nakahechi route near Hongu Taisha for setting off in the morning
Day three doesn’t have a set route, distance or time. It is completely up to you how you want to spend your day. The distances between Hongu, Yunomine, Watarase and Kawayu are longer than you think. I’d highly recommend planning some bus routes into your day. Just note that there are only a few that run per day, so timing is crucial.
On our exploring day, we walked from Kawayu, along the river to Hongu (about an hour’s walk), to visit Hongu Taisha, Hongu Taisha Otorii and to enjoy some of the best ramen at Mitsuashi Noodle shop for lunch.
We then got the 2.23 pm bus from the Kumano Hongu Heritage Centre to Yumomine onsen (which was very full!) The main things to do in Yumomine are to book yourself a spot in the oldest, private onsen in Japan and boil eggs in the river. You get to use it for 30 minutes. We had a few people in front of us, so we waited about 1 hour before our turn. During our wait, we brought a bag of eggs from a local shop and boiled them in the thermal river that flows through the town.
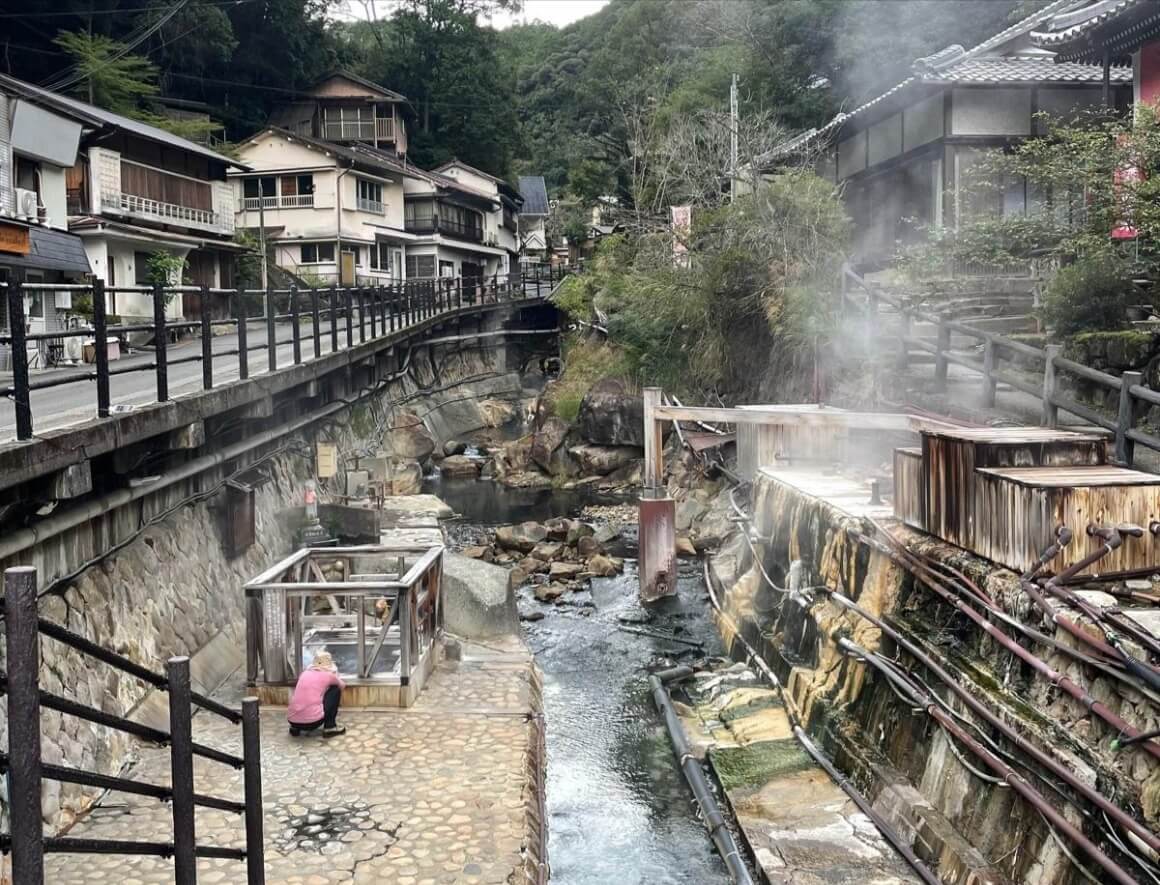
After a couple of hours, we decided to continue to stretch our legs instead of waiting for the bus and walk back to Kawayu (which, again, took about 1 hour). The evening was spent soaking in the onsen and enjoying another bowl of ramen at the chicken soba shop!
This was a really, really enjoyable day; it was nice to slow down. I’m glad that we made time for it instead of rushing on to fit in more big hiking days.
Day 4: Hongu to Chikatsuyu (Nakahechi Part 1)
- Overall mood: A challenging but rewarding day on the trail
- Route: Hongu → Chikatsuyu (or in our case, the Doyukawa-bashi bus stop)
- Elevation: 1180m elevation gain, 730m elevation loss
- Distance: 25 km
- Time: 6-8 hours
- Where to stay: Nonagase Guesthouse (higher-end) or Minshuku WAGO (cheaper)
Firstly, I would recommend staying near Hongu Taisha the night before you set off. The buses don’t run that early, and it’s an hour’s walk from Kawayu, which is a huge chunk of time and distance to add to an already huge day. Luckily, we put our thumbs out and even at the ripe time of 6.30 am, a kind lady in a tiny, green Suzuki box car picked us up and dropped us to the start of the trail (absolute legend!!)
The stretch from Hongu to Chikatsuyu was TOUGH. Partly because the trail itself was a ton of climbing with a mighty 1,180m in elevation, but also because our timings were slightly off, and we were rushing to get to Doyukawa-bashi bus stop. We had to jump on the bus that would get us back to Tanabe to pick up our luggage before the Information Centre closed at 6 pm. Note: We missed out the final day of hiking from Chikatsuyu to Takijiri as we had a flight to catch.
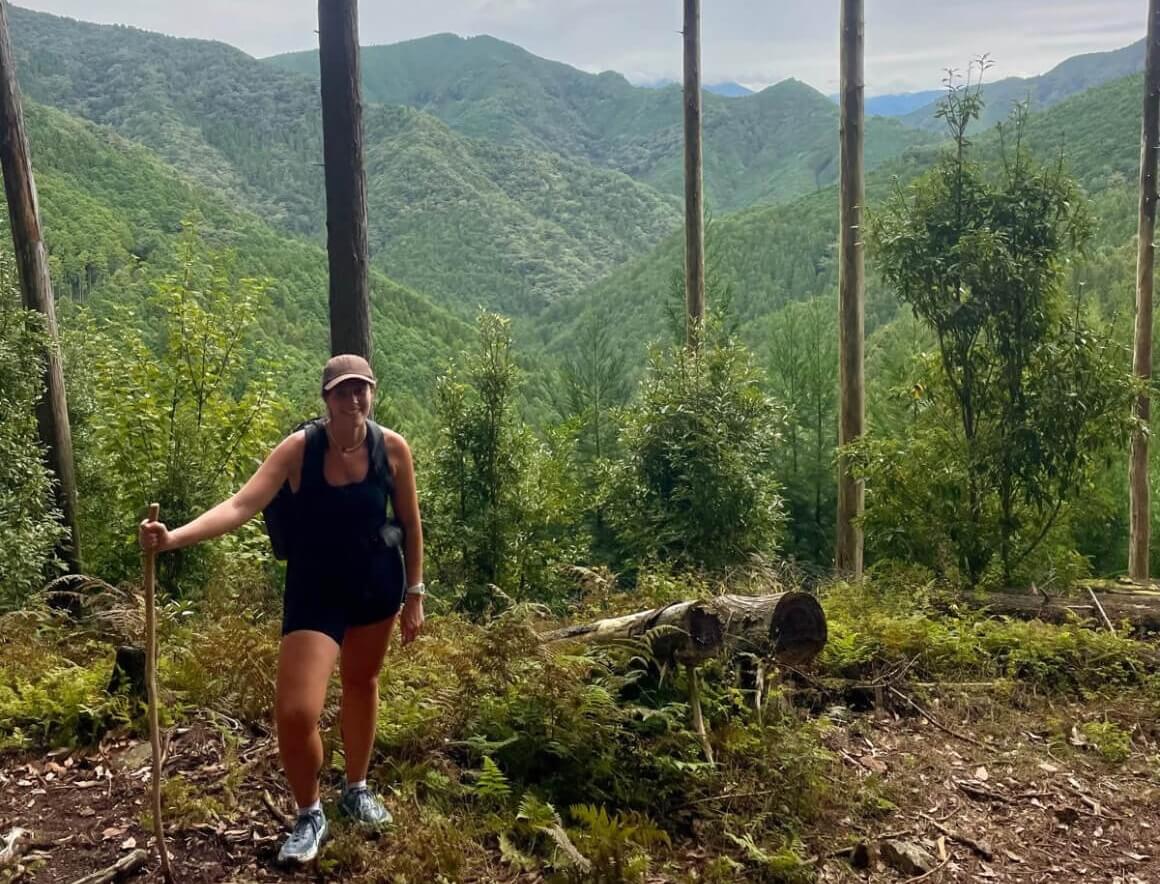
The first quarter of the trail is quite different, taking you along roads and through small villages until you get to Hossinmon-oji. This part of the route can be done as a day hike, as the bus goes to Hossinmon-oji from Hongu, so it was a bit busier than other sections of the hike. But once you depart from Hossinmon-oji, you’ll go further into the dense forest, and we will be back to centuries-old stone paths and small shrines to pay respects to on the way through.
We reached the road absolutely exhausted but just in time for the 1.40 pm bus to Tanabe (optimistic to get in a 6-hour hike by 2 pm, I know… but we did it).
For those of you with a final destination of Chikatsuyu, good luck to you! It’s super challenging from this direction, with a total elevation gain of 1360m if you continue further than the bus station. If you want to shorten it a little, you can always jump on the same bus we got on, as it stops in Chikatsuyu.
Day 5: Chikatsuyu to Takijiri (Nakahechi Part 2)
- Route: Chikatsuyu → Takijiri
- Elevation: 840m elevation gain, 1010m elevation loss
- Distance: 14 km
- Time: 5-7 hours
- Where to stay: Comfort Hotel Kii Tanabe (higher-end) or DJANGO Hostel & Lounge (cheaper, dorm available)
I can’t say from first-hand experience what this section of the hike is like. However, from what I heard from others on the trail, it’s more of the same forest, stony trails and temples. However, the stretch is unique as it does have another town along the way (Takahara) that you can pick up some food in, or even stay in one of the guesthouses if you want to extend your trip one more night.
This section of the trail is home to Tainai Kuguri, which means “passing through the womb.” It’s a narrow pass through rocks that you can attempt to get through (or you can take the easy route and go around it!) It sounds like a reasonably tough day, but nothing compared to the Hongu to Chikatsuyu section from the day before.
Finishing up at Takijiri, you’ll leave through a Torii gate and head to the bus stop to jump on board back to Tanabe.
Due to demand and popularity, there are more scheduled departures from Takijiri. But I’d still highly suggest leaving early from Chikatsuyu to ensure you make it on time for your chosen bus. If you need to pick up luggage, be sure to get back before 6 pm.
After a big day of hiking, most people will stay the night in Tanabe before setting off the next day. Or, you can opt to jump on the train to your next destination. For us, that was our airport hotel (R Hotel Kansai Airport) before flying out early the next morning.
What It Actually Costs
We did a VERY budget version of this trip. You could easily spend a significant amount more with nicer accommodations that include meals. The places to stay along the Kumano Kodo trail have become very expensive – especially in the smaller towns, as there is limited supply and demand is very high. Basic economics means these guys can charge extortionate amounts for a futon on the floor… and they do. It’s hard to find a basic room for less than $100 USD.
I’ve noted below what my actual 3-day costs were, but I’ve also included a projected 5-day cost had we extended and done the whole route. I’ve started these costs from the morning of day 1 and the final day (day 4 or day 6). They don’t include trains to/from, as it depends on where you’re coming from.
| Category | Cost for 3 Days (actual) | What It Includes | Cost for 5 Days (forecasted) | What It Includes |
|---|---|---|---|---|
| Accommodation | ¥19,200 / $120 USD for two ¥9,600 / $60 USD per person | 2 nights in Kawayu at Sansuikan Kawayu Matsuya | ¥62,600 / $390 USD for two ¥31,300 / $195 USD per person | 1 night Koguchi 2 nights Kawayu 1 night Chikatsuyu Note: the additional two towns are significantly more expensive. |
| Transport per person | ¥3,450 / $22 USD | Buses from: Nachi to Nachisan (¥500), Koguchi to Hongu (¥1000), Hongu to Yumomine (¥350) and Doyukawa-bashi to Tanabe (¥1600) | ¥1,820 / $12 USD | Buses from: Nachi to Nachisan (¥500), Hongu to Yumomine (¥350) and Takijiri to Tanabe (¥970) |
| Food per person | ¥11,700 / $75 USD | Lunches/ Breakfasts: 7/11 and convenience store meals Dinners: Ramen and local restaurants | ¥18,015 / $112.5 USD | Assuming the same budget, extended for 6 days. |
| Baggage storage per person | ¥2,000 / $12.5 USD | 4 days of storage, ¥500 per day, per bag. | ¥3,000 / $24 USD | 6 days of storage, ¥500 per day, per bag. |
| TOTAL per person: | ¥23,750 / $150 USD | ¥54,135 / $340 USD |
Booking Logistics Nobody Explained Clearly Enough
The Kumano Kodo is not a simple hike to plan. From remembering Japanese place names and booking months in advance to managing the bus timetable and understanding which route to take. There is a lot to figure out before you hit the ground. Below you’ll find a few key booking logistics that I wish were spelt out simply to me beforehand.
How I Booked My Kumano Kodo Accommodation
I booked via Booking.com; however, this was because we were super last-minute, and most Minshuku/Ryokans were fully booked on the official Kumano Travel website. After chatting to others along the hike, most people get their stays locked in 6-12+ months in advance… we booked in just two weeks in advance!
Below are the most common ways to make bookings and how they differ:
Kumano Travel vs Direct Booking vs Booking.com
| Booking Method | Pros | Cons | Best For |
|---|---|---|---|
| Kumano Travel (Official System) | – Vetted accommodation – English-friendly booking process – Easy to book accommodation, luggage transfer + meals – Clear cancellation policies | – Sell out super early – Limited property selection – Slightly higher prices due to admin fees – Only open to book during specific hours of the day | Travellers planning 6-12 months ahead who want a smooth, all?in?one, low?stress booking experience |
| Direct booking (Email/Phone) | – Often cheap, as no commission/ fees charged – More availability if you’re flexible – Personal communication with hosts – Good for unique, family-run stays | – Often hosts speak limited English – Slower response times – Harder to coordinate meals and luggage transfer | Travellers with time to research, some Japanese ability (or Google Translate stamina), and those booking 2-6 months ahead |
| Booking.com | – Easiest for last-minute trips – Instant booking confirmation – Wider range of properties in Tanabe, Hongu and Koguchi – Familiar interface and often flexible cancellation | – Fewer traditional minshuku (Japanese B&Bs to you and I) listed – Rural properties may not appear at all – Doesn’t integrate with luggage transfer services – Can feel less “authentic” | Travellers booking last?minute (like me), or those who prefer a simple, familiar platform over a more curated pilgrimage experience |
Note: You can camp along the Kumano Kodo. The luggage transport service is not available for camping, so this does require carrying a lot of extra gear with you (food, water, tent, cooking supplies, etc) on some already challenging trails. But it can be done, and is done by many travellers! There is no freedom camping allowed, but there are campsites available in Chikatsuyu, Kawayu Onsen, Watase Onsen and Koguchi.
Baggage Transfer and Storage
I didn’t personally use the luggage transfer service, but I did use the luggage storage, and honestly, it was a godsend. We were travelling with way too much gear for just a few days on the trail, so we packed down into our smaller daypacks and left our big backpacks behind.
We took the train from Osaka to Kii-Tanabe, and literally a 2‑minute walk from the station, you’ll find the Kumano Kodo Information Centre. This is where you can drop your bags for storage. It’s ¥500 per bag, per day. The staff there are super helpful, and the process is straightforward.
The only thing you must know: You need to return by 6 pm on your final day to collect your bag; that’s their closing time, and they are strict about it.
Along the trail, I met a few hikers who used the official luggage transfer service, and they all said the same thing: it’s incredibly convenient. You leave your bag at your accommodation in the morning (or at the Kumano Kodo Information Centre on day 1), hike with just your essentials, and it magically appears at your next stay by late afternoon. Most people said it made the steeper sections way more enjoyable without having to lug around their stuff.
How the Bus Systems Work
Now, the bus systems are a game-changer for those who have limited time or want to cut parts of the trail short. The bus routes go nearly the entire way along the trail. But what I wish I knew beforehand is that there are very few departures on some of the routes. It is crucial to look at the local bus timetables and figure out which departures will fit into your itinerary.
The buses have their own way of working. Here are a few tips for riding the local buses, so that you know what to expect:
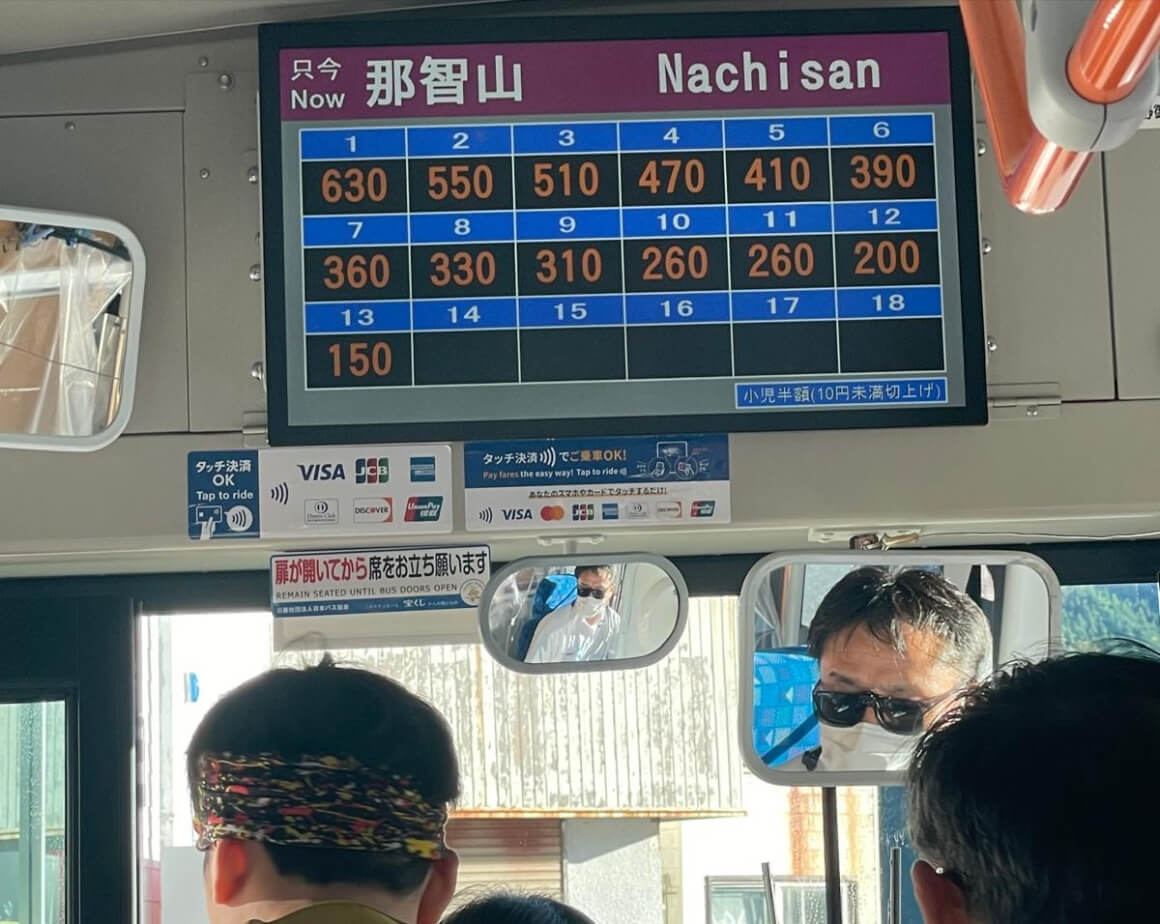
- Enter through the back door of the bus and grab a number on your way on.
- On the screen at the front, there are numbers with a fare next to them. The price next to your number when you get off is how much you’ll need to pay on the way out.
- Try to prepare exact change for the bus fare in advance; you can find the prices on the timetable linked earlier.
- Arrive early at the bus stop if you want a seat. The routes on the Kumano Kodo can get BUSY.
Cash, ATMs, and Card Payments
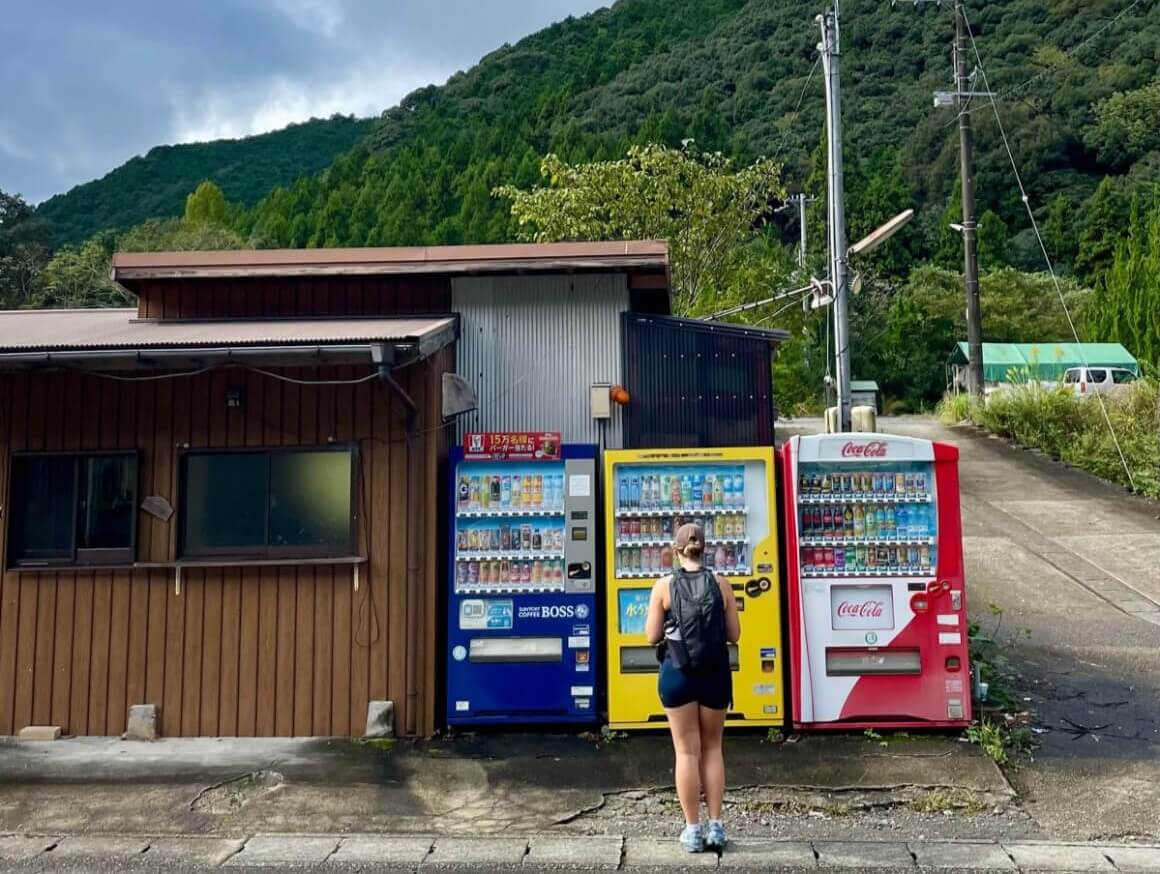
From my experience on the trail, cash seems to be king (which is a good tip for Japan as a whole honestly). Most of the small shops and guesthouses only accept cash payment. In fact, all of the ramen shops required cash to be paid via the vending machine from which you order!
In the bigger towns, Kii-Tanabe, Nachi/Katsuura and Hongu, some places will accept cards, but it’s best not to rely on it. There are plenty of ATMs in these areas, but as soon as you’re out of the bigger towns, you’ll be lucky to find any.
Don’t start the trail without cash on you. There is an odd vending machine for a cold drink along the way, and after hours of hiking, you’ll be gutted if you can’t buy one!
Trip for trains: Set up an IC Card (Suica/PASMO/ICOCA) on your phone for Trains to/from Tanabe. We used the ICOCA, and you can add it directly from your Apple Wallet. For other trains, for example, Kii-Tanabe to Nachi, you’ll need to buy tickets at the counter.
Phone Signal, eSIM, and Offline Maps
You’ll be going remote in parts of the trail, and the signal can be super patchy. Most guesthouses will have a signal or even offer Wi-Fi. Japan has plenty of choices for eSIMs. I used SimLocal, and it was pretty good!
I’d highly suggest downloading AllTrails before you start the route, as it allows you to follow the trail via GPS as you go. You can upgrade your subscription to enable “offline maps”, which is helpful if you’re worried about losing connection along the way.
Toward the end of the trail, I did venture a little off piste, and a nice Japanese guy helped point out the way. He also suggested an app called YAMAP – apparently it is popular in Japan and more accurate for local trails! It could be worth checking out.
4 Mistakes I Made on the Kumano Kodo Trail
Although I did some solid planning before setting off, you can’t always prepare for everything. These are a few mistakes that I made and lessons learned:
1. Not booking far enough in advance
There are very limited guesthouses and places to stay in the small towns along the trail. For this reason, it is crucial to lock in the places that you want to stay in advance (at least 2 months before, ideally 6 months before).
We decided to do the trail 2 weeks beforehand! The smaller towns were booked out (or way out of our budget), so we opted to cut the route short, utilise the buses and stay two nights in Hongu, where there was still a little bit of budget-friendly availability.
Although I had the most amazing time, I would’ve loved to have done the 5-day route and completed the entire trail on foot.
2. Not staying near the trailhead
The trail from Hongu to Chikatsuyu starts at the Hongu Taisha. Staying in Kawayu meant that getting to the trailhead added an extra 1+ hours onto our day of hiking. There is a bus that can take you, but this doesn’t depart until 8.45 am, which is rather late to start hiking.
We were very lucky, and after about 20-30 minutes of walking at 6.30 am, the first car that passed us with our thumbs out stopped by and gave us a ride.
If I had my time again, I’d stay one night in Kawayu (or Yunomine), enjoy the onsen and the thermal river. Then move over to Hongu for the second night, to make starting on the trail in the morning as easy as possible.
3. Underestimating the trail and how long it would take
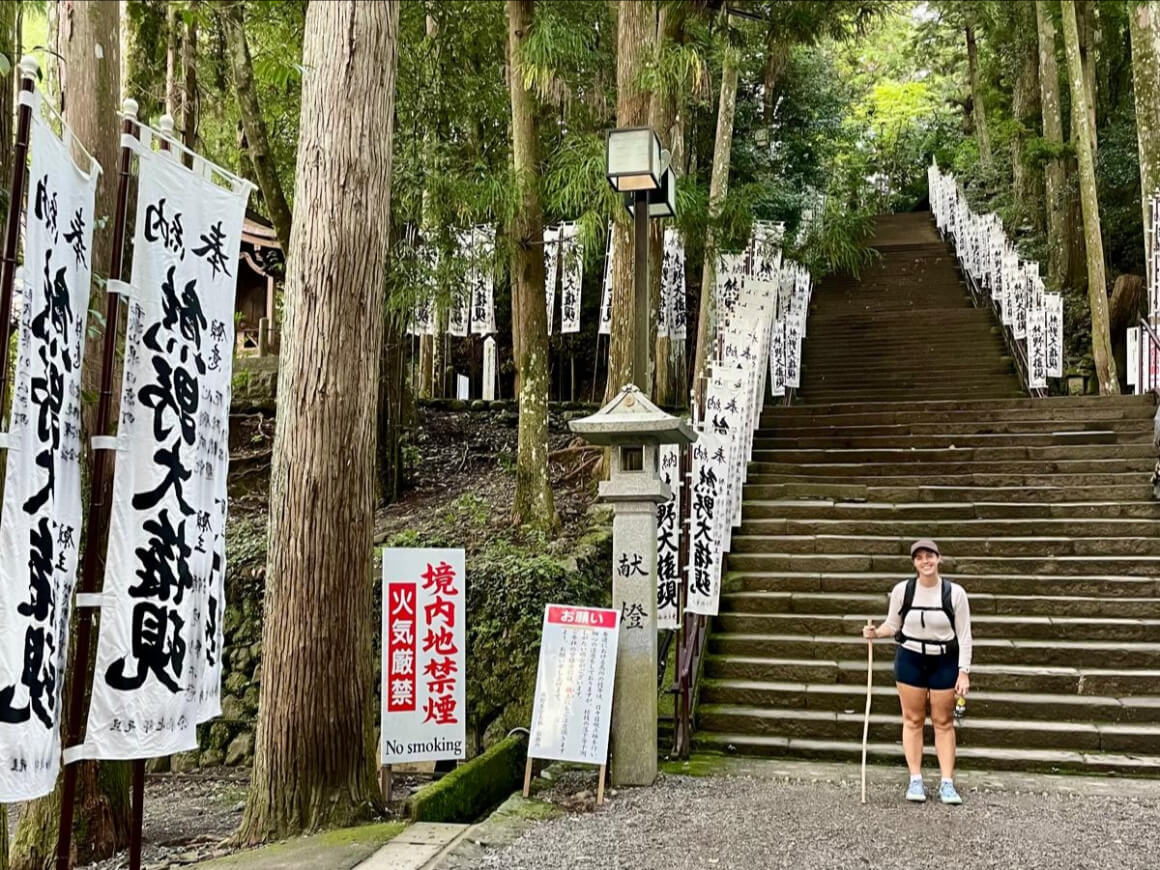
The route from Hongu to Chikatsuyu was hard… it was even harder because I didn’t leave enough time for us to reach the Doyukawa-bashi bus station for our 1.30 pm bus back to Tanabe. We were racing by the end, up some hella hills to get there. We had to get on that bus to pick up our bags by 6 pm.
Really look at the distance and elevation that you have to cover for that day. If you’re heading to a guesthouse, you’ll be fine leaving a little later. But the buses don’t have that many departures, so if you need to make it for a certain time, make sure you give yourself plenty of time.
4. Not realising that food is limited along the trail
For those of you doing a DIY version of the trail, as I did, it’s important to know that in the smaller towns along the trail, food is very limited. There might be a small shop, but these usually close early (around 6 pm), so if you arrive any later, you’re out of luck.
Next time, I would book guesthouses along the way that offered breakfast, lunch and dinner – it costs more, but it’s much less of a headache to plan around.
What to Pack for the Kumano Kodo Trail Based on What I Actually Used
As I mentioned earlier, you can utilise the luggage transport and storage options to make your life WAY easier. You can either keep your big bag with you with all your gear and have it transported around to your next stay. Or, leave your big bag at the information centre and hike with a smaller, lighter option.
In terms of what you need on you, I’d suggest having the following items:
- A good head torch; we were talking at dusk and early mornings, it comes in handy
- A 30L pack to hike with (unless you are using the luggage transport system)
- Hiking poles, there are some steep inclines and declines – your knees will thank you
- Portable charger – having your camera and GPS going will drain your battery in no time
- A light rain jacket – on our autumn trip, we had a shower, which made us very grateful for our jackets
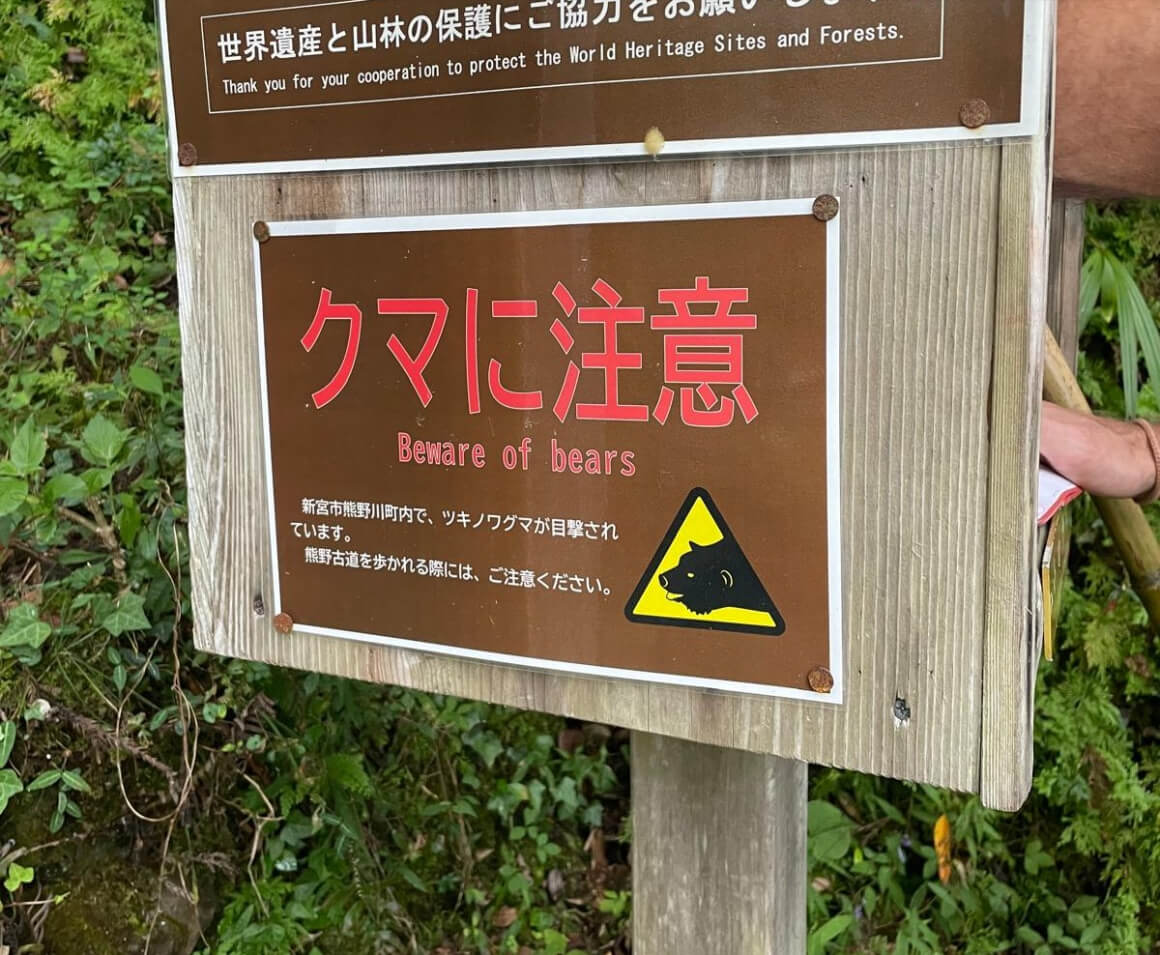
- A bear bell (optional) – although it’s unlikely to come across the area’s Asian black bears, especially on popular trails like the Nakahechi, some hikers like to err on the safe side
Food, Water, and Meals on the Kumano Kodo Trail
As we didn’t book any of the guesthouses that offered set breakfast, lunch and dinners, we were on our own when it came to figuring out meals. If you want the stress of food to be relieved from you, then I’d suggest booking via the Kumano Travel Official System. Most of these guesthouses offer the full package.
For those of you who are cheap-skates or last-minute bookers (like me), this is my full downlow on how to sort meals:
- Tanabe: Raid that 7/11 next to the train station like your life depends on it. This is where we purchased all of our hiking snacks on the trail, as well as plenty of pre-packaged meals (sushi, rice and chicken… you name it, we probably got it).
- Katsuura: We ate at a nice ramen shop the night before the trail kicked off.
- Hongu: There is no 7/11 (shocking, I know). We stocked up on pre-made lunch items at this konbini and enjoyed ramen at both Chicken Soba Shimojibashi and Mitsuashi Noodle Shop. Both were top-tier.
The smaller towns of Koguchi and Chikatsuyu have small shops, but nowhere to buy lunch or dinner. Because of this, most homestays will offer lunch & dinner for an additional charge. I did see that Chikatsuyu had a cute beer garden; this definitely looks like it’s worth checking out!
Water is drinkable at the guesthouses, so no need to worry there 🙂
Dual Pilgrim Status: How to Get the Kumano Kodo & Camino Certificate
The Kumano Kodo is actually a sister trail to the famous (and longer) Camino de Santiago trail in Spain. The Dual Pilgrim program recognises hikers who have completed both of these world-best UNESCO pilgrimage routes.
It is organised by the Tanabe City Kumano Tourism Bureau, and it’s surprisingly straightforward… as long as you’ve collected the right stamps. To be able to cleanly prove that you’ve completed the trail, you must:
- Complete an eligible Kumano Kodo route: You must finish one of the official pilgrimage routes; most travellers complete the Nakahechi, including the sections between Takijiri, Chikatsuyu, Hongu, Koguchi, and Nachi
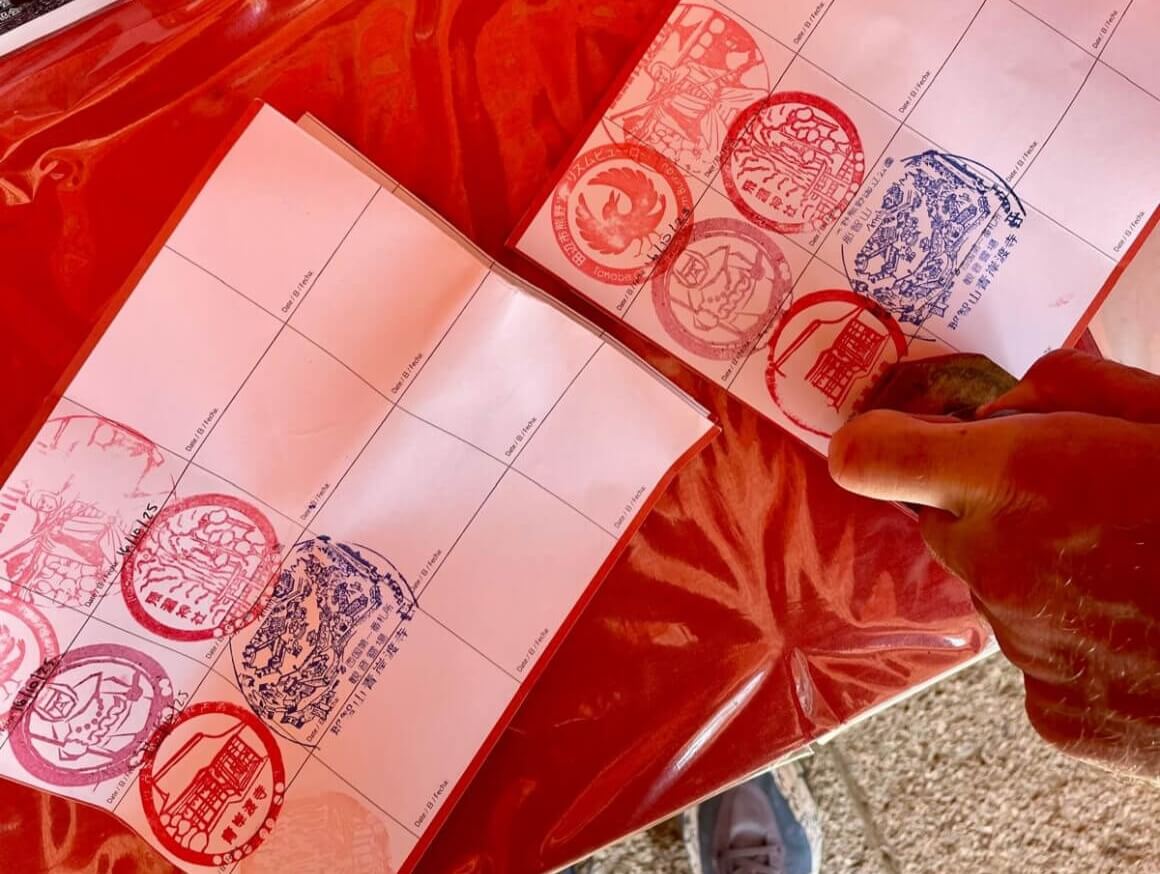
- Collect your Kumano Kodo stamps: Use a nōkyōchō (stamp book) or the official stamp sheet to record stamps from trailheads, shrines, and key checkpoints along your route
- Complete a qualifying Camino route: Walk at least the final 100 km of any Camino route to Santiago and collect stamps in your pilgrim passport along the way. You can use the same stamp book for both, if you want
- Bring both stamp books to Hongu: Visit the Kumano Hongu Heritage Centre or Hongu Taisha office with your Camino credential and Kumano Kodo stamps for verification (not Tanabe)
- Receive your Dual Pilgrim certificate: Once verified, you’ll receive an official certificate and can sign the Dual Pilgrim register!
The most common qualifying route is the Nakahechi, which includes:
- Takijiri to Chikatsuyu
- Chikatsuyu to Hongu
- Hongu to Koguchi
- Koguchi to Nachi Taisha
If you do the route in reverse (like me), it still counts; direction doesn’t matter. Note: you can’t skip parts as I did and still count it – you must walk the official route, end to end, to qualify. I still collected stamps along the way, not because I was in the running to become a Dual Pilgrim, but because it was a really fun addition to the hike 🙂
When I Hiked and What the Weather Was Like
I hiked the trail in mid-October, and it was pleasant weather. There were sunny moments and cloudy moments. We had a little bit of rain on one afternoon – I’d suggest packing a good, lightweight rain jacket! Luckily, most of the trail is covered by towering trees – so rain, cloud or shine, you’re fairly protected. It was a beautiful part of backpacking in Japan, with some of the autumnal colours starting to peak out.
If I were to have my time again, I’d probably do it later in October to see more of the autumnal colours, or Spring (March – May) when the weather is comfortable, the forests are lush, and the cherry blossoms begin to appear.
I’ll always choose a shoulder season; it’s busy but not overcrowded. Plus, you avoid the extreme heat and cold of the summer and winter periods.
After the Trail: Where to Go Next
If you have some more time up your sleeve in Japan once you’ve finished the trail, there is plenty more to do! If you’re up for beaches or more nature, I’d suggest hanging around the Kii Peninsula and checking out:
- Kii-Katsuura: Enjoy the famous seaside onsen baths and fresh tuna!
- Shingu: Home to Hayatama Taisha with easy access to the coast
- Shirahama: White sandy beaches and a laid‑back resort vibe
- Mount Koya (Koyasan): Sacred Buddhist temple complex, often paired with the Kumano Kodo. Koyasan gets booked out fast, especially in autumn, so lock in a monastery stay or guesthouse well ahead. Koyasan Shukubo Saizenin is located literally opposite the main temple complex, and getting involved in the morning prayers is highly encouraged.
Or, head to the classic gateway cities of either Osaka, Kyoto or Tokyo. All can be easily accessed via train from either Kii-Katsuura or Tanabe.
Would I Hike the Kumano Kodo Trail Again?
Yes! This trail was so different to other hiking trails I’ve completed. There is a rich history and respect for the trail that you can feel along the route. It’s a corner of the world that seems to slow you down and create space to reflect on your life. If I could go back and do it all again tomorrow, I would. I think it’s one of the most underrated Japan itineraries.
However, if I had my time again, I would do the trail over 4 nights, 5 days. I would pre-book using the official Kumano Travel website at least 3 months prior and ensure that the booking included all meals, as organising our own food was a bit of a nightmare at times.
I hope this guide has helped you to feel more prepared before setting off on your adventure! Just remember, it’s all about the journey <3