I’ll be honest, there is something pretty naff about returning from a trip and scrolling through hundreds of vacation photos — random shots of sunsets, plates of food, strangers wearing hats. But there is a better way to make meaningful and lasting use of travel photos.
Indeedio, if you’ve ever dreamed of turning your travel memories into art, then a homemade gallery wall is your perfect canvas.
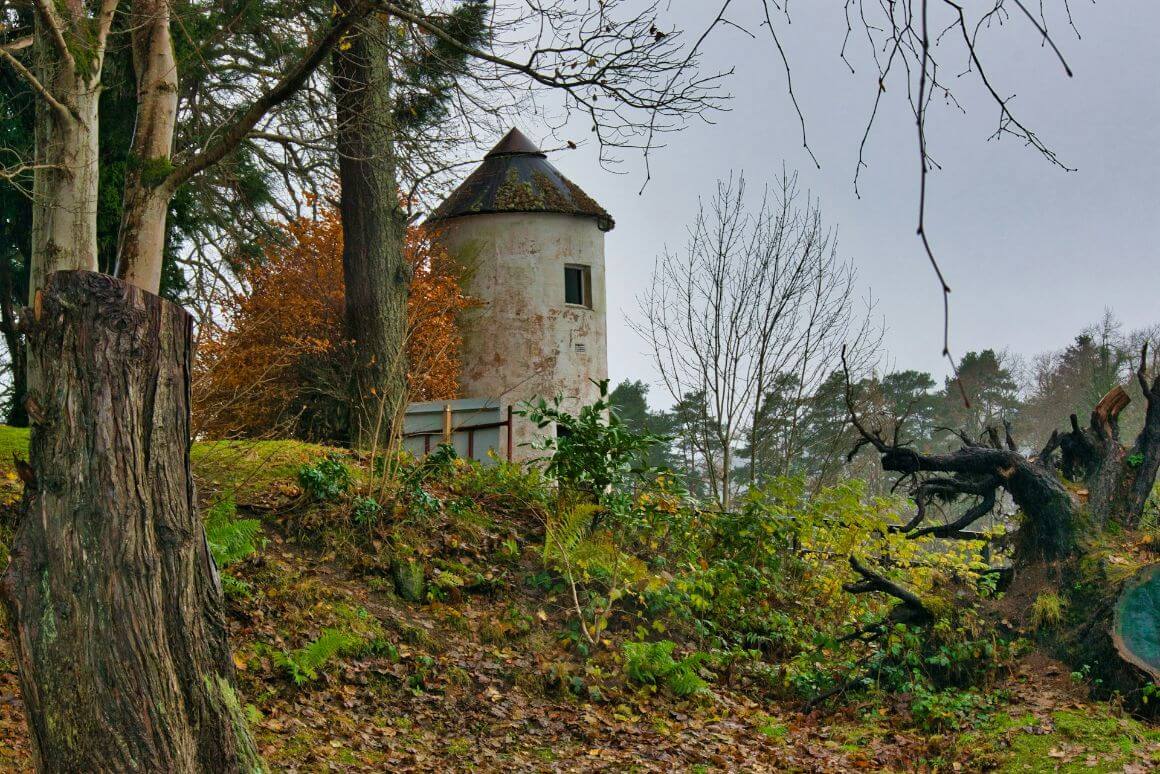
A travel-inspired gallery wall doesn’t just decorate a room —it transports you out of it and across the world. Whether you went and hiked the Himalayas, wandered the streets of Paris, or road-tripped across the U.S., your travels deserve more than an Instagram highlights reel.
Here’s how to bring them into your home with style, personality, and meaning.
The Broke Backpacker is supported by you. Clicking through our links may earn us a small affiliate commission, and that's what allows us to keep producing free content 🙂 Learn more.
Step 1: Curate Your Travel Photos with Intention
Before you start the printing, be certain to take the time to sift through your travel photo collection and short the good from the bad, and the nearly great from the “that’s going on the walls!”
Maybe choose images that evoke a feeling—not just postcard-perfect shots, but also candid moments, details, and textures.
Here’s what to look for:
- Landscapes and wide shots for visual balance
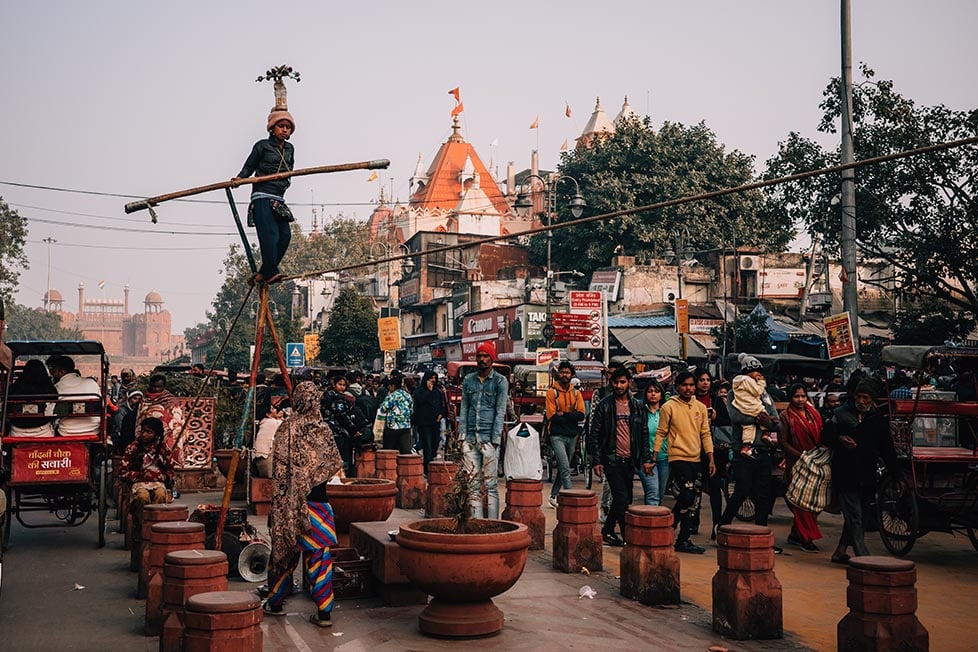
- Street scenes, cafés, signs or doors that tease at a place’s character
- Portraits of people you met or traveled with
- Close-ups of food, flowers, textiles—those small moments you want to remember
Pro tip: Don’t stick to just one trip. Mix different destinations to create a global vibe, or choose a theme (like “coastal escapes” or “markets around the world”). And do this over a nice beer or a glass of wine.
Step 2: Choose the Right Format and Finish
Once you’ve selected the photos, it’s time to give them the spotlight they deserve. Rather than standard photo prints, consider upgrading to framed photo prints. They instantly add polish, protect your images, and eliminate the need to hunt down expensive matching frames.
You can play with:
- Matte or glossy finishes
- Black and white conversions to add a timeless elegance
- Colored frames to match your interior palette
- Mix of orientations (landscape, portrait, square)
Step 3: Plan the Layout (Without Getting Overwhelmed)
Remember that your gallery wall doesn’t need to be a grid of perfect symmetry. In fact, the most interesting ones usually aren’t.
Two main layout styles:
- Structured grid – Perfect for minimalist spaces; works well with uniform frame sizes.
- Organic cluster – A relaxed, bohemian look using various sizes and placements.
Before hammering a single nail though;
- Lay out your frames on the floor and shuffle about until it “feels right”
- Or use masking tape to outline your frames on the wall before committing
Spacing matters: Try to keep at least 2–3 inches between frames to add a bit of breathing room.
Step 4: Add Personal Touches and Texture
A gallery wall shouldn’t feel like a stock photo display — after all it’s your story, remember?
Instead intersperse your framed photo prints with:
- Ticket stubs or maps from your trips (framed or pinned)
- Travel quotes (that resonate with you) or typography prints
- Souvenirs like textiles, shells, or pressed flowers
- Handwritten notes or journal excerpts
This adds some depth and narrative allowing your wall to become more than just decoration—it becomes a patchwork of places that shaped you.
Step 5: Choose the Right Wall (and Make It Pop)
You don’t need a huge empty wall to create a statement. Even a small space — like a hallway, staircase, or corner of your bedroom—can be transformed with the right layout and framing.
Here are a few great places to install your gallery:
- Above your desk or reading nook (instant inspiration)
- Around the TV to balance the visual weight
- Entryways to create a welcoming, personal feel
- Bedroom walls for a private escape into your memories
Wanna go big? Why not dedicate an entire living room wall to your travel story and let it evolve as you explore more of the world?!
Step 6: Let It Grow Over Time
One of the best things about a gallery wall is that it doesn’t have to be “done” all at once. Its never really finished and it can and will evolve over time.
Every trip you take becomes an opportunity to add a new frame and fossilise a fresh memory. Let the wall grow as you grow, and it becomes a dynamic, visual timeline of your life’s adventures.
Final Thoughts: Turn Your Travels Into Living Art
So there we have it! Creating a travel-inspired gallery wall isn’t just about home aesthetics but it’s about celebrating the life you’ve lived and the places you’ve loved.
By transforming your memories into framed photo prints, you not only elevate your space but bring joy, warmth, and story into your everyday life.
So go ahead — dig into those dusty albums, pick your favourite shots, and start curating. The world is waiting to be framed.