Ten hours into my solo hike: phone on 3%, legs long numb to the burning sensation and relatively few hours of daylight left. I looked up and realised that whatever I was looking for by hiking through the Japanese Alps, I had finally found.
The Japanese Alps aren’t one thing. They’re three separate ranges (Northern, Central, Southern) stitched together by valleys, onsen towns and some of the best-maintained trail networks you’ll find anywhere in Asia.
The front door most people walk through? Kamikochi.
Kamikochi is a valley, not a peak: a flat, forested basin at 1,500 metres ringed by jagged granite walls, with the Azusa River running through it the colour of bottle glass. No cars allowed, so the only sound is water and wind and the occasional ring of a bear bell in the distance.
The great thing about Kamikochi is you can stay as firmly on the beaten path as you’d like. As soon as you verge off, you’re into real adventure territory. As soon as the day trippers thin out you’re face to face with proper alpine terrain: Yarigatake’s spear-tip summit, the ridge walk to Hotaka, routes that go from gentle riverside strolling to hands-on-rock scrambling within the space of a few hours.
Despite this being the biggest headache of my Japanese research, boy, was it worth it. This isn’t a route breakdown by any means, rather a resource that I wish I had access to before to make planning a trip to the Japanese Alps feel less like banging my head against a wall.
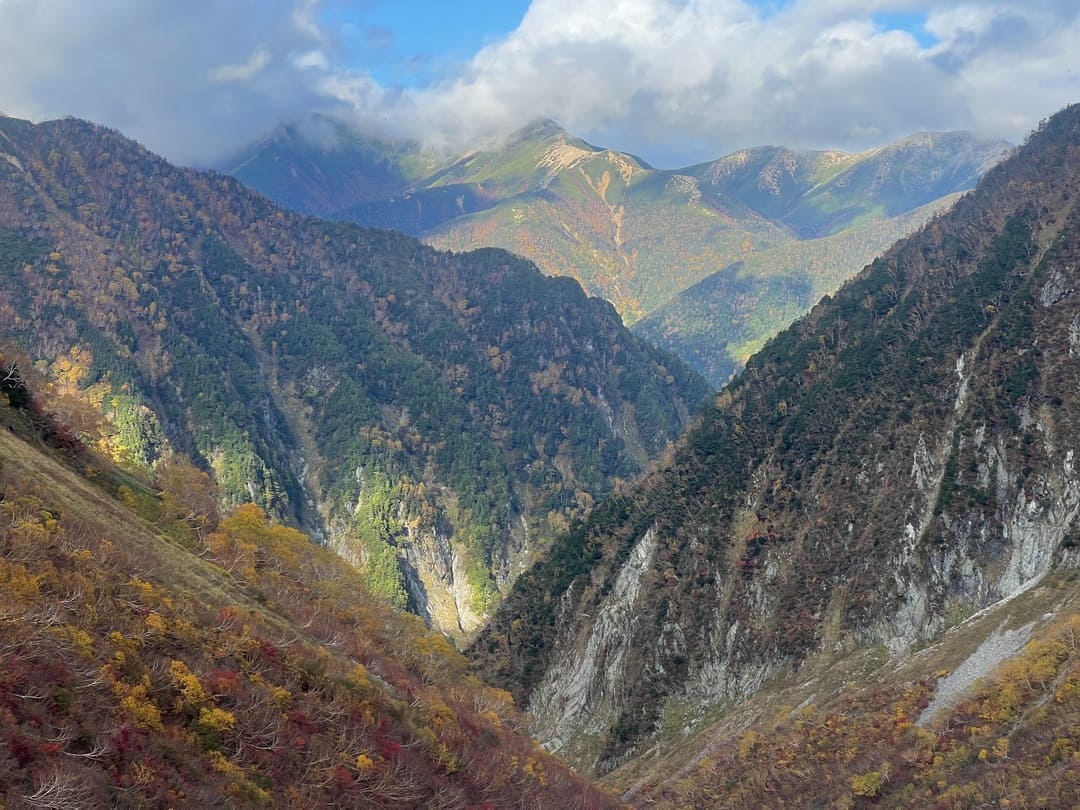
Photo: @taya.travels
The Broke Backpacker is supported by you. Clicking through our links may earn us a small affiliate commission, and that's what allows us to keep producing free content 🙂 Learn more.
The Japanese Alps Feel Nothing Like the Japan Most Travellers Know
Look, I love a Japanese city. I spent nearly three weeks in Tokyo after all. But one can’t help but wonder how much you can really know about Japan if you only stick to its cities. The Japan that most travellers know often feels like a perfectly curated handheld route of the country’s most manicured sights.
I don’t think you’ll ever fully ‘complete’ Japan – it’s impressively diverse, after all- but I left with a more rounded impression of the country than the one I’d have if I had just stuck to the well-beaten path.
Here, nature takes centre stage. There are none of the usual flashy Japanese amenities. You can only enter via bus; there are no cars or shinkansens. If you want to stay overnight, a simple mountain hut will have to do. It’s a place where you have to forfeit some of your usual comforts to really let the landscapes do the talking.
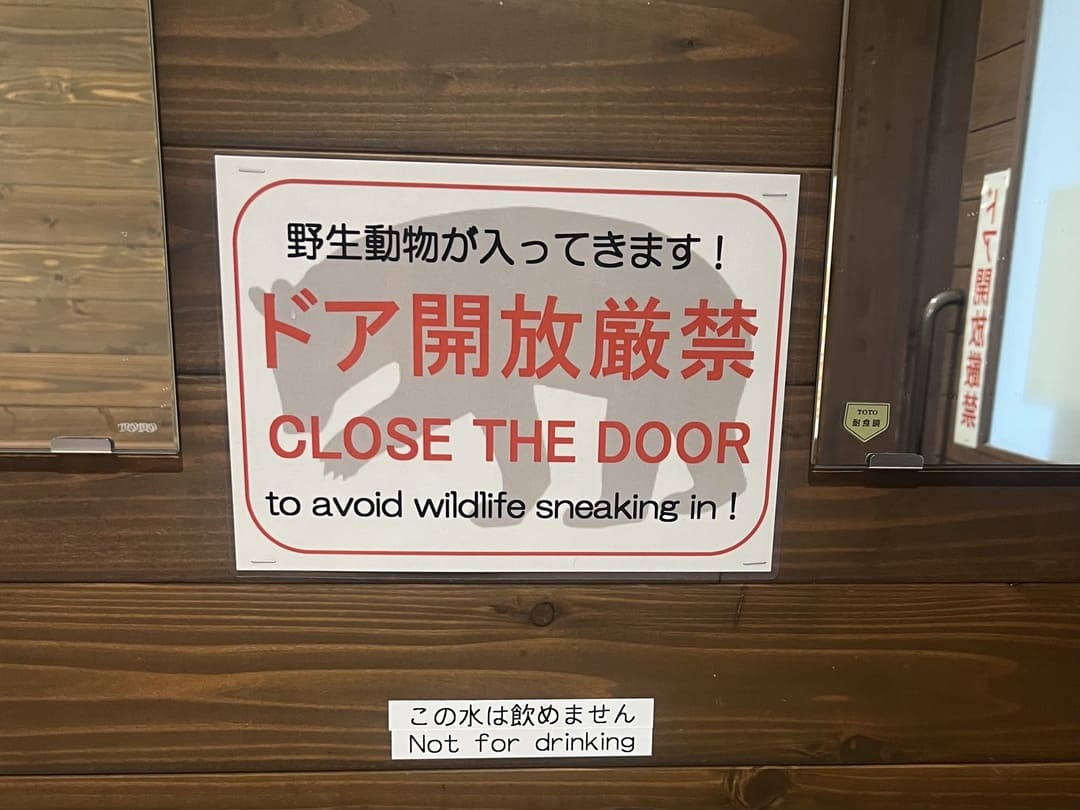
Photo: @taya.travels
And with that, you’ll start to see a slower, more physical side of travelling in Japan. Diverse terrains, scattered autumnal colours and a sense of peacefulness that you couldn’t fathom gaining in the city. International tourists all but dry up, leaving you with a real sense of how the Japanese actually like to spend their weekends and holidays.
Planning a trip to the Japanese Alps
As someone who loves researching for their travels (it’s my job after all), I found Japan to be quite the conundrum.
On one hand, searching for things to do in Tokyo leads you down a bottomless rabbit hole, a question so well covered it’s dizzying to sieve through the sheer amount of internet noise on the topic. On the other hand, attempt to go off the beaten path, and you’ll be rewarded with cryptic info, blogs that predate my access to the internet and tourism pages purely in Japanese for, you guessed it, the local traveller.
Hiking through the Japanese Alps was no small feat. But the hardest part by far was planning it. I had no clue how to get there, where to stay, what mountain range to explore or the route to take. It was my first big solo hike, so forgive me for having visions of being stuck 3000m up a mountain with no gear and no idea.
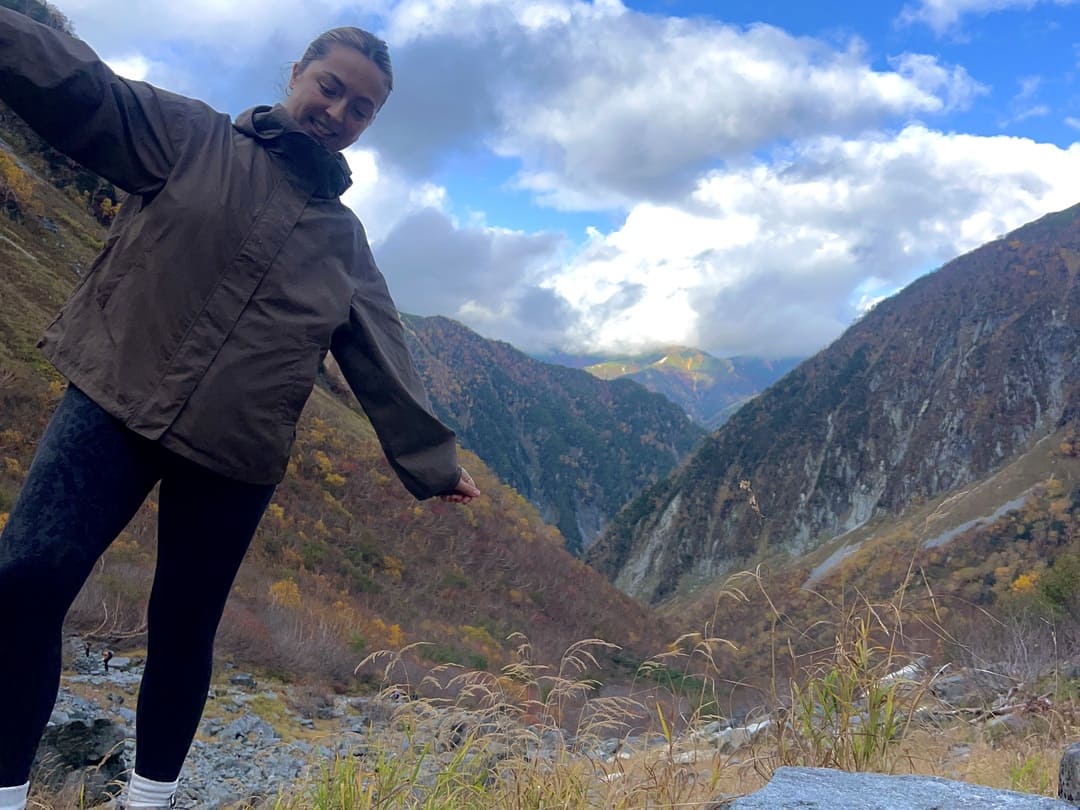
Photo: @taya.travels
First of all, you gotta figure out WHERE in the Alps you want to hike. I’m guessing you’re leaning towards Kamikochi already if you’re on this post, but the Japanese Alps are as big as they are beautiful, and you’ve got a lot of ground you can cover.
To keep things simple, I would focus on these few things first:
Where are you travelling from?
The Alps are a huge region, and depending on where you’re coming from, it can be a real pain in the arse to get there. This is worth sorting before you fall in love with a specific peak, because the mountain you want and the gateway you’ve got might be on completely different sides of the range.
If you’re coming via Matsumoto, you’re set up for Kamikochi and most of the classic Northern Alps hikes, Yarigatake and the Hotaka range included. It’s the most English-friendly of the gateway towns, the best connected by train, and the one most first-timers end up funnelled towards for exactly those reasons.
I stayed in Hotel M Matsumoto, and it was your classic Japanese capsule hostel experience with some pretty swanky amenities, including an onsen and provided toiletries and pyjamas. They even kept my suitcase safe for a small fee whilst I was in the Alps overnight, so I didn’t have to stress about lugging it to the national park directly.
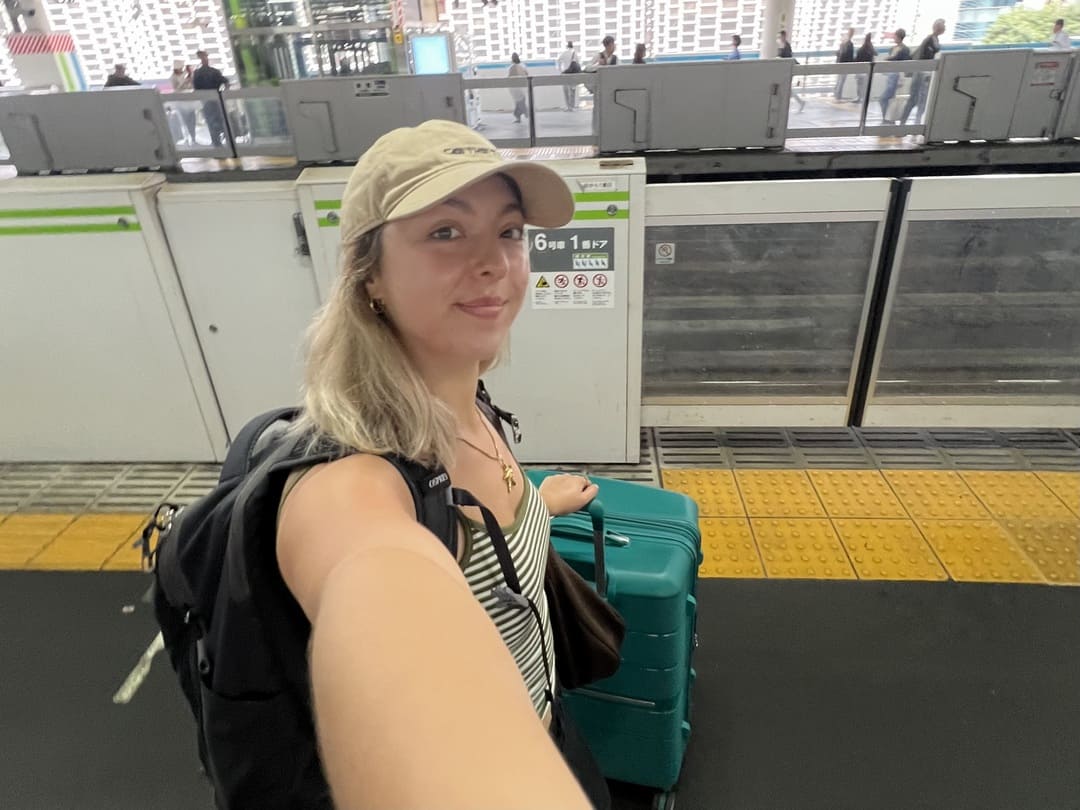
Photo: @taya.travels
If you’re already based in Takayama, you’re on the western side of the same range, and the Shinhotaka Ropeway is your way in. That gets you to Nishihotakadake, Yakedake, and Kasagadake without much fuss. Head deeper into the range towards Yakushidake and Kurobe-goro-dake, though, and you’re generally looking at access from the Toyama side instead, via Origata, which is a whole different can of worms to open when it comes to planning.
If you’re coming from Toyama itself, it’ll most likely be for the Tateyama Kurobe Alpine Route. It’s less a hiking trailhead and more a scenic transport route, stringing together cable cars, ropeways, and trolley buses up to Murodo at 2,450m. Mount Tateyama is summitable in a day from there, which is a great option if you want serious altitude without committing to a multi-day trek.
If your trip has you routed through Nagano or Komagane, that’s your door into the Central and Southern Alps instead, a completely separate pair of ranges with their own access rules, seasons, and hiking style, worth researching on their own terms rather than squeezing into a Northern Alps itinerary.
Either way, unless you’re dead set on a specific region already, I would look at your Japanese route in its current form and see where in the Alps makes the best sense to slot in. Otherwise, you might find yourself with a 2-day travel route before you’ve even set foot on a trail.
How much time have you got to commit?
This decides more than you’d think. A single day rules out almost everything except the ropeway-assisted options like the Central Alps or the Tateyama Kurobe Alpine Route, where the transport itself does most of the climbing for you.
Two to three days opens up somewhere like Kamikochi, where you can base yourself in one spot and do proper day hikes without needing to relocate. Anything beyond that is when hut-to-hut traverses across the Northern Alps start to make sense, and you can start getting creative with your route by stringing multiple peaks together.
What time of year are you heading to the Alps?
Season plays into this just as much as day count.
Most of the higher trails and huts only run from around late April to mid-November, and if you’re hiking in shoulder season either side of that, like I was in mid-October, you’re racing the first snowfall at altitude.
That’s less of an issue somewhere like Kamikochi, which sits lower in the valley, but it rules out a lot of the higher traverses if you’re not kitted out for snow.
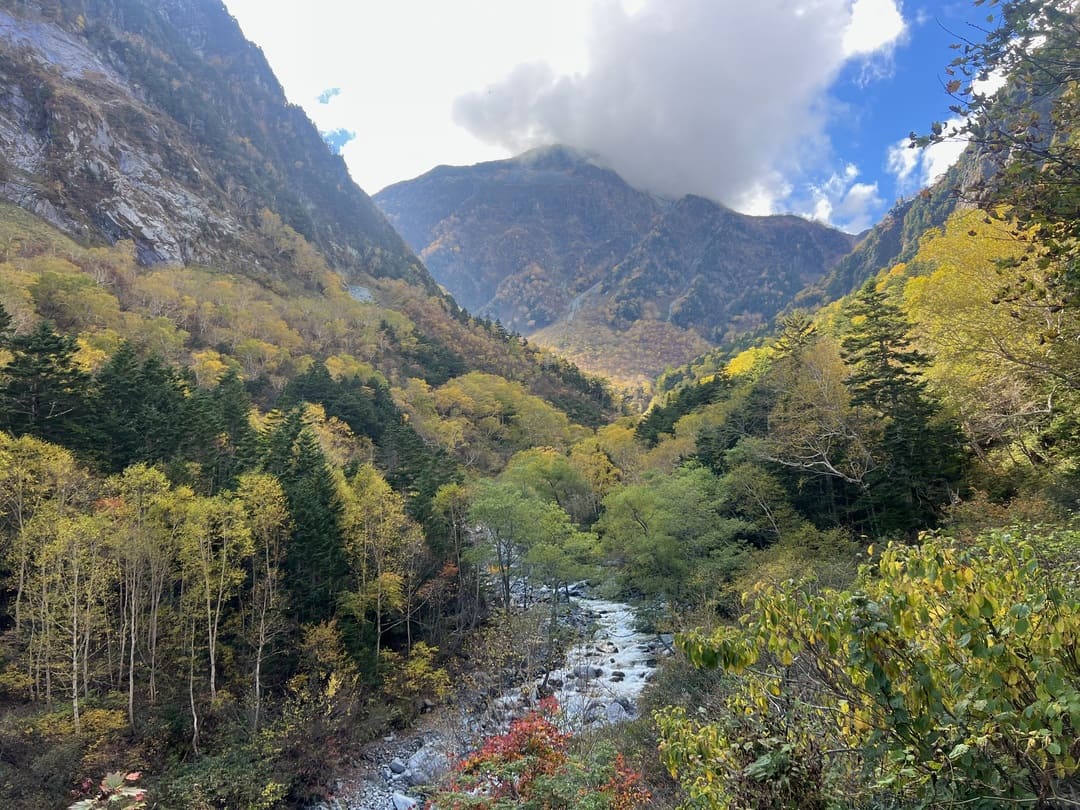
Photo: @taya.travels
Do you want to stay in one valley or move through the mountains?
Most people usually don’t realise this is even a choice. Some people want a single, self-contained base they can walk out from and back to each day, which points towards a national park like Kamikochi.
Others are drawn to stringing together a route between huts, sleeping somewhere new each night, which is a whole different kettle of fish. It demands a lot more research, Japanese-language logistics, and fitness, but is absolutely epic when you manage to pull it off.
Ultimately, I settled on Kamikochi because:
- It was easy to get there from Tokyo
- There were no crazy difficult or technical hikes – I didn’t want to do anything where I had to hire a guide or felt unsafe doing it solo
- There wasn’t yet snow on the ground in mid-October – a real possibility in many parts of the Alps in higher elevations that I didn’t particularly want to deal with
- It seemed a relatively popular part of the Alps, which made researching and getting there that bit easier
- I was relatively short on time and couldn’t traipse from mountain to mountain… though this is definitely on the bucket list for next time
- And most importantly…it looked beautiful! Kappa Bridge is one of those things you see online and immediately race to find where it is and how to get there. It’s such a photogenic region of the Alps, so it’s no surprise why it’s on so many people’s radars.
Why Kamikochi National Park?
Given the time, effort and money it takes to visit the Japanese Alps, it’s a fair question to ask.
When you first Google ‘Japanese Alps,’ chances are, Kamikochi is one of the first results.
Why? Because it’s bloody boooooooo-tiful.
I wasn’t sure what to expect for this region, but I was blown away by how genuinely beautiful it is. You’ve got a mix of mountains, woodlands, lakes, and mountain huts to make you feel really at one with nature.
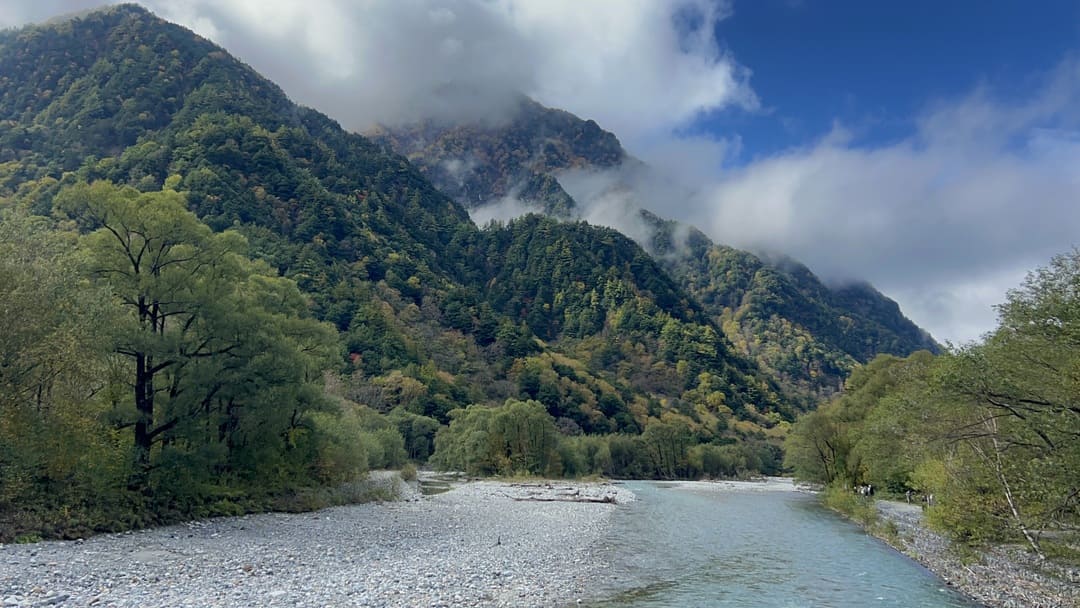
Photo: @taya.travels
It’s been a no-private-car zone for fifty years, and the result is a landscape that does feel very minimally messed with by humans. Sure, the starting point can get a little crazy at times, but continue on further than the day-trippers, and you’ll be rewarded with complete stretches of silence and the odd head nod and Konnichiwa from a stray passerby.
It’s also just easier to plan for than most of the alternatives. Kamikochi’s the most written about, most photographed, best connected part of the entire Japanese Alps, which meant I could actually find English-language information on bus times, hut bookings, and trail conditions instead of guessing my way through Japanese tourism sites. For a first solo alpine hike, it takes out a LOT of the headache.
So it’s not that Kamikochi’s objectively better than the Central or Southern Alps. It’s that it hits a good overlap of accessible, beautiful, and beginner-friendly, which was good enough for me to take the plunge and book.
How to Get to Kamikochi National Park
You can only get to Kamikochi via bus. No private cars are allowed through, nor is there a train station. It actually makes getting to Kamikochi relatively straightforward, as most transit cities have regular buses connecting to Kamikochi. If you are arriving by car, you can park in one of the nearby car parks and hop on a shuttle bus or taxi to the national park entrance.
Departure times fluctuate throughout the year, so always make sure to at least check the timetable in advance if you’re winging it and not buying a ticket prior.
From Matsumoto
You’ve got two options here. You can either get a direct bus, or a train to Shin-Shimashima before switching to a bus for the final portion of the journey. They both take around 90 minutes, so I’d say the determining factor would be when you want to leave.
The direct bus either left at the crack of dawn or too late for me to start my long first day of hiking, so I opted for the train so I could get a decent night’s kip beforehand. The bus you might have to book in advance, especially in high season, but this isn’t the case for the train.
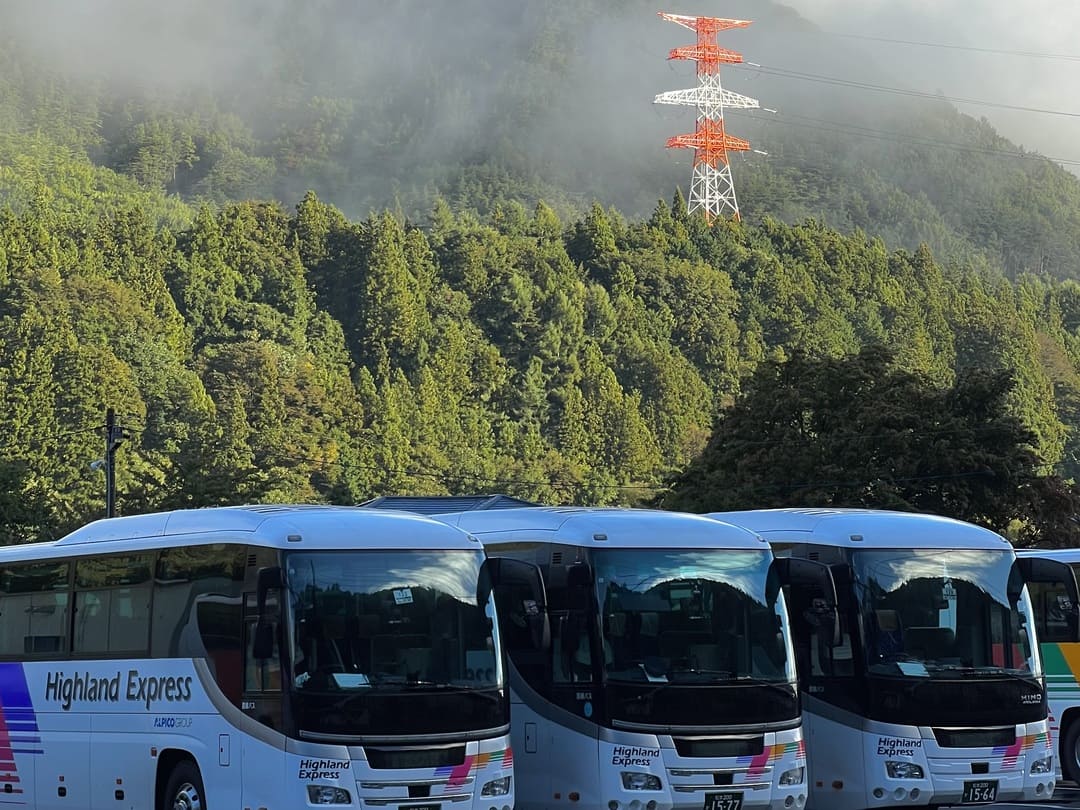
Photo: @taya.travels
From Takayama
Travelling from Takayama requires two buses, the first to Hirayu Onsen and then finally to Kamikochi. The journey takes about 90 minutes total, and if you buy a ticket straight from Takayama to Kamikochi, you won’t need to faff about with tickets in Hirayu Onsen; just show the staff your ticket to board the second bus.
From Tokyo/Nagoya/Osaka/Kyoto
Coming from one of the major cities?
Lucky for you, there are now direct bus services that take you directly to Kamikochi’s doorstep – no overnight stay in Matsumoto or Takayama needed. You will have to fork out a lot more for the pleasure, but if you’re short on time or don’t fancy multiple days of travel, this is a great option.
Buses run throughout the day, and you can even pay a little more and get the overnight option. You’ll end up saving money on accommodation this way, which is a win in my eyes.
Do You Need to Stay Overnight in Kamikochi?
In short: no.
It is very much possible to get the bus into Kamikochi National Park in the morning, have a reccy, and head back on the bus to Matsumoto or Takayama in the afternoon. If you’re short on time or don’t have the funds to fork out for a mountain hut overnight, this is a solid option.
If you do have the time and have looked into staying overnight far enough in advance that there are still accommodation options, I strongly urge you to do so! Once the day-tripper crowds pack up in the afternoon, what is already a magical national park gets that bit more special.
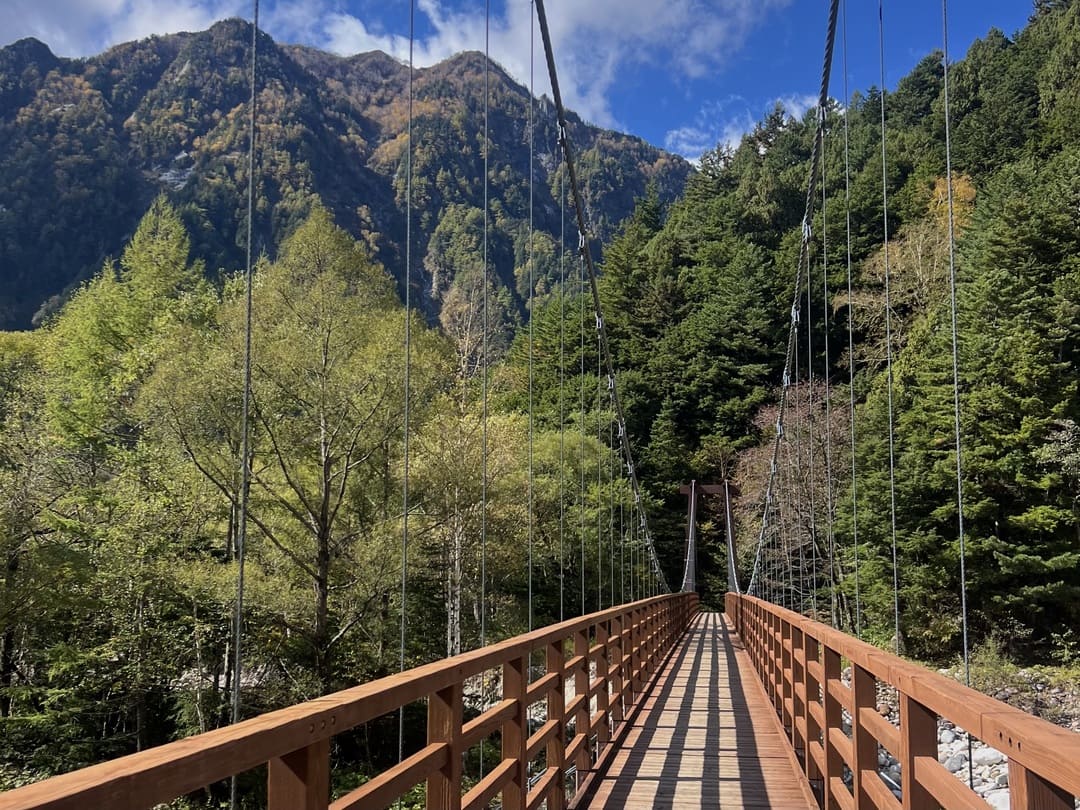
Photo: @taya.travels
There is such a sense of calm that comes with chilling at your mountain hut, beer in hand, overlooking crazy vistas. Soaking in your digs’ on-site onsen (the majority seem to have them) feels like a rite of passage, and God, will your muscles thank you.
Staying overnight means getting to explore further into the national park in a way that just isn’t possible for a day tripper. Once you leave Kappa Bridge and the main trail, crowds all but thin out. It feels hard to go truly off the beaten path in Japan, but this was a small glimpse into it!
Kamikochi Accommodation Options
Honestly, part of me nearly didn’t book a mountain hut. They seemed difficult to find, book and contact. There’s no uniform third-party platform; each mountain hut pretty much has its own website, its own way of finding availability and booking. Many don’t even have an online booking system, which means emailing or phoning them – something I found impossible without a local SIM.
My main piece of advice would be to stay super flexible. Both in terms of where you want to stay and when. Once I finally settled on a handful of huts that were scattered along my chosen trail, only one was available for the dates I wanted it for. Even then, it wasn’t in the Karasawa Cirque itself, so I had to settle for a hut further down the trail.
If I were to go back, I’d probably make myself more flexible with dates, especially by avoiding any weekends or holidays that are popular times to travel with local tourists. That way I could’ve booked my preferred huts right at the top of the Karasawa Cirque.
I’d also book WAY MORE IN ADVANCE. Seriously, the season is pretty short, and Kamikochi is up there with one of the most popular spots in the Japanese Alps, so the most popular huts book up pretty fast. I’m pretty sure I only snagged a last-minute spot because I was solo, so this is something else to keep in mind if you’re booking with a bigger group.
Figure out a vague route, figure out where you want to konk for the night, see what huts are in the area and find out if you have to:
- A. email
- B. call
- C. book online ASAP Rocky
Preferred huts sold out? Don’t lose hope! My dreams of staying overnight were fizzling away until I had a mooch on Google Maps and found a couple more huts along my desired trail. They weren’t smack bang in the middle of my route, but they were available, and I was able to book online, so it suited me down to a T.
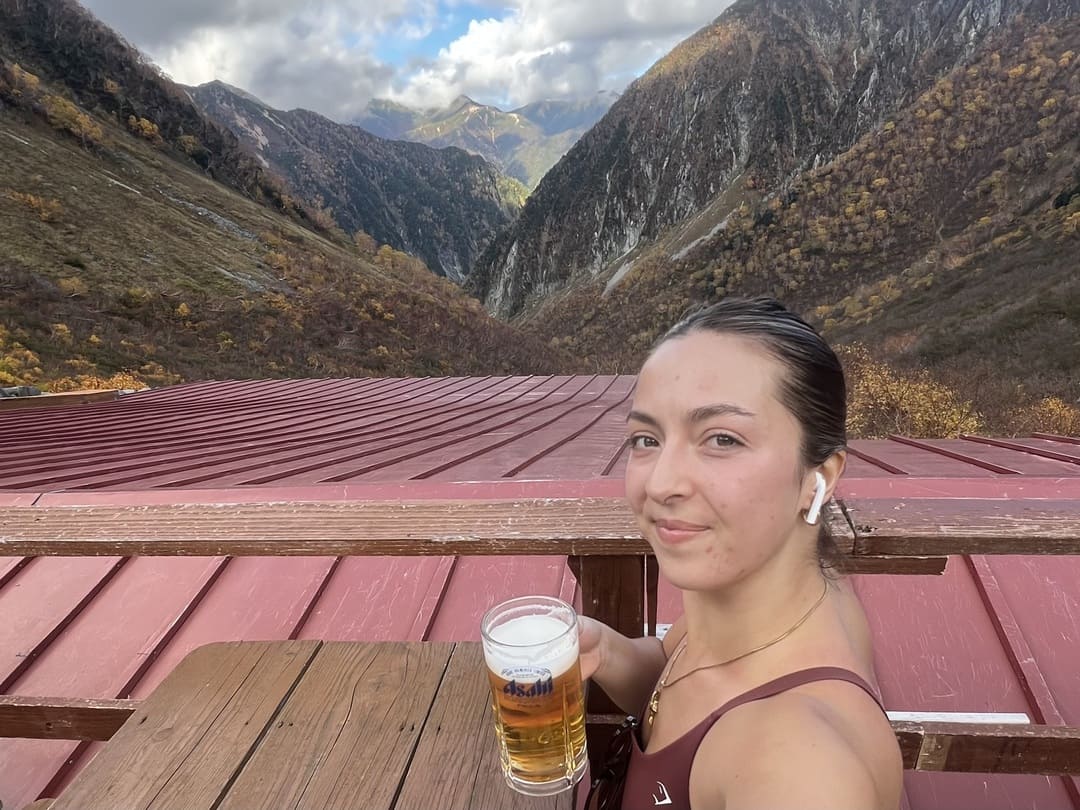
Photo: @taya.travels
I ended up staying in Yokoo Sanso. At the weekend in high season, I paid 14,000 yen ($86) for a dorm with two meals included. Spenny, even by Japanese standards, but staying overnight was so high on the bucket list that I grinned and bore the cost (which was well worth it).
Mountain huts that are only bookable over the phone are the most awkward, I’d say, unless you have a local SIM or a Japanese eSIM that has minutes. You can always bat your eyelids and ask the reception at your digs to call for you. But, as many don’t display their availability online, I wasn’t mentally prepared for the back-and-forth convo with my poor hostel receptionist as the middleman.
In terms of making your life as easy as possible, I’d stick to email/online bookings only. Or befriend a local to pass the agg onto them! <3
When to Visit Kamikochi
Kamikochi is only open from around 17 April to 15 November each year. Outside that window, the road in is sealed, every hotel and hut shuts down, and the whole valley all but disappears under snow. If you’re lucky enough to be in Japan during that seven-month period, you’ve got a couple of different sides to Kamikochi that you can see.
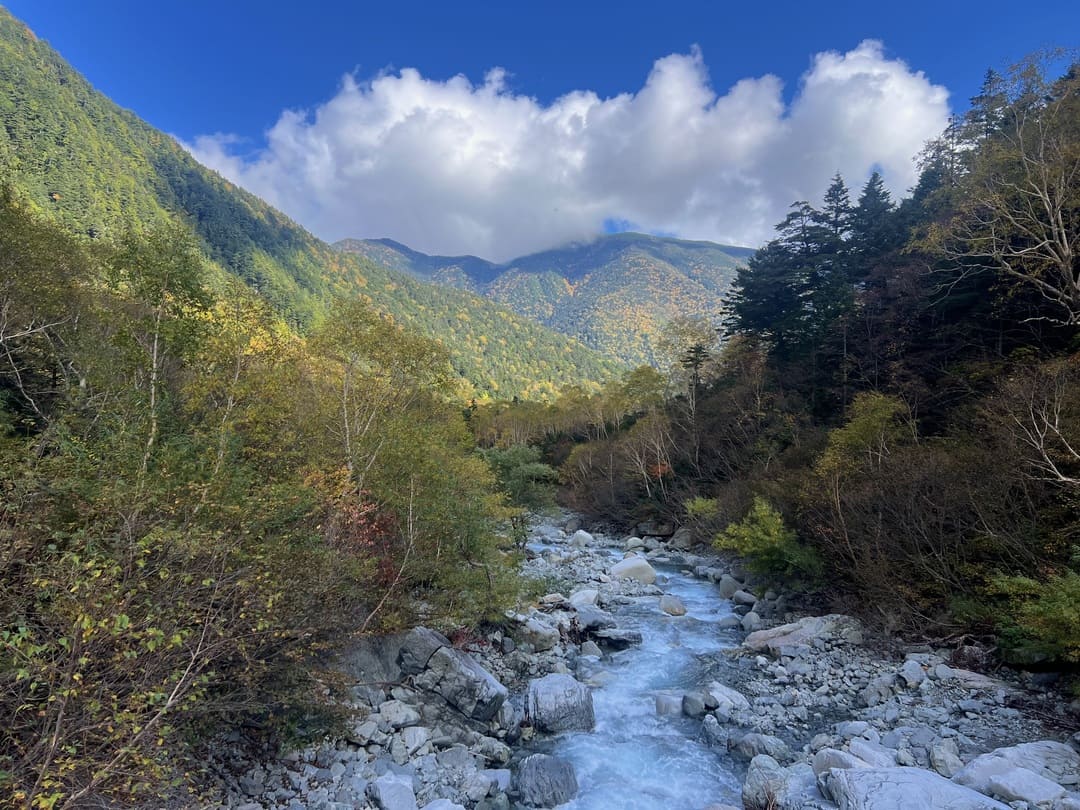
Photo: @taya.travels
Late April to May
This is the shoulder season – the park’s just reopened, there’s often still snow clinging to the peaks and sometimes patches on the valley floor, and the temperature can be NIPPY. Some shops and huts aren’t even fully open yet.
What you get for bracing the cold is a valley with hardly anyone in it and picture-perfect views of a slowly defrosting Kamikochi. Just make sure you wrap up warm for it.
June to Early July
This overlaps with Japan’s rainy season, so waterproofs are non-negotiable. It’s quieter than summer, the greenery’s slowly coming through, and if you don’t mind the odd soggy day, it’s a decent window for having the trails to yourself.
Late July to August
Peak summer, peak crowds. Kappa Bridge turns into a scrum, especially around Obon in mid-August when half of Japan seems to be on holiday at once. The upside is this is when the weather’s most reliable and the higher trails are fully open without snow risk, so if you’re eyeing something more ambitious than the valley floor walk, this is your safest window for it.
September
Genuinely underrated. The worst of the summer crowds have gone home, temperatures drop into something more comfortable for actually hiking in, and you get crisp mornings without it fully being autumnal yet. If dodging crowds matters more to you than chasing the postcard autumn shot, this is the month.
October
This is when I went, and let me tell you, it is STUNNING. It’s the time of year everyone evidently chases, as autumn is in full swing and the foliage turns golden. The whole valley reflected in Taisho Pond looks like it’s been colour graded.
It’s also, unsurprisingly, the busiest stretch of the entire season, particularly on weekends, so if you can swing a weekday visit, do. I went at the weekend midway through the month, and although Kappa Bridge was busy, the crowds quickly thinned out the further into the trail I went.
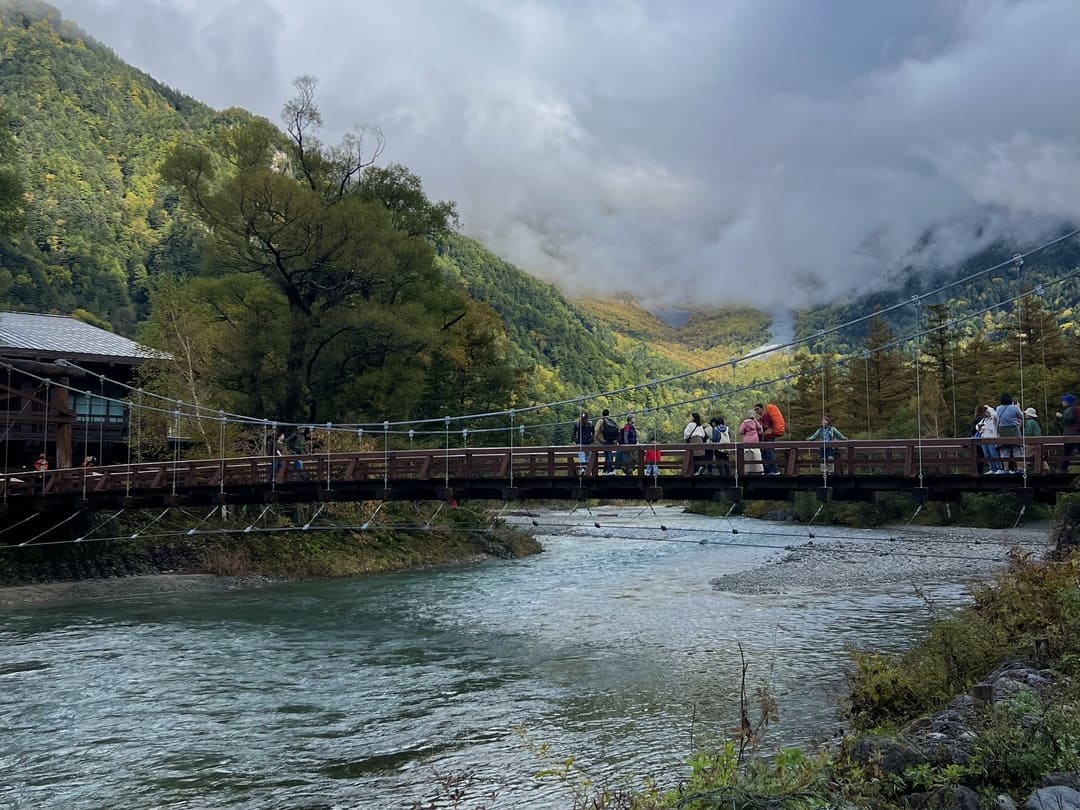
Photo: @taya.travels
Early November
The last gasp before closure. Crowds thin out fast once the peak colour’s past; several of the huts and lodges start closing early in the month, and it starts getting nippy again with the chance of seeing the first snow. If you want that autumn look without the crowds, this is the trade-off: fewer people, but a much narrower margin for bad weather derailing your plans.
TLDR: Come in October for the classic shot (with all of the crowds), come in September or late spring if you can hack the heat and want to avoid the crowds. Either way, pack more layers than you think you need. The valley sits at 1,500m (4921 ft), so it runs noticeably colder than wherever you’ve just come from in Japan.
What Route Should You Take?
The good news is that Kamikochi is pretty forgiving on this front. Nearly everything on offer follows the flat valley floor along the Azusa River, so this isn’t a case of picking wrong and ending up on a technical scramble by accident.
It’s more a question of how far you want to walk and how much of the crowd you want to leave behind. Trails for day-trippers are relatively straightforward, but you gain a lot of flexibility once you start factoring in an overnight stay.
If you need hand-holding as I do on a hike, I’d recommend downloading AllTrails. There’s some on there that reflect the official routes recommended by the national park, along with a couple that factor in some diversions deemed worthy enough to be explored by past hikers. Plus, you can follow the maps offline if you’re worried about losing signal for those venturing further into the national park.
The Classic Loop: Kappa Bridge to Taisho Pond
This is the classic route for day-trippers. About 3.5km (2.1 miles), 60 to 70 minutes each way, flat the whole time, and it hits the two most photographed spots in the valley: Kappa Bridge itself and Taisho Pond, where Mount Yake and the Hotaka range reflect back at you on a still day.
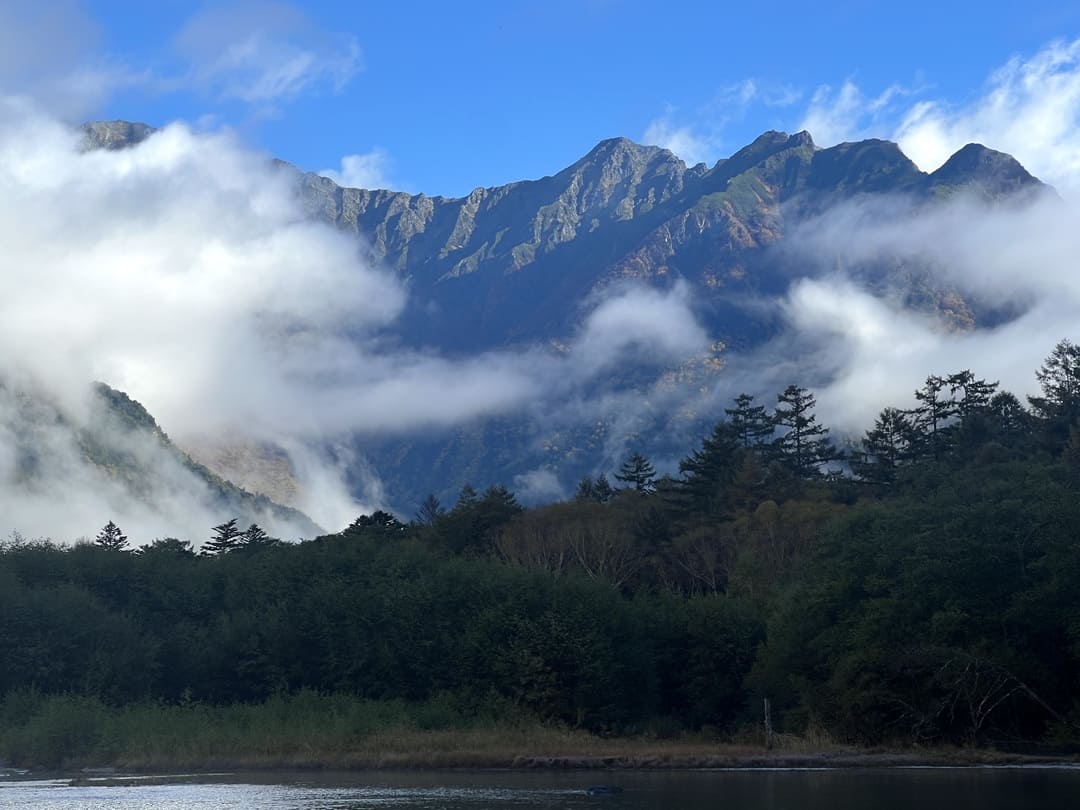
Photo: @taya.travels
Some people get off the bus at Taisho Pond and walk to Kappa Bridge instead, turning it into a one-way stroll. I had accidentally done this by jumping off the bus early. No regrets – it was a great way to ease myself into it before the crowds at Kappa Bridge. This is a great route for people short on time or those who want to take it easy whilst seeing Kamikochi’s highlights.
Pushing Further: Myojin Pond
For a longer day trail, continue north from Kappa Bridge, and you’re looking at around two hours round trip through a quieter forest trail to Myojin Pond.
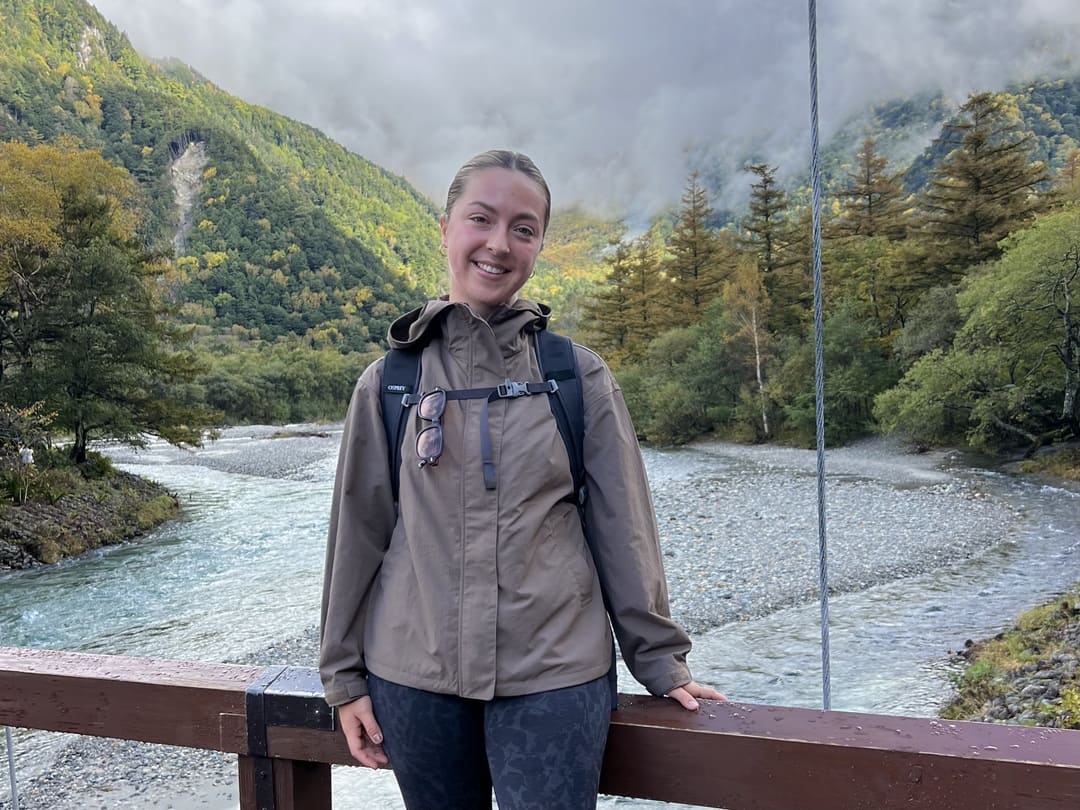
Photo: @taya.travels
It’s a sacred pond within Hotaka Shrine’s grounds, costing 500 yen ($3.18 USD) to enter, and is more about the spiritual vibes than jaw-dropping scenery. If you don’t care to enter, the route here is still pretty enough in itself with views of the Azusa River.
This is where most day-trippers turn back and, if you’re continuing on past the bridge, you’ll find this is where the crowd thins out noticeably.
The Proper Day Out: Tokusawa
If you’ve got more than a few hours and want to feel as though you’ve done a proper trail, Tokusawa is the natural next stop. It’s roughly 6.5 to 7km (4 – 4.35 miles) from the bus terminal and about two hours each way. It’s a former pasture with a lodge serving curry, and it’s far enough out that you’ll have a real taste of Kamikochi without the crowds.
Doable as a there-and-back day hike, or as the first leg of an overnight, you can stay at the lodge, camp here, or continue on, like me, if you’re staying further up the trail. This stop was about three hours into my day, so a well-earned coffee and onigiri from 7/11 was consumed 😉
The Two-Day Version: Yokoo and Karasawa Cirque
This is when shit gets serious. Push on another hour past Tokusawa, and you reach Yokoo, the staging point for anything more mountain-focused, Yarigatake included.
Karasawa Cirque sits at 2,300m (7545 ft), and during autumn foliage season, the views will truly remind you why you made the journey in the first place. As such, the mountain huts, Karasawa Hutte and Karasawa Goya, get booked up FAST. Reservations for both huts are phone-only, one month ahead, so don’t leave this to the week before.
As I mentioned, I couldn’t snag a hut at the top of Karasawa, so Yokoo was where I was crashing for the night. As I really wanted to get up (and down!) Karasawa Cirque in the same day to avoid tomorrow’s bad weather, I dropped my bags here and pushed onwards. It was a blessing in disguise, really, as the next push is where the elevation starts to get wicked.
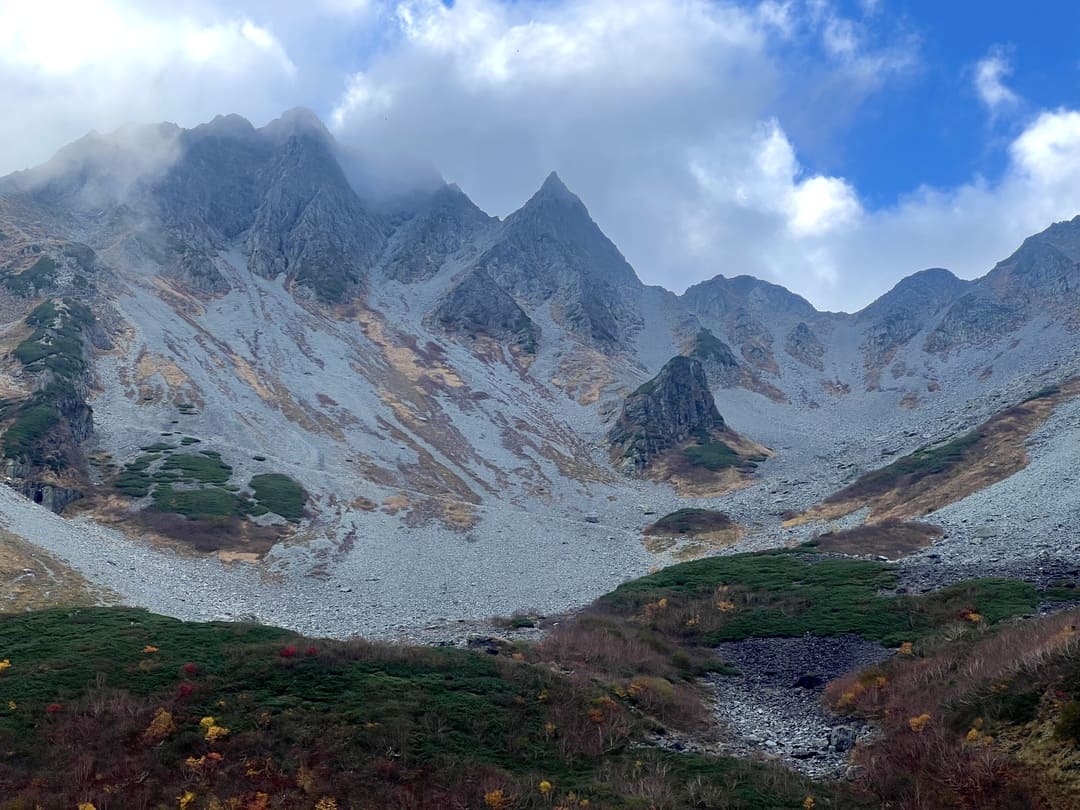
Photo: @taya.travels
If you plan to go further than Yokoo, this is the point where you’re expected to submit a ‘mountain climbing registration form’ at Nakanoyu Gate. This is just so they know who’s on the trail at any one time, just in case something goes wrong and you need to be rescued.
From here, you should be suited and booted up with proper hiking boots and have checked the weather rather than just wandering off in trainers.
Don’t do what I did and push onwards with a few hours of daylight left, with your phone on 3%, without having registered, solo…
Sorry mum!
2+ Days: To The Mountains!
If you’re pushing even further, you have a couple of different options.
From Karasawa, most people plan to summit Yarigatake, the spear-shaped peak visible from the valley floor. The approach isn’t technical, but the final push involves ladders and chains across exposed rock, so it’s not a day trip and not one for beginners. The standard itinerary is two to three days, with summit huts booking up two to three months ahead in peak season.
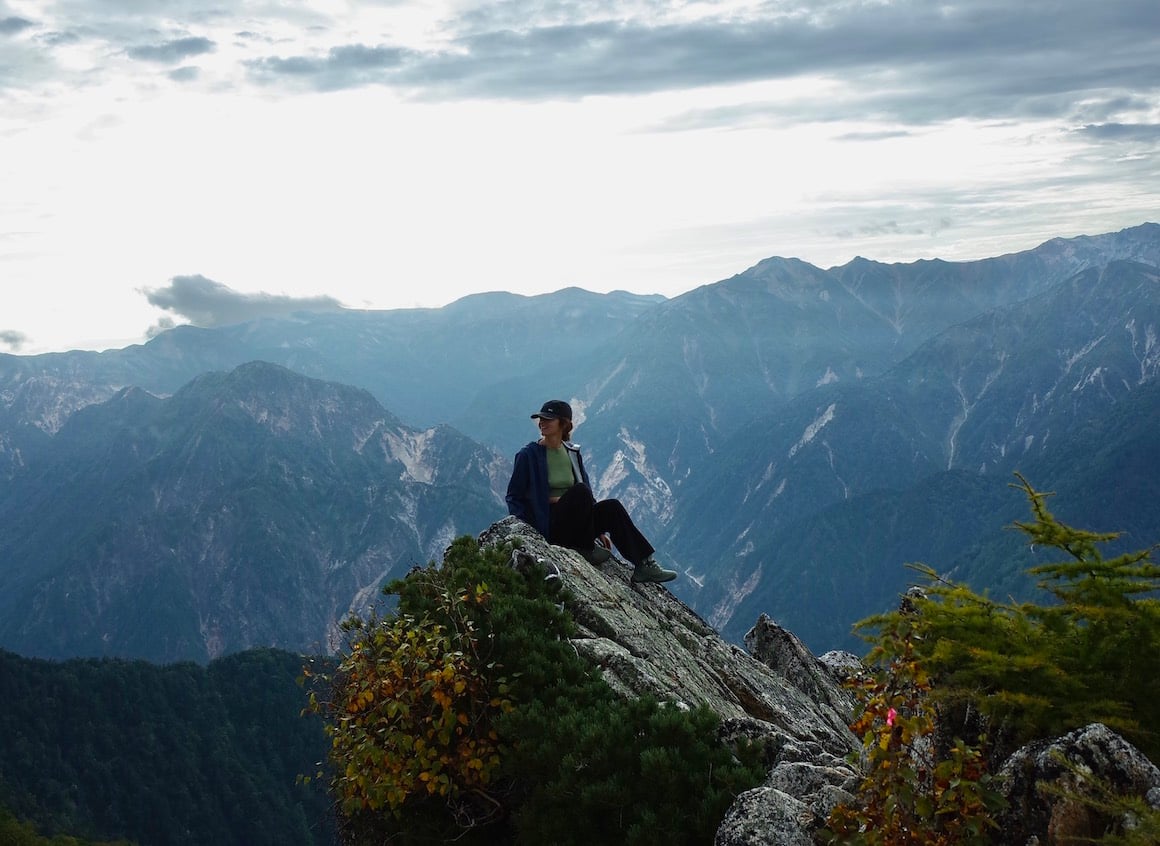
Photo: @audyscala
For a single-day taste of alpine terrain instead, Mount Yakedake, Kamikochi’s only active volcano, does the job, though it’s closed over winter.
Experienced hikers can push further still, from Karasawa to Yarigatake via the Daikiretto Ridge, one of the most exposed stretches of trail in the Alps and not somewhere to learn scrambling on the job.
Two Days Sounds Short, But It Still Demands Respect
Two days sounds like a walk in the park compared to the likes of other demanding feats like climbing Fuji or the Kumano Kodo trail, and in theory, it should be. But if you’re like me and don’t manage to get a hut along your desired part of the trail, or the weather Gods decide not to look down on you that day, plans can be shaken up fast.
Add in early starts, elevation gain and carrying a pack, and things get bloody tiring quickly! I think because I was there for so little time, there’s a need to cover as much ground as you can muster, making things notably more knackering than a conventionally longer trek.
In an ideal world, I would decide on a trail, figure out a good middle ground, whether that be in terms of distance or summit to reach and book a hut there. Then, you’d have the ground to cover divvied up nicely over the two days.
Unfortunately for me, I 1. didn’t book my preferred hut in time and 2. was trying to avoid a spicy storm forecast for day two. This consequently led to booking a hut further down the trail AND having to try and reach my summit AND head back down the valley to my hut on day one. A mega day of hiking on day one meant a relatively slow day two, but pacing it evenly is definitely the way to go if you can.
Packing Light Matters More Than Packing Perfectly
I can’t stress this enough. Packing for what feels comfortable is so much more important than packing for every scenario. Ultimately, it’s you who has to carry it for hours. There were some things I debated packing that I decided against, and my back was thankful for the conservatism.
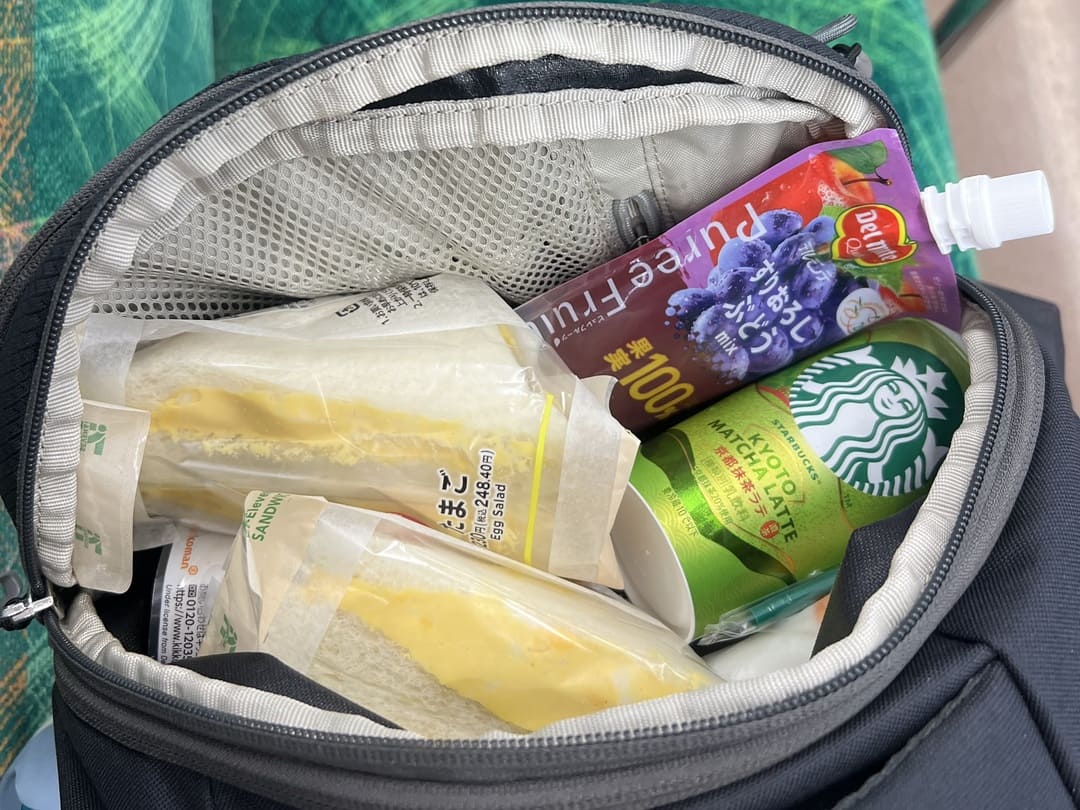
Photo: @taya.travels
- Layers: Again, for the spectrum of weather you may experience. Prioritise lightweight long sleeves that layer well without leaving you super sweaty.
- Rain protection: Whatever ride-or-die rain jacket you have works best. If rain is looking really unlikely, at least have a packaway waterproof to cover all bases.
- Comfortable socks: I wish I packed more of these. I deff needed to double up on day two after a couple of blisters were brewing, and changing them out after getting wet would’ve been a dream. Invest in some decent merino wool ones if you can.
- Snacks: The Nakahechi route passes through some genuinely remote stretches with no shops or vending machines for hours at a time. Stock up properly in Kii-Tanabe before you start and keep yourself fed on the trail. A handful of convenience store onigiri and some energy bars will carry you further than you’d think.
- A water bottle: There are lots of refill spots along Kamikochi National Park that use water from the mountains, which is pretty freaking cool. I assume the same is true across the whole of the Alps. My Owala bottle kept water icy cool the whole trip <3
- Cash: My mountain hut was the only time I had to pay in cash for my digs. Bring enough for meals, snacks and that cheeky end-of-day beer as a reward for your efforts. Smaller guesthouses and ryokans along the route may be cash only, and you’re not going to find an ATM in the middle of the cedar forest. Stock up before you leave the city.
- A power bank: Signal is patchy to nonexistent on much of the trail, which means your phone burns battery faster trying to find it. A power bank keeps you going between charges. I always have a MagSafe one on hand so I don’t have to faff with cables.
- Basic first aid items: For me, this included painkillers, plasters and my trusty Deep Heat for any tight muscles in the evening.
The Weather Can Change the Whole Experience
This is Mother Nature we’re talking about, and we all know about her unpredictability. I rocked up to my transit stop in Matsumoto in the midst of a torrential downpour, and of course I had no rain jacket. After a soggy side quest to acquire one, I felt relatively despondent about the two days to come.
Turns out I had no reason to be, partly because it was absolutely glorious on day one and partly because, despite the rain on day two, the change in weather brought a sense of gloominess that felt rather homey to me as a Brit.
Of course, my optimism comes from actually seeing the sun at some point, but it turns out a lil bit of rain never hurt nobody. The sun brought clear skies and illuminated the autumnal colours in the landscape come golden hour, but with rain came a sense of tranquillity. Which, come to think of it, was what I wanted from a trip to the Alps in the first place.
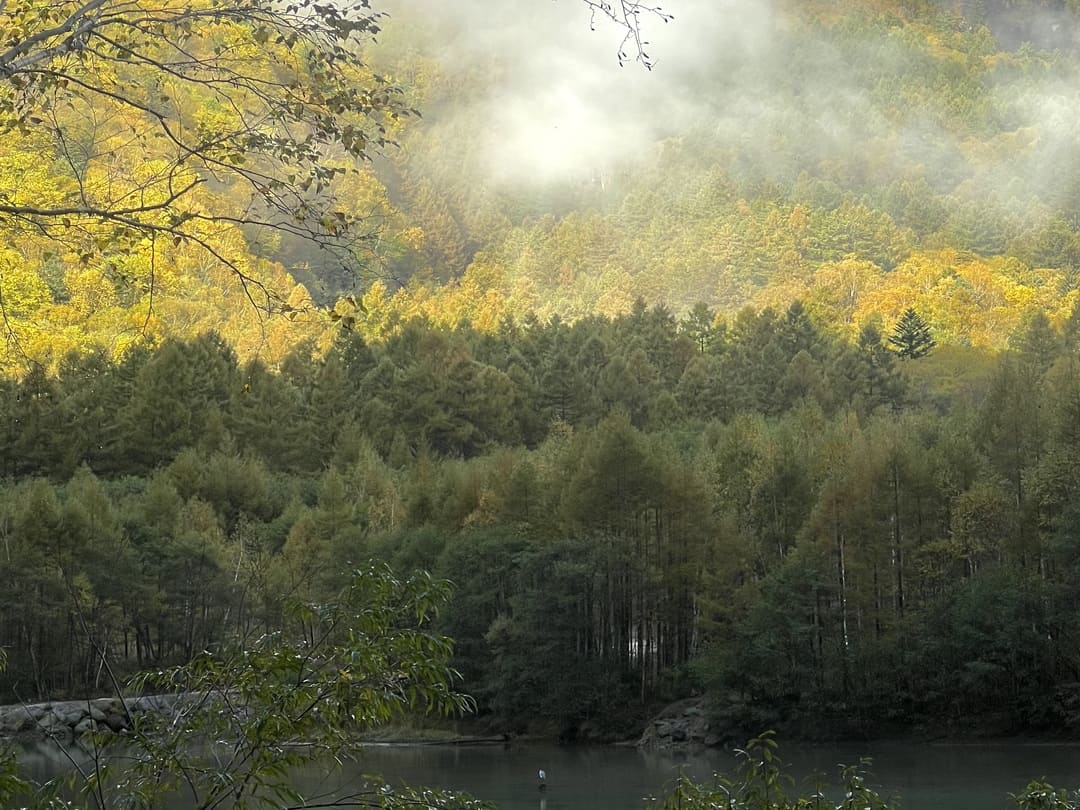
Photo: @taya.travels
My impromptu-bought rain jacket saved my ass on day two, but I really wish I had my trusty OG on hand. Hoods are futile against the wind if they aren’t adjustable, and I was relatively soaked by the time I had made it back to Kamikochi.
Packing with layers is definitely the aim of the game here, though, as it meant I stayed cool in the heat and well prepared when the temp dropped in the rain.
Weather predictions can switch up on you fast here, so if you’re able to keep plans flexible, keeping a close eye on it can ensure some chance of success with the weather. I unfortunately was tied down to my hut booking, so I had to firm it. But, again, a bit of rain isn’t the end of the world and hiking in the wooded areas actually felt very serene.
What I Would Do Differently Next Time
As much as this trip was a pain in the arse to plan, it was so, so worth it. After hopping from tourist hotspot to hotspot, I was starting to believe that Japan maybe wasn’t for me. Turns out, I just needed to head a little off the beaten path. In fact, if I were to go back, I’d probably graduate from Kamikochi to somewhere even more adventurous (and brush up on my Japanese beforehand, of course).
The one thing I would do differently next time is book it well in advance to snag a spot in a mountain hut right at the top of the Karasawa Cirque. The views at the top of the valley are absolutely insane, plus you’ve got the option of pushing forth to other mountains if you stay longer.
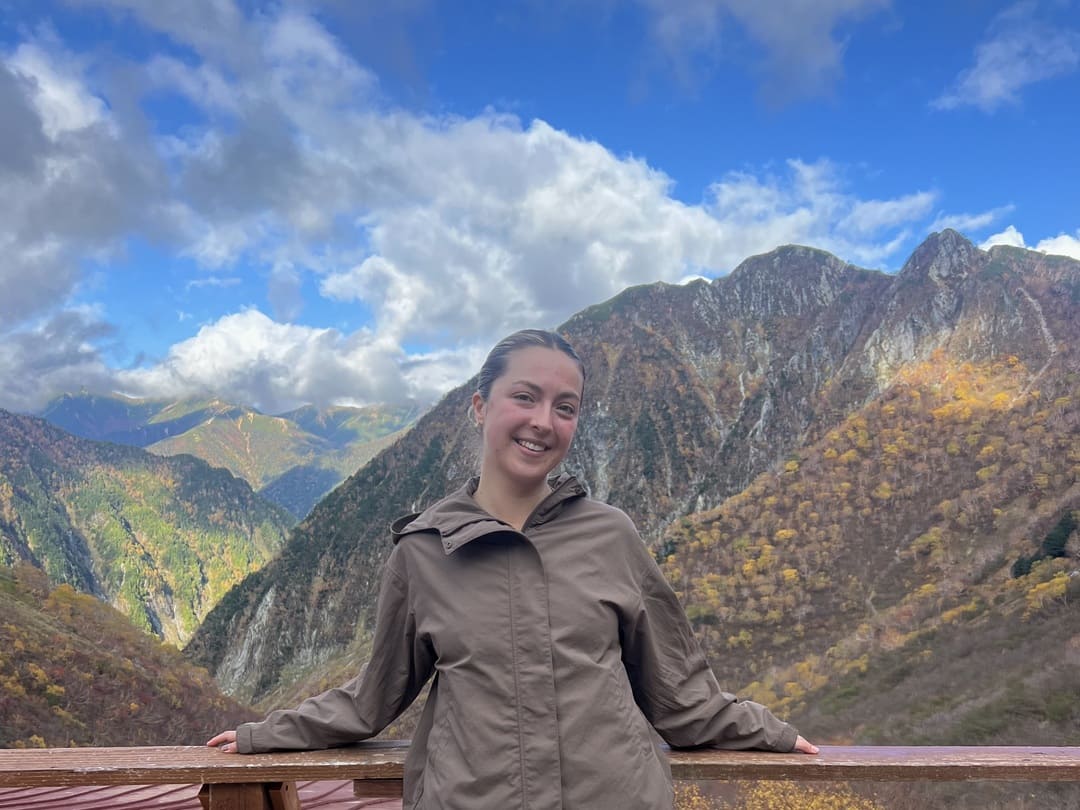
Photo: @taya.travels
And on that topic of staying longer…I’d do that too. The Japanese Alps are more expensive on average than the rest of Japan, but to really slow down and absorb the benefits of those wise ‘ol pines, you gotta stay around long enough for them to tell you their secrets. I reaaaaaally wished I stayed at least one more extra night, not even to hike, but simply to hang out on the balcony with my Kindle and journal.
This is a great little side quest to do, especially if you’re solo and need some time in solitude. I came out of the Alps with a newfound appreciation for the autumnal colours in a way I can never muster in the dreary UK autumn, and a bit of a social recharge to go out and take on the rest of the country.
I hope this guide has broken it down enough for you to finally take the plunge and get on the trail for yourself. Caio!