Backpackers had warned me that the Philippines was a tricky one to travel. The sheer distances from A to B alone meant that this wasn’t one where the last-minute Sallys thrive. So I listened to the advice, did my due diligence, planned the trip down to a T way more than I would for any other country and, guess what?
Shit still went wrong.
I can give you a pretty itinerary (and I’ll try my best to), but I can guarantee that, you too, will have shit go wrong. It’s just a canonical law of backpacking the Philippines.
What I CAN tell you is that there is a precarious balance to have here. Yes, you do need to book things in advance and also, yes, you do need contingent days – even if that seems to be contradictory.
It can be done though! I’ll give you an itinerary that’ll let you see all of the Philippines’ best bits, for as cheap as possible and, hopefully, as stress-free as possible.
It’s a big task, but I’m up for the challenge.
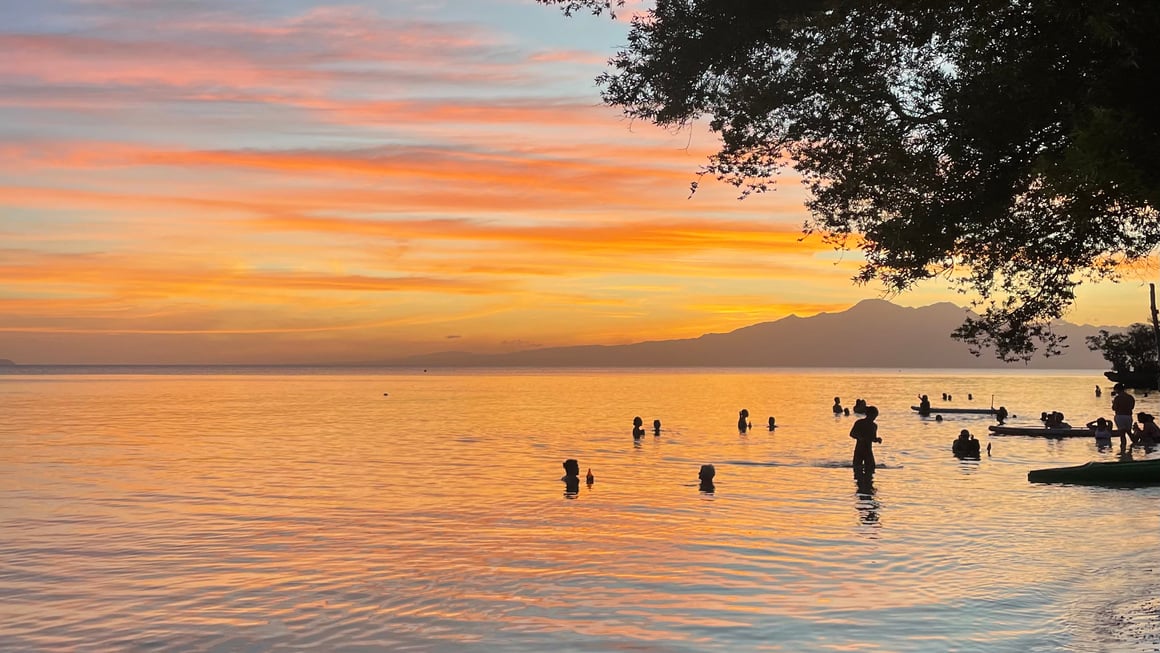
Photo: @danielle_wyatt
The Broke Backpacker is supported by you. Clicking through our links may earn us a small affiliate commission, and that's what allows us to keep producing free content 🙂 Learn more.
- My Favourite Philippine Regions
- How Many Days Do You Need in the Philippines?
- My favourite Philippines itinerary for one month
- What would I have done differently?
- Mistakes I’d Avoid When Planning a Philippines Itinerary
- What This Trip Actually Cost Me
- Some Things To Know
- What I’d Book in Advance vs Leave Flexible
- My Honest Advice Before You Lock in Your Route
My Favourite Philippine Regions
Instead of overcomplicating it and telling you a really specific itinerary to follow, I’m gonna give you my favourite regions for backpacking the Philippines.
Once you accept the fact that moving from region to region requires a flight or very long ferry in between, you’ll soon realise that it doesn’t really matter what order you do them in. It’s not like travelling in other countries like Vietnam, where you either travel south to north or vice versa.
You can think of each region as a building block of your itinerary. Have less time? Stick to one building block. Want to see as much as possible? Add as many as your heart desires. Some regions are easier to reach than others and therefore make the most sense to block together, but I’ll get into that later on.
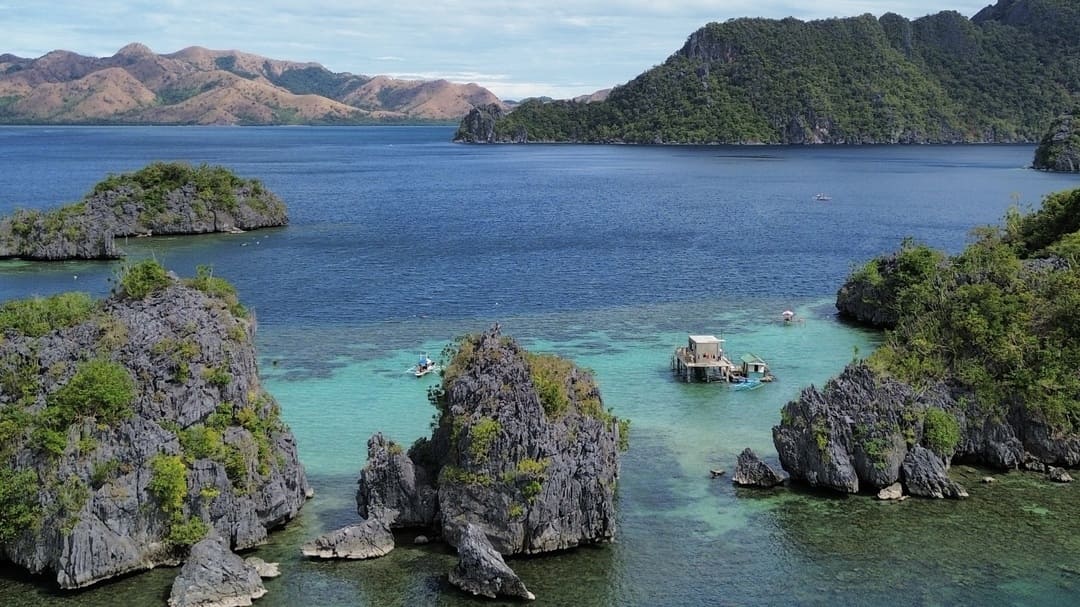
Photo: @taya.travels
On my trip to the Philippines, I tackled Palawan, Visayas, and Siargao Island.
That’s not to say that these are ‘the best’ regions in the country (the country is so diverse that I don’t hold authority to claim any region to be the best!), but they are just the ones I picked for my first time in the Philippines.
It felt consistently on the well-trodden backpacker route, making it perfect for solo backpackers and those who don’t want to plan their trip down to minute details.
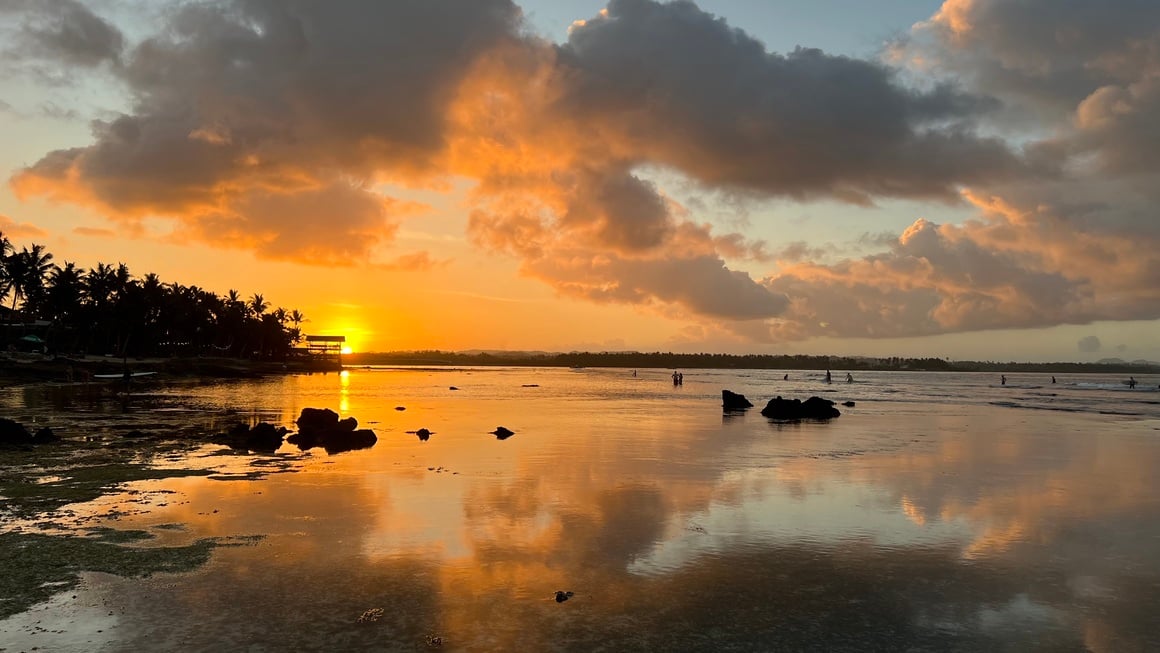
Photo: @joemiddlehurst
Plus, there are some seriously undiscovered gems in these regions, meaning you can choose between the real tourist hotspots like El Nido and Bohol, all the way down to lesser-known places like San Vicente and Camotes Island.
I’d definitely graduate to other regions of the country on my second visit, but for now, I stand by these, giving you a good breadth of what the country is about and are relatively uncomplicated to get to.
With 7,000 islands in the Philippines, 5,000 of which are inhabited, you can get really bogged down in where to choose. If it’s your first time in the country, I’d try not to complicate it too much by veering too far off the beaten path.
How Many Days Do You Need in the Philippines?
Philippines is not a country to do quick and fast. Island hopping is the aim of the game here, so just assume that any travel day ends up being a bit of a mission. If you’re constrained on time, here’s an honest breakdown for a first-timer:
Minimum Viable Trip: 10-14 days
Enough to do one region properly without feeling like you’re just living in an airport. Palawan alone (El Nido and Coron) eats up at least 10 days if you want time to actually enjoy the beaches on offer rather than snapping a pic and moving on.
The Sweet Spot: 3-4 weeks
This is where the Philippines starts to make sense. You could pair Palawan with Siargao for surf and island vibes, or head south to the Visayas (Cebu, Bohol, Siquijor) and string together a proper island-hopping route without constant backtracking.
Go Big: 6 weeks or more
The country is over 7,000 islands, so you’ll never see it all in one trip. Six weeks gets you Luzon (Manila, Banaue rice terraces, maybe Batanes if you’re feeling adventurous), a chunk of the Visayas, and Palawan, with enough slack for ferry delays, which happen constantly, and at least one lazy week where you do nothing but drink San Miguel on a beach.
The Real Constraint: Domestic Transport
The islands aren’t close together, and internal flights or ferries eat days you’d rather spend diving or hiking. Budget for travel days between regions rather than assuming you can hop from Palawan to Siargao in an afternoon; you can’t, not without a layover in Manila or Cebu.
| Trip length | Best route | Best for | What to avoid | My honest take |
|---|---|---|---|---|
| 7 to 10 days | El Nido and Coron in Palawan | Short trips, lagoons, island hopping, that money-shot scenery | Trying to bolt on the Visayas or Siargao as well | A solid taste of the Philippines, but you’ll be plotting your return before you’ve even left |
| 2 weeks | Palawan plus either Siargao or the Visayas (Cebu, Bohol, Siquijor) | Travellers who want island hopping and surf or diving without constant backtracking | Trying to link Palawan with Siargao directly, that’s a Manila or Cebu layover you don’t want | The sweet spot. Enough time to properly settle into two regions instead of skimming three |
| 3 weeks | Palawan, the Visayas, and Siargao, with slower stretches built in | Slow travellers who want surf, diving, and island time without living out of a backpack for a month | Trying to add Luzon on top, the Philippines punishes greedy itineraries with ferry delays | This is where it starts to click, though you’ll still leave with a list of places you didn’t get to |
| 6 weeks or more | The above plus Luzon (Banaue rice terraces, maybe Batanes) and time for ferry chaos and lazy beach days | Anyone treating this as their one big Southeast Asia trip, not a bolt-on | Overplanning, the islands aren’t close together and transport days will eat your schedule whether you like it or not | The only way to see a proper cross-section of the country, but budget mental slack for delays as much as days on the calendar |
My favourite Philippines itinerary for one month
Here is my ultimate one month trip around the Philippines – it leans heavily into the island hopping lifestyle, with enough breathing room to actually kick it back and enjoy the beaches.
This is the idealised version – not everything went to plan, so I’ll tell you where shit hit the fan, how you can avoid it (if you can) and the stops I missed out on that I definitely urge you not to.
Stop One: Coron
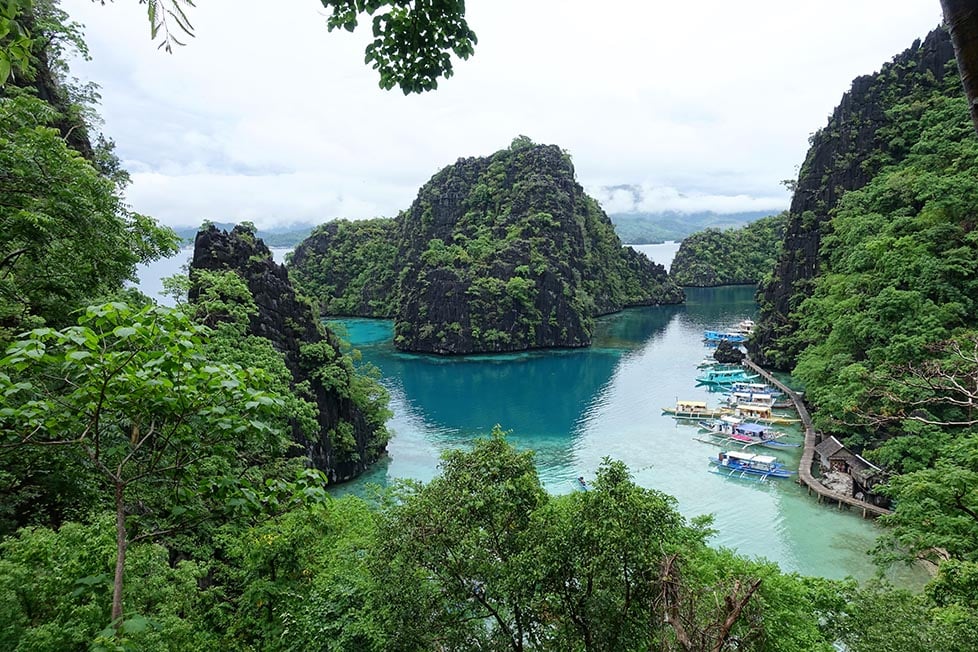
Image: Nic Hilditch-Short
Your first stop is Coron, the northern tip of Palawan. And, look, Coron Town itself isn’t anything to write home about – it’s busy, and there are no beaches nearby. But if you treat it for what it is – a getaway to those postcard-perfect karst cliffs and insane wreck diving – you’ll enjoy it here.
This is shipwreck and lagoon territory, home to a cluster of Japanese WWII wrecks sitting just below the surface, along with the postcard-perfect karst lagoons like Kayangan and Barracuda that have made this town one of the most photographed spots in the entire country.
It’s busier and more built up than a lot of the country’s smaller islands, more geared towards organised tours than aimless wandering, but that’s because the good stuff here is hard to reach without a boat.
Island hopping tours are the backbone of any Coron trip, and while they can feel a bit conveyor belt if you’re unlucky with your group, the scenery makes up for it every single time. Bring a dry bag, decent reef shoes, and patience for early starts, since most island hopping tours leave at the crack of dawn to beat the crowds to the best lagoons.
The island’s airport, Francisco B. Reyes Airport, is well connected to the rest of the country. If this is your first stop, chances are you’ll be flying in from Manila.
From the airport, hop in a shared shuttle to Coron Town. This is a fixed rate unfortunately, so your dazzling haggling skills won’t do much here.
- Snorkel or dive Kayangan Lake, widely considered one of the cleanest bodies of water in the Philippines and worth the climb down to reach it
- Explore the Japanese shipwrecks scattered around Coron Bay, a solid spot for advanced divers
- Swim at Barracuda Lake, where warm and cold currents mix and give you an odd, disorienting sensation as you descend
- Climb Mount Tapyas at sunset for a view over the town and surrounding islands
- Join an island hopping tour to Twin Lagoon, Banana Island, and Malcapuya, though book ahead in peak season as boats fill up fast
You’re best staying in Coron Town itself for easy access to bars, restaurants and pick ups for boat tours. I stayed at Outpost Hostel and would describe it as your standard backpacker haunt. Social, great drinks deals, a swimming pool with those classic Coron views and lots of tours offered to see your top sights.
Plus, they even run their own expedition boat to El Nido which is a great way of knowing you’ll be surrounded by backpackers on a boat for three days – perfect for solo travellers.
View on HostelworldStop 1.5: Expedition from Coron to El Nido

Photo: @taya.travels
This is one of the main items on any Philippines backpacker bucket list, and it is a good’en. Rather than getting your bog-standard boat from Coron to El Nido, you can catch a multi-day expedition boat that island-hops its way south, stopping at beaches, lagoons, and fishing villages that the standard day tours never touch.
Tours span from two to four days depending on which itinerary you book, with basic camping or homestay accommodation along the way and meals cooked fresh by the crew.
It’s not a luxury experience, and you should go in expecting basic beach huts shared with strangers, bucket showers, and the constant feeling of salt and sweat on your skin. Once you come to terms with sacrificing a little bit of comfort, it’s a blast.
You’ll snorkel reefs with no other boats in sight, sleep on beaches most travellers never see, and arrive in El Nido having already had the best days of your trip before you’ve even checked into a hostel. Book ahead, since spots fill up fast in peak season, and bring seasickness tablets if you’re prone to it, because some stretches of open water can get rough.
I can’t personally recommend the company I went with, as it massively fell short of the experience you see plastered on social media. If I were to go back, I’d book through a hostel like Outpost Hostel to know that the crowd runs social rather than getting lumped with couples or families as a solo traveller. Insane island-hopping aside, you’d be surprised how much the people make the experience.
Stop Two: El Nido
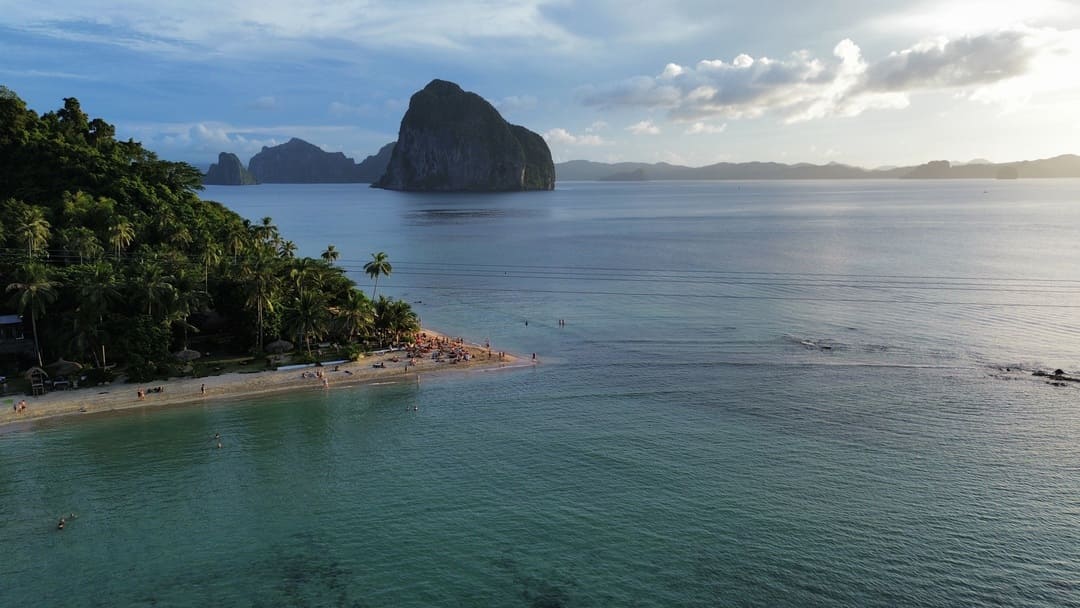
Photo: @taya.travels
El Nido has the scenery Palawan is famous for: towering limestone cliffs, hidden lagoons, and beaches so blue they look like they’ve been edited in front of your very eyes.
The Bacuit Archipelago is the headline act, split into four island-hopping tours (A, B, C, and D), each covering a different cluster of lagoons, beaches, and snorkelling spots, and most travellers end up doing at least two or three of them over a few days.
The town itself is small, a bit chaotic, and increasingly geared towards a younger backpacker crowd, with beach bars, hostels, and travel agencies all crammed onto a few main streets.
It’s not a quiet retreat like some of Palawan’s other stops, so if you want peace and stillness, look at Port Barton instead. Budget for the island hopping tours as your main cost here, since food and accommodation in town are reasonable but the tours themselves add up fast if you do all four.
Bring cash for the environmental fee charged on arrival, and expect crowds at the more famous lagoons like Big Lagoon and Secret Lagoon, particularly if you’re travelling in peak season.
My personal choice will always be via an expedition from Coron.
If you want to get here ASAP Rocky, you can always hop on the normal boat, which takes roughly four hours.
If you’re not coming from Coron, El Nido does have any airport, though most flights route through Manila or Cebu.
- Tour the Bacuit Archipelago on Island Hopping Tour A, which takes in Big Lagoon, Small Lagoon, and Shimizu Island
- Snorkel or swim through Secret Lagoon on Tour C, reached by squeezing through a narrow gap in the limestone cliffs
- Relax on Nacpan Beach, a long stretch of golden sand a scooter ride from town and far quieter than the beaches near the port
- Swim at Seven Commandos Beach, a short boat ride from town and a good spot if you want beach time without a full island hopping tour
- Take a night out on the town if you fancy, nightlife here is backpacker-centred, with cheap drinks, cheesy music and a surprising local gambling scene to try and make your night out free 😉
I stayed at a couple of different hostels here. First at Frendz Hostel El Nido, with a huge pool, an on-site tour company and tons of amenities. It was okay, the scene wasn’t super social, probably because the hostel is so big and it was mega hectic around Christmas.
On my return, I stayed at Happiness Hostel and loved it. It wasn’t social by any means, but the dorms were the nicest I’d found in the Philippines and the common area was easy to settle into.
Their on-site restaurant downstairs was the star of the show, by far. Food banging, coffee delish, and they’d have DJ sets and live music on which really made the evenings buzzing. Even as a solo traveller, I enjoyed a couple of solo days resting up at Happiness, and would probably return here over Frendz Hostel.
View on HostelworldStop Three: Port Barton
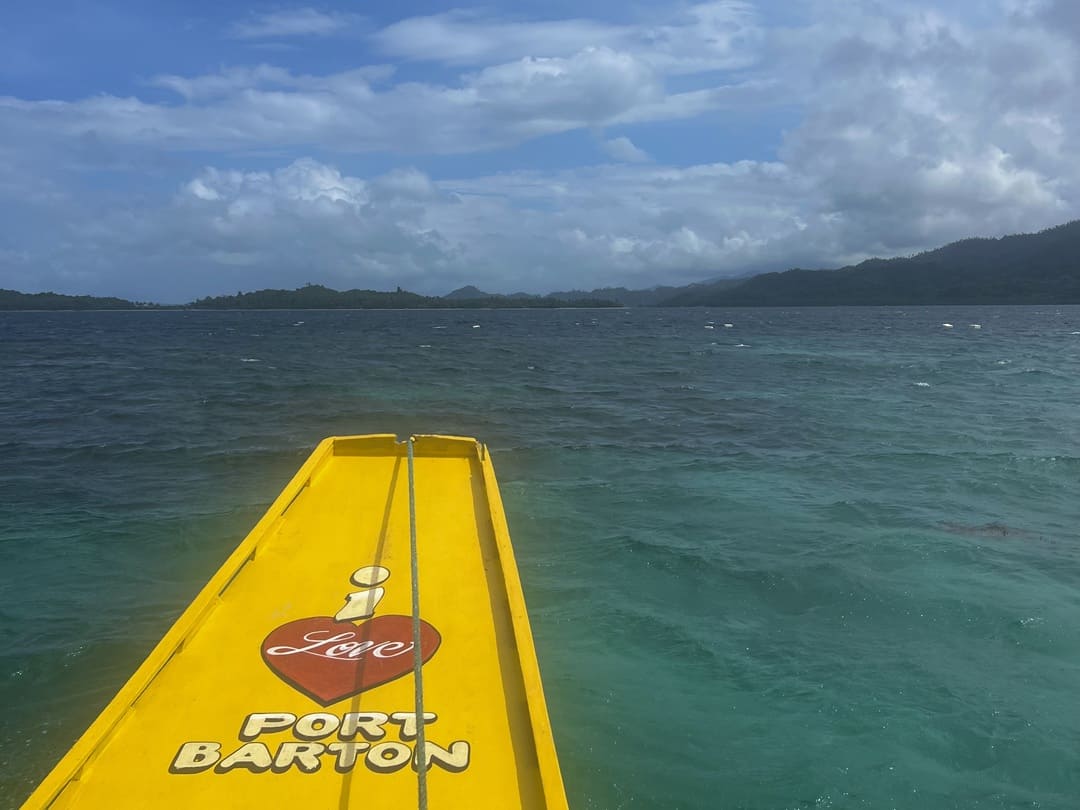
Photo: @taya.travels
If Coron and El Nido feel a bit too intense in terms of tourist numbers for you, you might fully lean into Port Barton’s pace. It’s a sleepy little beach town a couple of hours south of El Nido – no boat required, just the classic SEA minibus driven round blind corners that far for your life that the driver does multiple times a day. Life is slow here, which, like Marmite, some people will love or hate it.
Like Coron and El Nido, boat tours are the aim of the game here, with beach hopping tours filling most of your agenda. You get to see uninhabited islands, with white sand and coconuts lining the coast, along with the opportunity to see TONS of starfish.
There’s minimal nightlife in the village but, like with anything, if you go looking for it, it’ll find you 😉 This is more barefoot beach bars than upscale beach clubs. If you’re happy with reggae playing in the background and a bottle of San Miguel, you’ll be happy enough.
Port Barton is just a four hour bus from El Nido – it’s a super easy travel day compared to the usual boat journeys you’re expected to make in the country.
If Port Barton is your first stop, you can either fly into El Nido and bus it down or fly into Puerto Princesa. From here, it’s a three hour bus.
Check Out This Boat Tour- Island hop! Boat tours are the way to explore the area and its nearby islands, drink some rum on route and get some real use out of your snorkel.
- Chill on Exotic Island, only accessible via boat or island hopping tour. Grab a coconut, load up on SPF and have some real rest and relaxation on this uninhabited island.
- Snorkel Twin Reef inside the marine park, a 4km boat ride from town where visibility is actually good and the coral diversity is the real deal. Skip snorkelling off the town beach itself.
- Kayak into the mangroves, rentable from town, for a few hours of poking around channels at your own pace.
- Do a PADI or SSI open water course, with most shops running it over three days. Bear in mind the 24-hour no-fly rule after your final dive if you’re tight on time.
- Do absolutely nothing in particular, because Port Barton is one of the few places on the Palawan trail where doing nothing is still the best option on the menu.
CocoRico Hostel is the main hostel that backpackers stay at, purely for the booze cruise they offer. Plus, it’s the liveliest you’ll find in terms of a backpacker scene. I didn’t even stay here because it was booked up (here’s your warning to avoid my mistakes) but this would be my first choice upon returning.
Instead, I stayed at Dam Dam Place. The location is a little further out and not as social, but the dorms were comfy and the staff were absolute angels. They even hooked me up with the local baker in the village so I could sort a birthday cake for my friend!
View on HostelworldStop Four: Siquijor
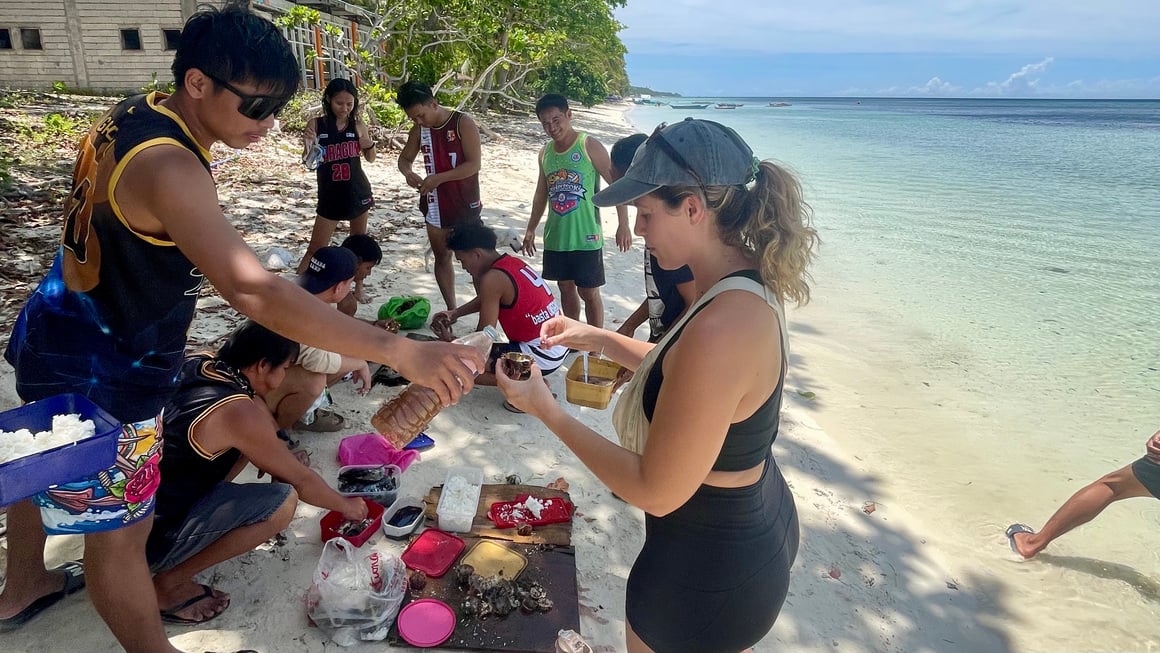
Photo: @danielle_wyatt
Siquijor has spent decades saddled with a reputation as the witchy island, home to healers and an indescribable energy. Whether you lean into that or not, what you’ll actually find is one of the quietest, most laid-back islands in the Visayas.
Days here consist of renting a bike, waterfall chasing or finding a stretch of sand to host your next afternoon nap. There’s also a genuine sense that you’re somewhere off the well-worn Philippines trail, even though it sits a short boat ride from both Cebu and Bohol.
This is an island well set up for backpackers. Hostels and basic beach huts are cheap, food is simple and affordable if you stick to local carinderias rather than beachfront restaurants aimed at tourists. Don’t expect much in the way of nightlife; this isn’t the place for beer pong and full moon parties, it’s the place you go to slow right down.
JJ’s is the OG party on the beach every weekend, but it’s more so wholesome live music vibes than feral jungle party energy. I easily spent eight nights here, slowly chipping away at the coastline and the waterfalls woven in between. For a place to slow down and really lean into island time, I think Siquijor is better suited than any other island on this itinerary.
You’ve got a couple of different of airports to fly into:
- Siquijor Airport – direct flights only from Cebu. Good if you’re short on time and don’t want to faff with transfers and boats.
- Bohol–Panglao International Airport – this was my choice. Flights are fairly affordable from Manila and only requires a 2 hour boat from Bohol to Siquijor.
- Dumaguete (Sibulan) Airport – only an hour ferry from the port of Dumagette. Less choice of frequent domestic flights compared to Bohol Airport.
Chances are, you’ll either be flying into Bohol or Dumageute. Both are pretty same same, I’d say it all depends on where you’re flying from and what flight times are most convenient. For me, this was Bohol, but the journey would’ve looked pretty similar from Dumaguete.
- Swim beneath Cambugahay Falls, a series of turquoise tiers and rope swings that are just MADE wasting afternoons away
- Dive or snorkel at Salagdoong Beach, where clear water and healthy coral make it one of the most underrated dive spots in the Visayas
- Rent a scooter and circle the island, stopping wherever the mountains are showing off
- Visit a local healer in San Antonio, if you’re curious about the folk medicine traditions the island is famous for
- Watch the sunset from Paliton Beach with a rum and coke in hand
- Explore the century-old Balete tree, where you can dip your feet in a fish spa fed by natural spring water
- Wander the old Spanish-era churches in Lazi and Siquijor town, both worth a stop if you’re into colonial architecture
- Snorkel the marine sanctuary near Tulapos, home to giant clams and some of the healthiest reef on the island
San Juan is the main backpacker hub, with the widest spread of budget guesthouses, hostels, and beach bars, plus easy access to Paliton Beach and Cambugahay Falls. If you want a bit of social life and other travellers to grab a beer with, this is your spot.
When I first rocked up, I spent a couple of nights in RMB GUEST HOUSE, a no-frills cheap and cheerful guesthouse off of the main road in San Juan.
Once my batteries were recharged and I was ready to socialise, I moved over to Fable Hostel. I LOVED it here, super social and community-centred with daily family dinner sign ups to explore different restaurants in there. This would always be my choice if I were to return.
View on HostelworldStop Five: Bohol/Panglao
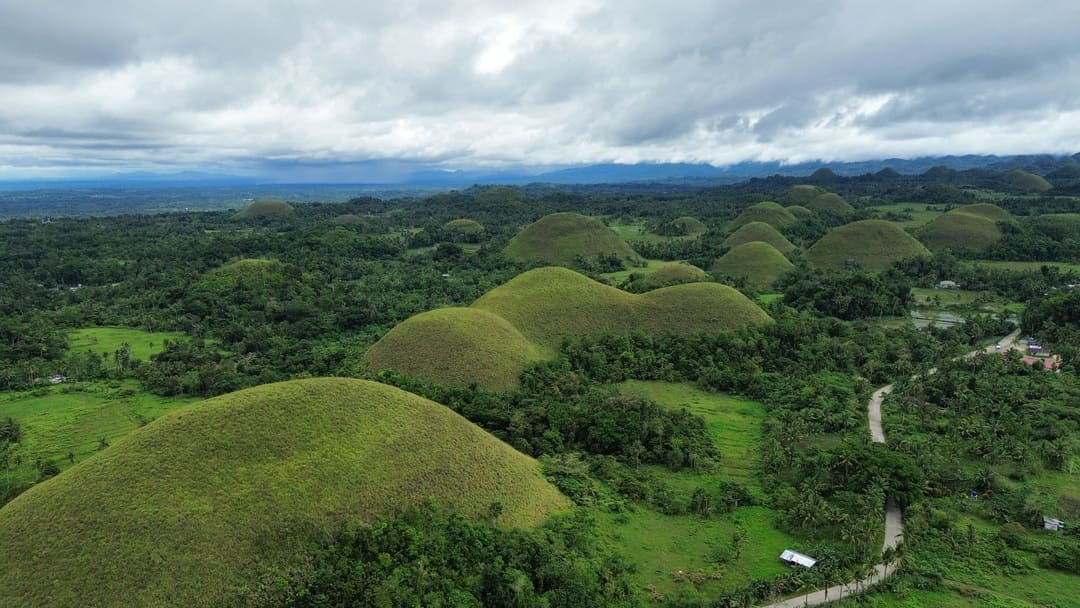
Photo: @taya.travels
The islands of Bohol and Panglao are often lumped into the same stop, and upon booking I was a bit confused as to what the differences were between the two. Should I stay in one or the other? Or both?
Turns out, so long as you can ride a bike or are happy to jump in a taxi, you can just pick one based on the vibe you want and go from there. Both are basically the same island, and very easily accessed by a short hop over the bridge.
Bohol is where you’ll want to stay if you want the Chocolate Hills on your doorstep. This is more adventure-based, with your days consisting of cruises down Luboc River, hopping from waterfall to waterfall and visiting endangered tarsiers. Panglao, on the other hand, is more characteristic of your classic island hopping spot.
Boat tours, diving and snorkelling are the aim of the game here. Hostels also tend to be that bit nicer in Panglao, with swimming pools and a bit more of a social vibe as people are kicking it back and chilling in the hostel rather than in adventure mode.
From Siquijor, I took a two hour ferry to Tagbilaran Port which is in the southern part of Bohol. To get to the main tourist part of Panglao, jump in a tuktuk for about 30 mins. Deceivingly, the hostels scattered around the Chocolate Hills are about 1.25 hours away. These can get spenny, so try and make friends at the port to rideshare.
Panglao International Airport is in, you guessed it, Panglao. It’s on the doorstep of whatever accom you land on in Panglao, but is obviously a bit more of a trek if your base is in Bohol.
- Visit the iconic Tellytubby-esque landscapes of the Chocolate Hills. Very cool in their own right but can be appreciated that bit more if you have a drone to launch up to capture!
- Head on a river cruise down the Luboc River.
- Visit the Bohol Tarsier Sanctuary and see the Philippine tarsier, one of the smallest primates in the world.
- Head on an early morning boat to go dolphin spotting.
- Dive Balicasag Island, widely considered one of the best dive sites in the Philippines.
- Cliff jump at Molave Cliff Diving Resort on the northern coastline, about 15 minutes from Alona by scooter. It’s consistently listed as the best and most accessible cliff jump in Bohol.
- Drive through the Bilar Man-Made Forest, a dense stretch of mahogany planted in rows along the road that feels completely surreal to drive through.
My stay at Bohol Coco Farm was great. The dorms were HUGE, with each room taking up their own bungalow with en-suite bathrooms. There’s free pancakes for brekky, free towels and some decent happy hours in the evening.
It’s super chill, always fairly social making it perfect for solo travellers who aren’t overly keen on a party atmosphere. Every night they’ll take you to a new restaurant for dinner so you can scope out local food and always have a crew to do it with.
View on HostelworldStop Six: Moalboal
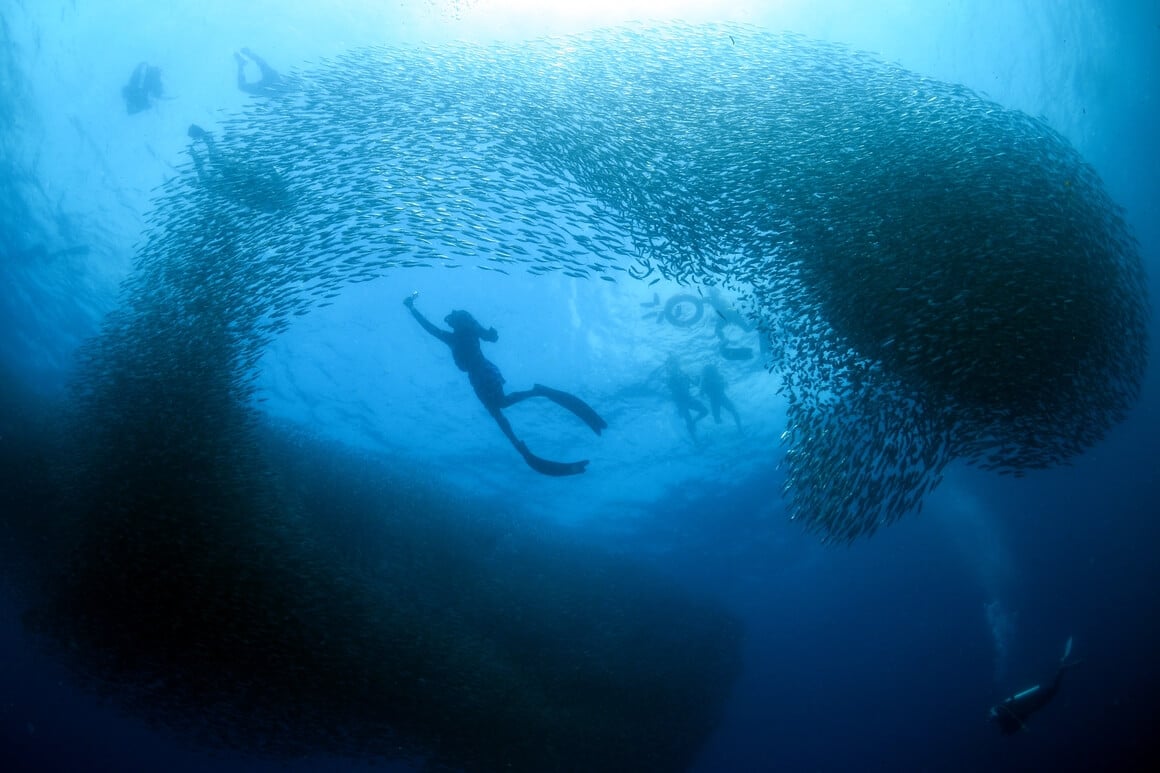
A stay in Moalboal doesn’t make every Philippines itinerary, but if you’ve got a couple of days to kill, it’s certainly worth the minor detour. Chances are if you’ve heard of Moalboal, it’ll be for the sardine run.
Said sardine run is a dense, moving wall of millions of sardines that sits just metres off Panagsama Beach. It’s one of the easiest world-class snorkelling experiences you’ll find anywhere, with no boat required.
Beyond the sardines, the diving here is excellent and considerably cheaper than more established spots, with turtles, reef sharks, and macro life all within easy reach of the shore.
A lot of people also come to go canyoneering here, a day out through tight crevices and barrelling down waterfalls that’ll almost certainly make you question all life decisions that have led you to that point. Two to three days is enough to cover the sardine run and a few dives, though divers with more time could easily stretch that out.
I won’t lie, from Bohol/Panglao, Moalboal is a bit of a bitch to get to. You have to get a ferry to Cebu and then it’s another 2.5 hours in a minibus. The good news is your next journey probably involves an onward flight out of Cebu, meaning you’d already be on the same island and won’t need to get on a boat anywhere.
The journey from Siquijor is even more complicated, with multiple boats, tuktuks and buses. It’s a can of worms I’ll let you open yourself if that’s the A to B you need to navigate.
If Moalboal is your first stop in Visayas then you can fly into Cebu Airport and have an easy breasy three hour bus journey.
- Snorkel the sardine run off Panagsama Beach, one of the few places in the world where you can see it without a boat
- Dive the reefs around Pescador Island, known for turtles, reef sharks, and dense coral cover
- Take a canyoneering trip at Kawasan Falls, jumping and swimming your way down a series of waterfalls and pools
- Explore the muck diving sites nearby if you’re into macro life, since the area is known for critters that most divers overlook
- Watch the sunset from one of the beach bars along Panagsama, where the diving boats come back in for the evening
Chief Mau Moalboal Cebu is a great spot for solo travellers in the Philippines.
This hostel puts you within a minute of the beach where the iconic Sardine Run takes place. Sun, sand, sardines, more sun. You know the drill.
The hostel has a dedicated social area for meeting other travellers, plus an excursion called the “ultimate canoeing trip,” which covers canoeing, island hopping, and sharks.
View on HostelworldStop Seven: Siargao
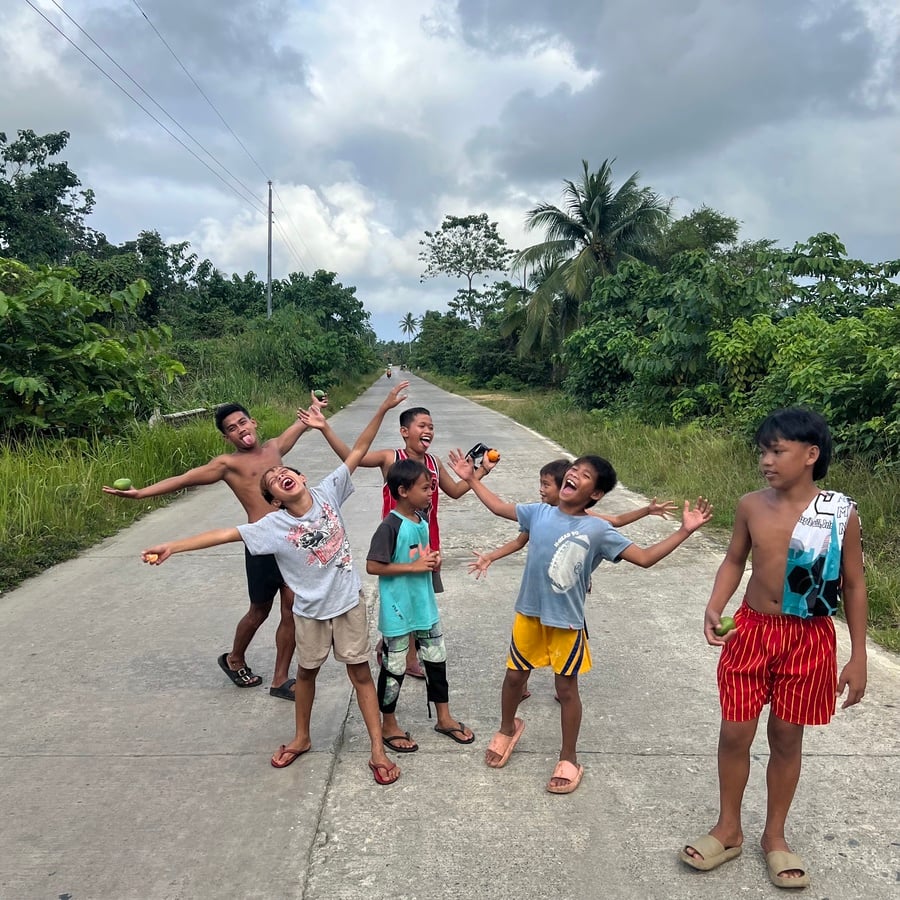
Photo: @joemiddlehurst
My final stop was the cult favourite amongst surfers…Siargao.
I heard amongst the backpacker grapevine that this is the Philippines’ ‘Koh Tao’ – a BOLD statement to someone who fell in love with Koh Tao so hard that I actually decided to live there. And, sure, nothing is going to fill the Koh Tao-shaped hole in my heart, but I can very much see the parallels that are constantly drawn between the two.
If Koh Tao is all about diving, Siargao is all about surfing. It has world-class breaks that draw surfers from all over the globe. I’d compare it to a smaller (and dare I say, cooler) version of Bali.
Days here consist of heading to whatever break you can find up the coast, whilst the nights are all about whatever party is on rotation that day. Locals and backpackers live pretty harmoniously here, united in their shared love of both surfing and partying.
All in all, Siargao is an absolute blast, and definitely one of the islands I could see myself very easily sucked into.
From Moalboal, head back up to Cebu and hop on a flight.
If you’re in Palawan you’ll also have to have a layover in Cebu before getting to your final destination. Either way, it’s a straight forward travel day, albeit a long one!
- Surf Cloud 9, the reef break that put Siargao on the map, and stick to dawn sessions if you want to avoid the crowds
- Try Jacking Horse or Quicksilver if you’re a beginner, both are sand-bottomed breaks better suited to learning than the reef at Cloud 9
- Island hop to Naked Island, Daku Island, and Guyam, three small sandbars and islets that make for a nice break away from constant surfing
- Get involved in the nightlife – there’s a party on somewhere different every night
- Swim in the Magpupungko rock pools, but time your visit around low tide or you’ll find them submerged
- Explore Sugba Lagoon by paddleboard or kayak, a calm stretch of turquoise water surrounded by mangroves
- Ride out to Pacifico Beach on the north coast for a quieter surf break and a proper stretch of coastline without the General Luna crowds
- Watch the sunset from one of the beach bars in General Luna, where the surf crowd gathers after the last session of the day
I loved my stay at Happiness Hostel. The food is banging, the dorms feel like your own mini room and there’s a party on every week with resident DJs and ultra groovy vibes. I stayed here over NYE and have 0 regrets. They have daily events on like yoga and surf lessons, and the whole place has a bohemian vibe that feels very reminscient of Bali (but, like, way cooler).
View on Booking.comWhat would I have done differently?
A few ways to make your trip a bit smoother than mine…
Plan the order of your regions wisely
I started in the Visayas because I was running on the constraints of wanting to be specifically in El Nido for Christmas and Siargao for New Year’s. So my route looked like Visayas – Palawan – Siargao.
Does this make the most sense in normal circumstances? Well, no.
To get to Siargao from Palawan, you have to fly through either Manila or Cebu, so starting in Visayas doesn’t make the most sense. If I were to go back at any other time of the year, I’d start in either Palawan or Siargao and fit Visayas in the middle of the itinerary, because at some point you’ll have to fly to Cebu to get between regions.
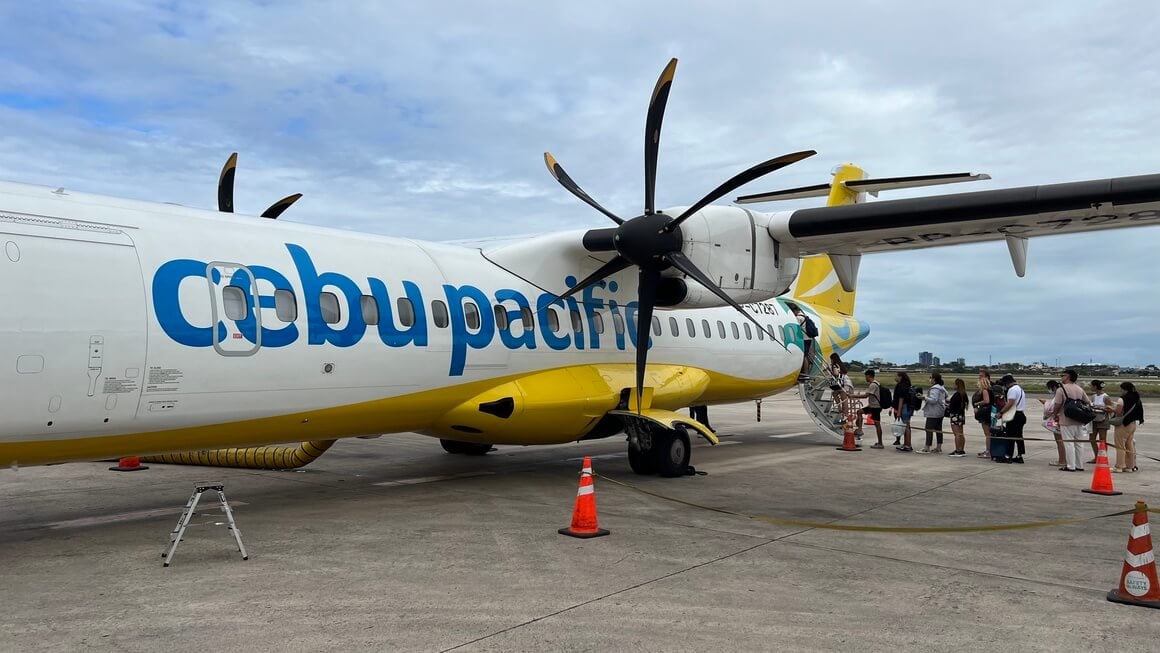
Photo: @joemiddlehurst
After Siargao, I actually ended up back in Palawan, meaning that for a month-long trip I ended up going through Cebu airport at least three times. It’s a great airport, don’t get me wrong, but you don’t have to get as acquainted with it as I did.
Travel outside of high season
This was my third continuous Christmas in Southeast Asia, and I was really looking forward to seeing how the Filipinos celebrate the holiday as a Catholic country compared to the usual tourist-facing affair in neighbouring countries that don’t traditionally celebrate the holidays.
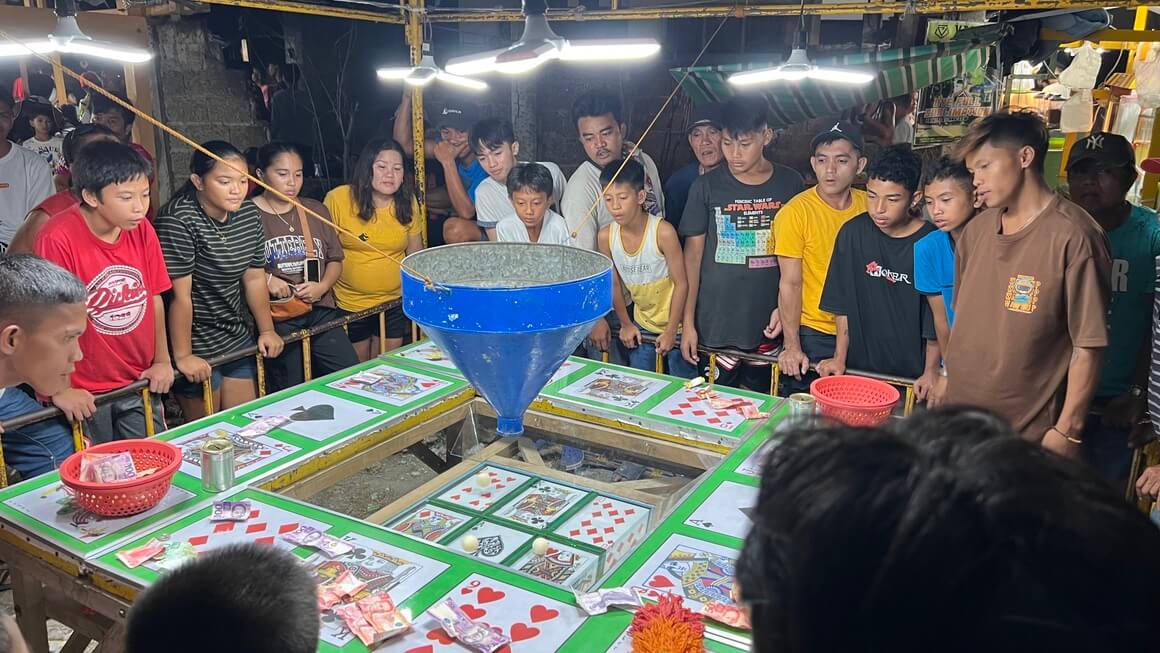
Turns out, the holidays + dry season in Palawan = a shit ton of people. It also meant crazy prices reflecting the crowds. In the end, I think both of these factors didn’t allow me to enjoy this country to the fullest.
I love budget travel and empty beaches, two things that just can’t exist over Easter and Christmas in the Philippines.
I always keep it real with other backpackers that, yes, although the Philippines is 100% worth it, I just wouldn’t bother in high season.
The best hostels end up costing 2-3 times what they were in shoulder/low season, and we didn’t even get consistent sunny days for the pleasure either! I’d rather risk a couple more rainy days for quieter beaches and cheaper digs any day of the week.
Book your excursions through hostels
Yes, the Philippines is an extremely well-frequented country by backpackers…but it is also extremely well frequented by holidaymakers alike. And, don’t get me wrong, there’s nothing wrong with spending a morning on a boat with families and couples, but nothing beats the vibes of an all-backpacker boat.
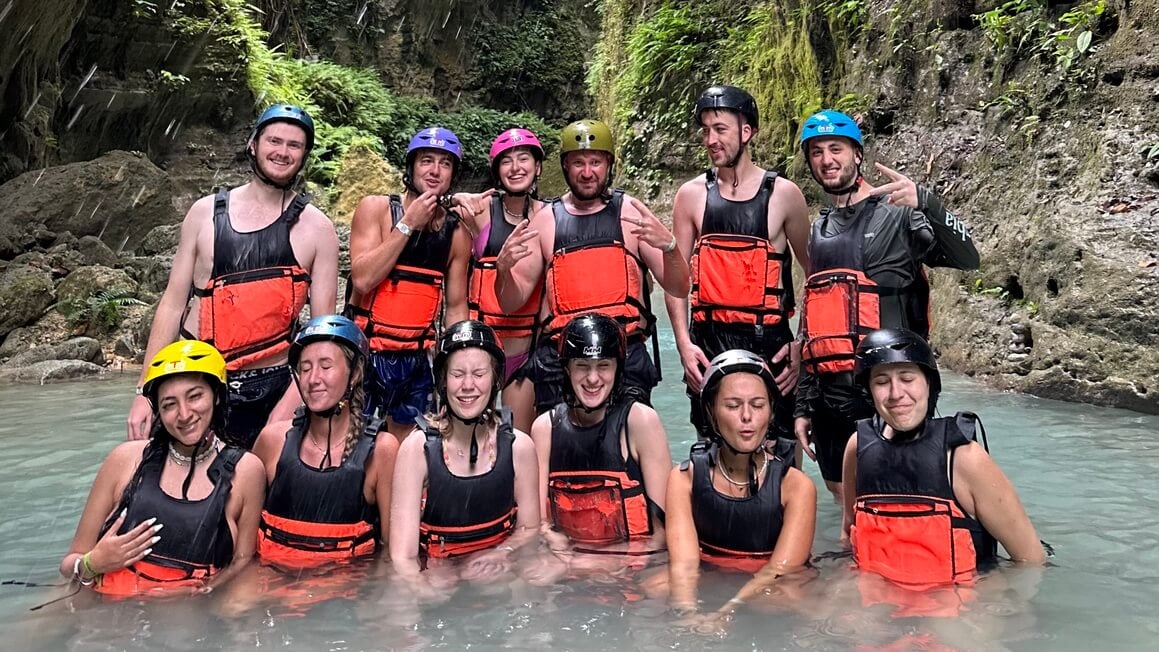
I enjoyed pretty much all the boat tours I did in the Philippines (and you’ll do A LOT of ’em during your time here), but those that always had the edge were the ones that I booked through my hostel.
You might be able to snag a couple pesos off by finding a provider a couple streets away, but paying the extra money and doing it through your hostel ensures smooth transfers and a guaranteed good crowd. This is especially true if you’re a solo traveller looking to make pals – it genuinely pays not to be a cheapskate here.
Mistakes I’d Avoid When Planning a Philippines Itinerary
- Trying to do it all. The Philippines is an absolute beast, one that you’ll never be able to truly conquer in a hundred trips, let alone your first. Pick a few spots and allow yourself to fully enjoy them, rather than treating it as a checklist-ticking task.
- Treating travel days as just one part of the day. If you’re flying from A to B, don’t even try to squeeze in a sneaky afternoon tour. First off, you won’t have the time; second off, even if you did, it would suck. You’d be absolutely konked. Leave travel days to the physical act of getting yourself from one place to another and treat it as a social battery charging day whilst you’re at it.
- Not checking regions’ rainy seasons before you travel. In an ideal world, you could visit different regions all in the same trip and not be stung. The reality is a little different. What is the dry season in Palawan could look completely different to what’s going on in Caraga where Siargao lies. Do your research, decide on how much rain you’re willing to accept, and go from there.
- Skipping the smaller islands in favour of the big names. Places like Siquijor or Port Barton offer a slower pace that’s easy to miss if you only chase the postcard spots
- Booking the expedition boat from Coron to El Nido as an afterthought. It fills up fast in peak season and needs to be planned around, not squeezed in last minute
- Building your trip around Siargao’s dry season without checking the surf calendar. September to November brings the biggest swell, but it’s also peak crowds and prices, while March to June is flat for experienced surfers even though the weather looks perfect on paper
What This Trip Actually Cost Me
Lucky for you, I’m a bit of a freak when it comes to tracking my spending. Or maybe it’s just the broke backpacker in me, idk.
Either way, I’ve got exact numbers for my 39-day trip to the Philippines so you can see where your money really goes. Bear in mind that as I was travelling over the Christmas break (and more importantly, in high season), the costs for accommodation and flights might be inflated.
| Category | Total Cost | Daily Average Total | Notes |
|---|---|---|---|
| Flights | £282.14 | £7.23 | I put this in its own category as it really depends how much you end up moving. We ended up going back to Palawan a second time to finally do our rescheduled expedition boat, so this was an added cost that you can avoid. |
| Transport | £192.09 | £4.92 | This includes taxis, bike rentals, the whole shebang. I shared a bike with my friend most of the time so this definitely helped to keep costs down |
| Accommodation | £478.91 | £12.27 | Pretty much exclusively hostels only with a few cheap private rooms sprinkled in, split with my friend |
| Food | £374.25 | £9.59 | Western lunches and local food for dinner tended to be how days were shaped. You can definitely get this down a lot more by sticking to local only and likewise it could be A LOT more if you consistently splash out on nice places |
| Drinks (alcohol, coffee and otherwise) | £139.07 | £3.56 | This covers alcohol, coffee and the obligatory mango shake when the heat gets relentless. Considering this was over xmas and NYE, I think this is pretty good going. Although I wouldn’t count this to be 100% accurate a couple of drinks deep… |
| Tours and activities | £416.23 | £10.67 | Boat tours, expeditions, the lot. |
| Splurges | £42 | N/A | I got a tattoo in my last spot, which is my favourite form of souvenir! |
| Shopping | £104.60 | N/A | I don’t tend to do much souvenir-hunting whilst backpacking, but as my friend was going home after this trip I monopolised on the opportunity to buy some stuff for friends and family back home |
| Fees | £12.35 | £0.31 | Philippines is THE LAND of bullshit fees and charges. On travel days, expect to pay for someone to process you, carry your bags, arrive on a new island, breathing ect ect. |
| Misc | £45.24 | £1.16 | Groceries, laundry, trips to the pharmacy a birthday cake for my best friend ect. |
| Grand Total | £2086.88 | £53.50 | By far the highest daily spend I’ve had in South East Asia, partly down to flights and shopping but overall not the place to be getting by on a broke backpacker budget! |
Some Things To Know
Visa
Most nationalities, including the US, UK, EU, Canada, and Australia, get 30 days visa-free stay on arrival. If a month isn’t enough, you can extend online easily enough, first to 59 days, then in monthly stretches after that in person.
Best Time to Go
- Dry season, roughly November to May, is when this route works best, especially for the boat crossings and island hopping tours
- December to February is peak season, cooler but busier and pricier
- March to May is hot and humid, still workable if you can handle the heat
- June to October is typhoon season, doable but expect cancelled boats and last-minute changes to your plans

Photo: @taya.travels
Getting Around
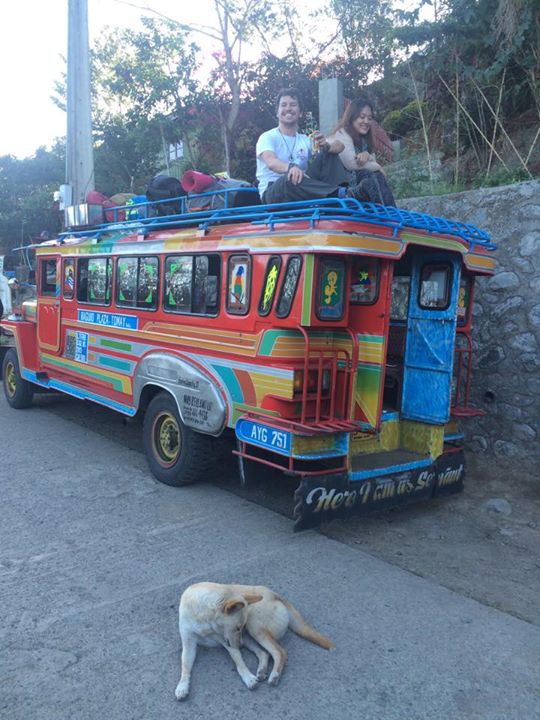
Flights cover the big jumps between regions where there’s no land or sea route, like Palawan to Siargao. Locally, expect scooters, tricycles, jeepneys, and vans to fill in the gaps.
Boats get delayed or cancelled with little warning depending on weather, so build slack into your itinerary rather than booking tight connections. For more specifics on A to B’s, I’ve covered each journey I made in my itinerary above.
Wifi and SIM Cards
Grab an eSIM before you arrive to save yourself the agg of landing without being connected. Skip the SIM kiosks at the airport if you can; they charge tourist prices for the convenience.
Grab a basic SIM from a convenience store or phone shop once you’re in town instead; it costs next to nothing, and you can top up with a data plan that suits how long you’re staying.
Coverage holds up in towns but drops off on remote islands, so don’t rely on your phone for navigation everywhere. Guesthouse wifi is a lottery, ranging from decent to barely functional. During the times I would be working, I never struggled to find decent Wi-Fi; if my accommodation was a no-go, I always managed to find a good cafe to work from.
Money
Like the rest of South East Asia, cash is pretty much king here. ATMs can be scarce on smaller islands, so stock up before if you are visiting somewhere more remote. Card payments are spreading but are still few and far between.
What I’d Book in Advance vs Leave Flexible
Book in Advance
- Domestic flights between regions, especially Palawan to Manila or Cebu to Siargao, prices climb fast the closer you get to your travel date
- The expedition boat from Coron to El Nido: spots fill up quickly in peak season, and this isn’t something you can sort last minute
- Accommodation in Siargao during September to November, surf season pushes prices up and rooms near General Luna sell out well ahead
- Accommodation in El Nido and Coron during December to February, peak dry season means the best budget spots go early
- Your entry point flight into Manila or Cebu, since long-haul flights are always worth locking in early regardless of the rest of the route
Leave Flexible
- Island hopping tours within El Nido, Coron, and Bohol – these run daily and are easy to book a day or two ahead through your guesthouse or a local agency
- Onward land transport like vans between Port Barton, El Nido, and Puerto Princesa – services run frequently enough that you don’t need to commit weeks out
- Exact number of days in each stop – apart from your flights to and from each region, keep the stuff in the middle flexible. You might love a spot and want to linger a little while longer
- Diving and snorkelling trips – most dive shops take same-day or next-day bookings without issue
- Food and day-to-day activities – the best meals and local tips usually come from people you meet once you’re there, not from research done in advance
- Scooter rentals – these are available everywhere on demand and rarely need to be arranged ahead of time
My Honest Advice Before You Lock in Your Route
Planning my Philippines route really stressed me TF out. And this is coming from a self-proclaimed travel research queen.
One piece of advice I wish I could give my past self: try not to sweat the small things too much. Lock in what you care about the most, whether that’s surfing in Siargao, island hopping in Palawan or diving in Cebu.
Hell, even double up on non-negotiable regions if you have the time to do them. But past the stuff you really care about, leave the rest up to fate, with nothing but an outbound flight as a reminder to move on.
The quicker you make your peace with the fact that the Philippines is not a country where you can see and do it all in one trip, the better.
It’s only when you slow down that you notice the beauty in the crevices; the small acts of kindness from locals, the way the sunset is ever-changing from one day to the next, how slow time seems to creep in the afternoons. That’s what will stick with you, not the whistle-stop tour for the sake of photos.
Some of the best days on this itinerary came from the stops nobody talks about, the quiet scooter rides on Siquijor, the empty stretches on the expedition boat between Coron and El Nido.
Leave room in your plan for a place to surprise you, because on an itinerary this spread out across islands, sea, and weather, something will change anyway. Build a route you can bend rather than one you have to force.
Oh, and one more piece of advice – leave the Red Horse alone. It’s lethal stuff 😉