For the past 5 years, I have had the goal of visiting each of the 7 Wonders of the world. Traveling to Peru and seeing Machu Picchu was one of them.
Before leaving, I had heard horror stories about the difficulty of hiking the Inca Trail to Machu Picchu. I made sure to mentally prepare our small team of six for the adventure and kept up a weekly progress report of how everyone was training.
In truth, the preparation began days before I put boot to ground. Acclimatisation was an absolute must. At 4000m there is not a whole lot of oxygen in the air, que headaches and difficulty walking uphill, not ideal for rambling over mountains to Machu Picchu.
Lots of coca tea and smaller acclimatisation hikes transferred the progress of my sea-level fitness regime to the Andean heights.
The first step began months earlier in front of my laptop researching tour operators for the Inca Trail. To conserve the ancient paths leading to the citadel, only 500 permits are issued per day, meaning that this cannot be a spontaneous trip. If you are booking that far ahead, you might as well research thoroughly to book with the best.
The journey to the lost city of the Incas is about more than just mountain views. It is a path trod by the feet of a vanished civilisation, one that understood this landscape more than any modern. It feels like a journey through time. A good guide, versed in the history, or ancestrally connected to the Incas, is the difference between a good hike and an unforgettable one.
Oh, and you will want to make sure that the provider has emergency oxygen and first aid equipment should things not go to plan. Comfortable sleeping conditions and palatable food are also nice-to-haves! All of this will depend on the tour operator, so research carefully!
The trek wasn’t all fun and games. I’m here to give you the lowdown on the good and the bad and how to make sure your next trip to Machu Picchu and the Inca Trail is a success. Here you will get all the inside information on the hike from someone who has spent a lot of time researching it and completed it firsthand.
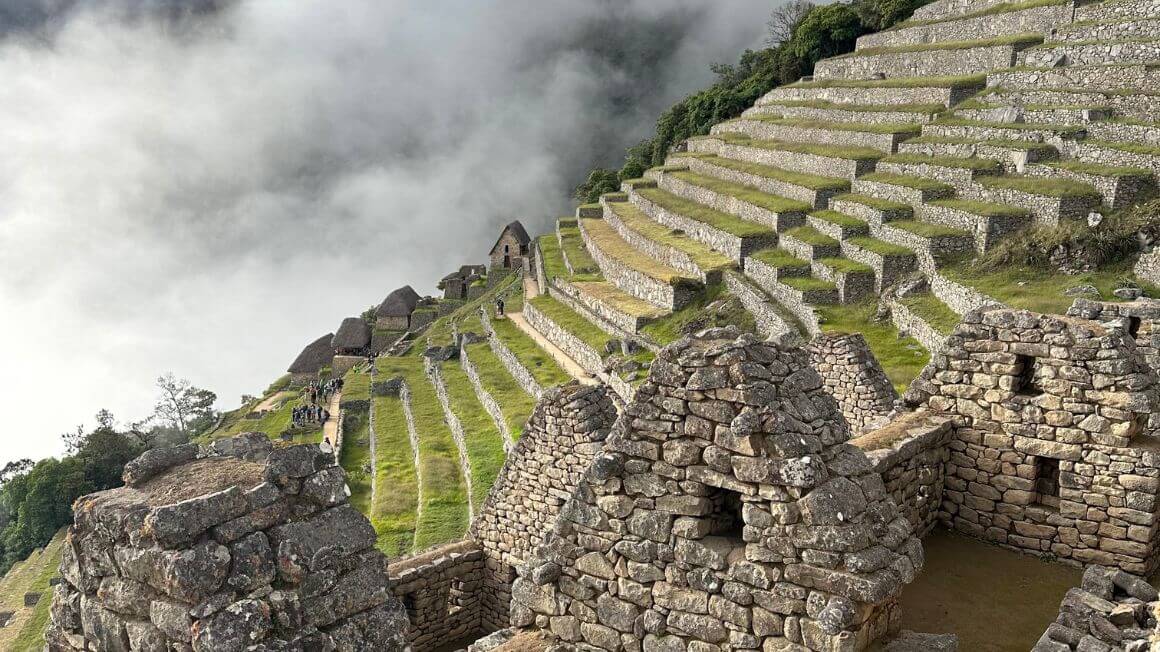
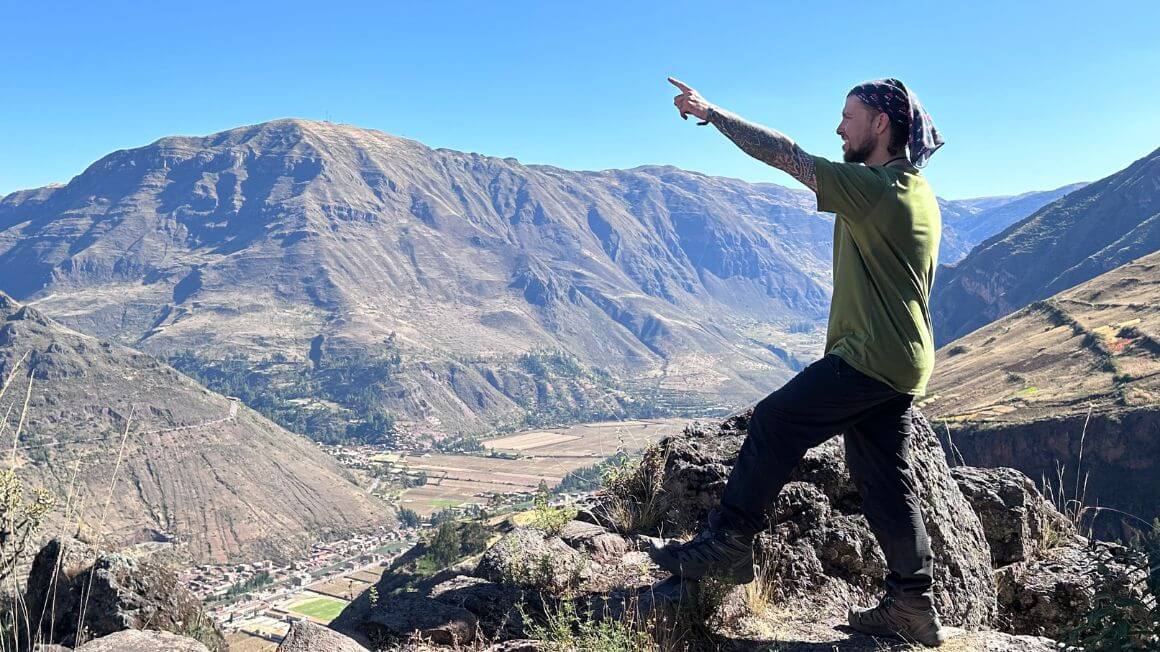
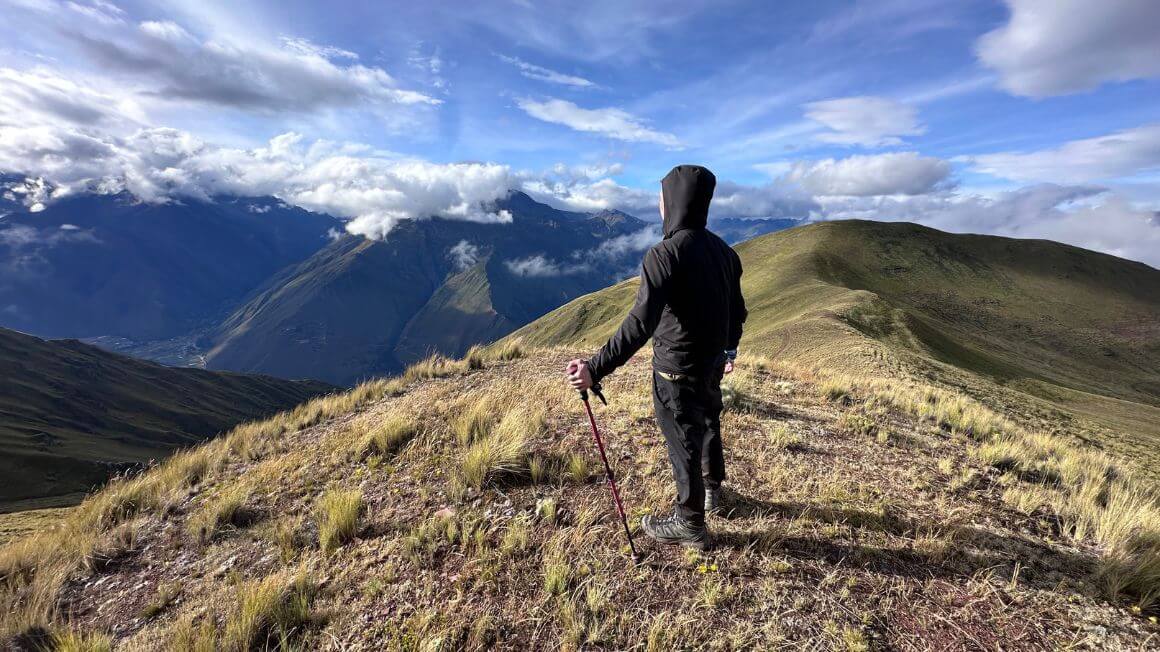
Photo: @willhatton__
The Broke Backpacker is supported by you. Clicking through our links may earn us a small affiliate commission, and that's what allows us to keep producing free content 🙂 Learn more.
- Hiking the Classic Inca Trail to Machu Picchu
- Best Inca Trail Tour Providers
- Ethical And Sustainable Trekking Tours
- Day-by-Day Itinerary for Trekking the Inca Trail (4 Days/3 Nights)
- The Best Time to Visit Machu Picchu
- What to Bring on the Inca Trail
- How To Prepare for a Classic Inca Trail
- Ok, Now You’re Ready to Hike the Inca Trail to Machu Picchu!
Hiking the Classic Inca Trail to Machu Picchu
The Classic 4-day Inca Trail hike to Machu Picchu is arguably the most famous trail in all of South America. The Inca Trail’s length is 26 miles (42 kilometers) of pure Peruvian power that connects several Incan archaeological sites: Runcuracay, Sayacmarca, Phuyuptamarca, Wiñaywayna, and of course none other than the magnificent Machu Picchu ruins!
So what’s the Inca Trail hike’s difficulty like? Well, the elevation of the Inca Trail is over 13,000 feet so if you have altitude problems make sure to think twice before committing. This ain’t no walk in the park unless you like your walk in the parks accompanied by blood-tingling cliff-drops and ruins of ancient South American empires.
But I mean, it’s the main attraction in Cusco, so there is that.
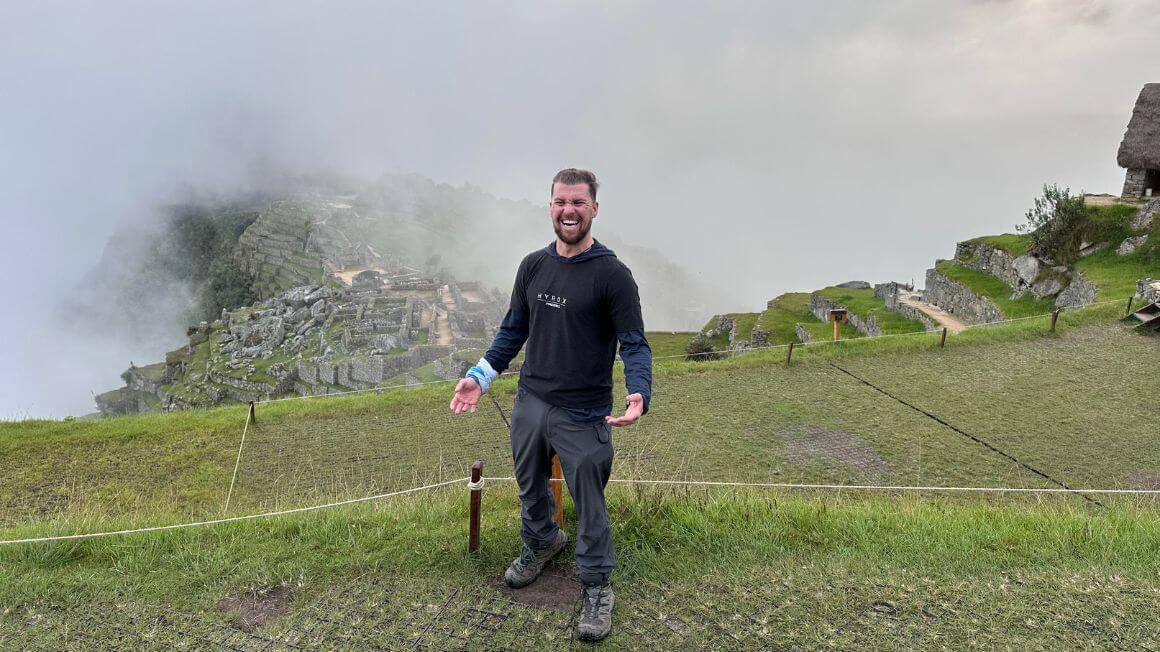
Photo: @willhatton__
Protip: Book out an Airbnb in Cusco where you can leave your valuables/ gear, so it’s easier to organise what you need and not bring too much.
If it wasn’t for an adventurous Yale scholar in 1913, Hiram Bingham, we might not have known of the existence of this modern-day gem. When the Incans were conquered by the Spanish in the 1500’s, they fled the jungle and Machu Picchu went hidden for hundreds of years.
The legendary hike culminates at the Puerta de Sol (Sun Gate) where you overlook the magnificent ruins below and the iconic Huayna Picchu mountain to the side. Along the hike, at the epicenter of the old Incan Empire, you will experience majestic mountains, cloud forests, a subtropical jungle, and a little bit of wildlife.
To help you prepare to go on one of the best hikes in the world, we have summarized everything you need to know with a day-by-day itinerary, picking a tour operator, and what to bring with you. Everything is set for you to walk the Inca Trail.
Best Inca Trail Tour Providers
As this guide will make clear, there are multiple different ways and routes to Machu Picchu. However, in all cases you need to obtain an official park permit, and complete the hike with an authorised guide/tour provider. Yes, sadly the answer to the question “Can you hike the Inca Trail without a guide?” is a big fat depressing no.
Alright, let’s talk logistics.
First, make sure to book your tour on the Inca Trail well in advance as the tours sell out quickly. The most visitors the trail allows is 500 a day and that includes guides and porters which make up over half that number. This may not sound like a lot, but it really is when you think about the fact that everyone follows the same narrow trails to Machu Picchu.
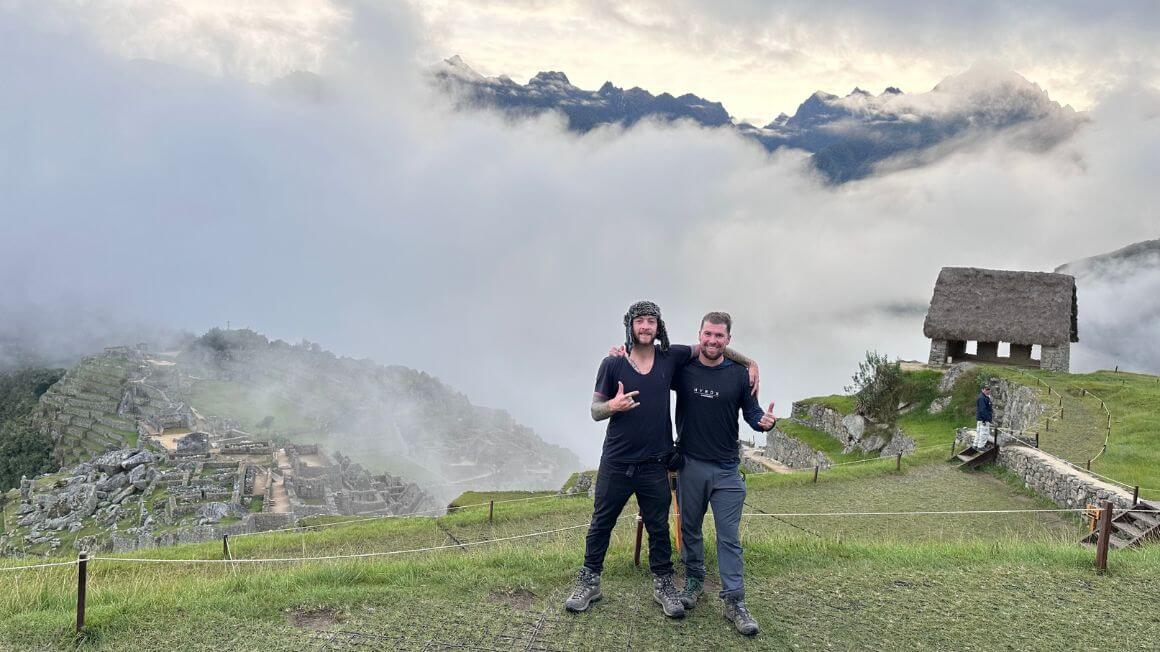
Photo: @willhatton__
We had to book the tour about 6 months in advance to reserve a spot. Keep that in mind as you will need good long-range planning to make sure your spot is reserved. The Inca Trail is one of the pegs that your trip to Peru will revolve around.
Tours to Machu Picchu normally arrange groups of eight to sixteen people, and you will hike with people from all around the world. You can arrange a private tour, but this can be considerably more expensive with a smaller group.
Psssttttt – Before we go any further let me tell you that I absolutely, highly recommend bringing along a good, strong, reliable pair of trekking poles for this trip. My personal pick was the Black Diamond Trail Black which you can pick up for about $80.
So what are the Inca Trail prices like?
We managed with a group of six (not including the guide, porters, and cook). From what I have seen, the price is around $700-$950 USD per person. So not as cheap as much Peru travel, but worth it.
If the tour operator charges much less, they are probably not paying their porters fair wages. It is best to book directly through a local tour operator instead of a foreign travel agency since the travel agencies may charge you double the price. It is also nice if the tourist bucks stay in Peru!
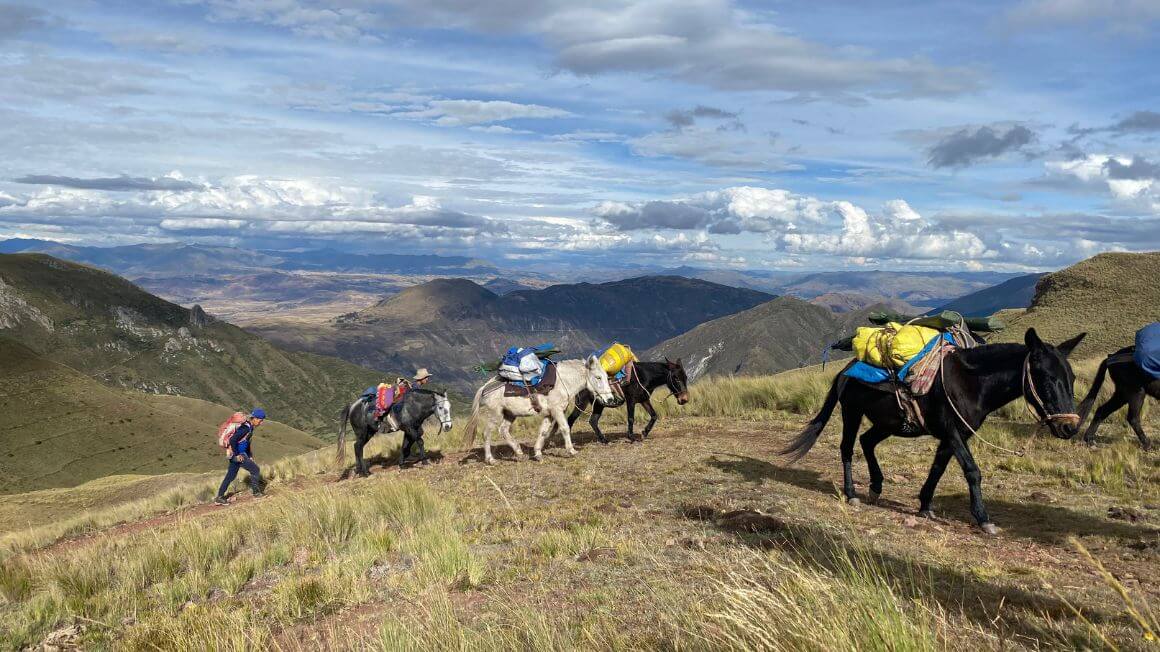
Usually included in the price is transport to the start of the trail, a bilingual guide, entrance fees to the Inca Trail and Machu Picchu, tents, all meals and a cook, porters, emergency first aid, oxygen, and return transport back to Cusco.
The food was fantastic throughout my trip. I really have no idea how they made such incredible meals when they were literally in the middle of the jungle.
Trust me, once you see all that is included and all the work that the porters and tour guide do, you will realize it is well worth every penny paid. If you need to pay for an additional porter to lighten your load and carry some of your things, you can do that for around $50-$100 USD.
Each porter should be tipped around 30-40 soles (about $10-$15) for the entire group. Keep in mind, regardless of how much or how little you pay for your tour, the vast majority of that money does not go to the guys that do the heavy lifting. Make sure to tip your team well as they deserve it and likely live off of those tips.
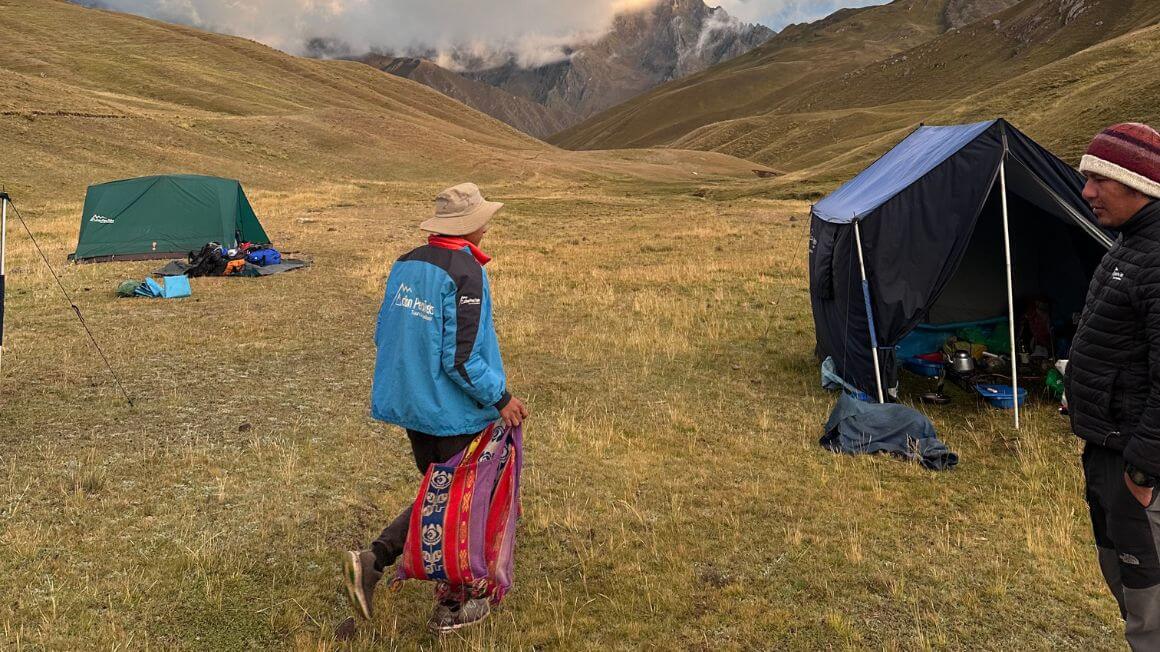
Photo: @willhatton__
Finally, when booking your tour for the Inca Trail, make sure that the tour operator is selling you the right trek and not misleading you with a similar sounding hike. There are a LOT of different Inca trail tour operators out there and take it from us, that not all were created equally.
Deciding which one to use can be tough but we recommend choosing an operator that is 100% locally owned and which really knows the area. Tour leaders Peru has all the classic itineraries as well as some more off-beat options for the more adventurous amongst you!
Choosing which company to hike the Inca Trail with can prove tough and in some truth, some guides are much better than others. Luckily, this is the place for guidance to get you the perfect tour.
A little disclaimer is that I did not use all of the tour providers, but I did do hours of countless research, and spoke to many people on the road in Peru about their Inca Trail experiences.
G Adventures – Best For Backpackers
- Price range: $850 – $950
- Length: 4D / 3N
- Local porters: Yes
- English speaking: Yes
If you want competent, passionate, English speaking guides and platefuls of delicious food, then go with G Adventures who offer the classic 4 day Inca Trail Itinerary for just over $800.
I gravitated to G Adventures for going above and beyond on their sustainability. As well as hiring local guides and porters, they have an entire charitable scheme called Planeterra, which funnels the profits of tourism back into the local communities by starting small businesses. Little touches like using biodegradable soap from such a company really elevated the experience.
Attention to detail like a briefing before setting off to ensure that everyone knew exactly what they were getting into, and arranged train travel back to Cusco after the hike made it the easiest of trips. The guided tour of Machu Picchu was also richly informative.
KB Adventures – Best For Private Experiences
- Price range: $950
- Length: 4D / 3N
- Local porters: Yes
- English speaking: Yes
This tour brings the price up, but it offers a smaller group experience. With a minimum of two people, you and your travelling companions can experience the trail more intimately.
It also aims to provide a more luxurious experience, with a professional chef cooking local delicacies in the evening to fuel you on your way to Machu Picchu. They also have a pretty nifty initiative to plant 1 million trees in the Cusco area.
If you walk around Cusco, you may well recognise the included free T-Shirt, as it is one of the most popular operators for other treks like Salkantay and Lares.
Machu Picchu Reservations – Best For Bare-Bones Experience
- Price range: $740
- Length: 4D / 3N
- Local porters: Yes
- English speaking: Yes
This operator offers a low cost alternative to trek to Machu Picchu. However, it caters more to those hiking juggernauts who lug their own equipment across the continent. If you have your own sleeping bag and tent handy, this trek will suit you.
If you are more of a casual-hiker needing to rent everything, it would be best to choose a more inclusive tour.
Ethical And Sustainable Trekking Tours
As a guest in a country, would you not like the real people who live there to benefit from your presence there? By choosing operators who care about local people, you can really help to make a positive change to the lives of people without the privileges that those with $700 to spend on the Inca Trail have.
Oh, and it also really enhances your experience to be guided around by someone whose ancestors trod the path to Machu Picchu. Hearing what the ruins mean to the people who hold them as sacred makes the trip so meaningful.
The other part of what makes the Inca trail so special is the soaring snow-capped mountains and jungled slopes that the ancient trail snakes over. Using a responsible operator will ensure that other visitors will not have their experience blighted by piles of trash. Responsible tours will dispose of their rubbish to keep the trail pristine.
Day-by-Day Itinerary for Trekking the Inca Trail (4 Days/3 Nights)

The exact itinerary for the hike may differ between various Inca Trail tour operators, but almost all groups follow a similar itinerary and have set times to leave to avoid overcrowding. Even with daily tourism limits, there are still many, many tour groups and you will constantly be surrounded by other hikers, guides, and porters throughout the 4 days.
If you are looking for a more personal, private outdoor experience, I recommend you pick a less prevalent adventure as there are many alternative Inca sites to choose from around the Cusco area.
| LOOKING FOR A PLACE IN CUSCO? | |||
|---|---|---|---|
BEST FOR BACKPACKERS  | Pariwana Hostel | VIEW ON BOOKING.COM | |
BEST HOTEL  | Amaru Colonial | VIEW ON BOOKING.COM | |
BEST AIRBNB  | Paula's Place | VIEW ON AIRBNB | |
Day 1 – Starting the Inca Trail Hike
- Elevation gain: 350m
- Hours of hiking: 5-7 hours
- Difficulty: Easy
- Sights: ruins of Patallaqta, views of La Veronica glacier and the town of Huayllabamba
- Terrain: Fairly flat path winding through traditional agricultural terraces

Photo: @willhatton__
Day one eases you into the action. It’s a nice starter to a much more difficult day ahead.
After taking transport from nearby Cusco, you meet your team and porters. The first day is a relatively easy hike and goes past the ruins of Patallaqta, which means “town on a hillside” in the Incan language of Quechua.
You will spend the night at Huayllabamba, the only inhabited town on the trek.
Day 1 is relatively easy as there isn’t much elevation gain and your legs are fresh and you feel like you can take on anything.
Then, day 2 comes.
Day 2 – A Mishap on the Trail
- Elevation gain: 1,200m
- Hours of hiking: 7-10 hours
- Difficulty: Hard
- Sights: Dead woman’s pass, Sayacmarca and views of Cordillera Vilcabamba
- Terrain: Steep, rocky terrain winding over mountains.
Day 2 is considerably more difficult due to the severe elevation gain and altitude of the Inca Trail. If you’re fit enough to handle the constant incline, there is a good chance the high altitude will zap your energy and perhaps give you dizziness.
It’s the hardest day of the trek, with an ascent of 1,200 meters and a challenging descent to the bottom campsite. This day offers a great feeling of achievement when you get to Dead Woman’s Pass which is named after the resemblance of the mountain’s shadow of a woman’s head.
This section of the Inca Trail hike provides a fantastic perspective of the gorgeous Peruvian countryside but is also very cold due to the high altitude. When you get to the top, you can take pictures in the snow to display your fortitude.
If you aren’t in tip-top shape, this day will either make you or break you. Unfortunately, this is the day that things went south for a couple of members of our team. One of the girls on our team got a busted knee on the descent after Dead Woman’s Pass – not good.
We were literally in the middle of the Peruvian jungle with no easy way of evacuating her. Despite her eagerness to carry on, she could barely hobble her way forward without needing assistance.
Thankfully, the Peruvians are a resourceful people and will go leaps and bounds to make a person in need is helped. A few of the porters and our guide took turns carrying our friend throughout the remaining two and a half days of the hike.
In addition to all the equipment, pots and pans, food, and trash that they had to carry, they also now had a grown adult on their backs.
It was nothing short of remarkable.
Day 3: The Lead-Up to the Final Boss of the Inca Trail
- Elevation gain: -1000m
- Hours of hiking: 10 hours
- Difficulty: Moderate
- Sights: Inti Pata ruins, views of the Urubamba River, Winay Wayna and views of Salkantay Glacier.
- Terrain: Steep drop down into a cloud forest zone, subtropical with rich vegetation.
Day 3 of the hike to Machu Picchu is no slouch and for most, it’s the day that the nagging soreness reminds you that you are human. It consists of a 1500-meter descent into the subtropical cloud forests and through the Amazon basin. The soreness really gets at you as you make your way down the mountainside.
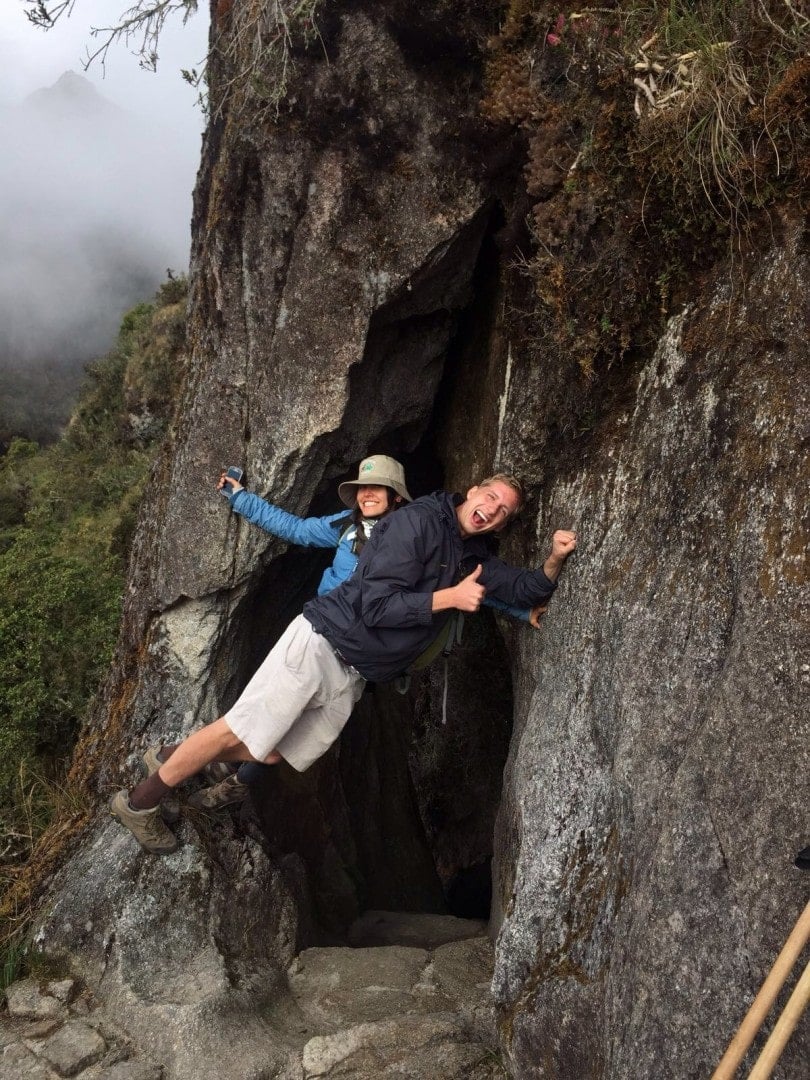
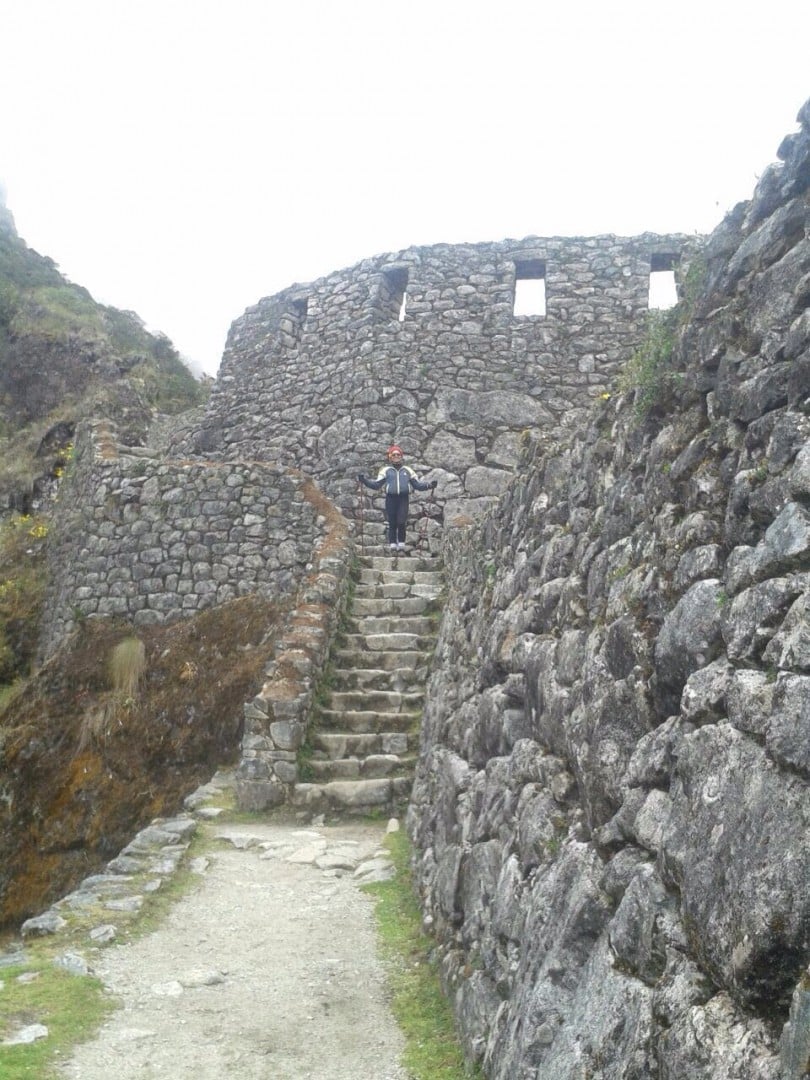
You will pass several unforgettable Incan sites like two Incan tunnels that are carved right out of the mountainside. Throughout day 3 you’ll also see several mini Machu Picchu-like ruins spread throughout the trail. It’s a nice build-up to the granddaddy of them all that follows on day 4.
Rest easy once you get to the campsite because the next day is likely to be the most unforgettable experience of your hiking existence (it was for me).
Day 4: Hiking to Machu Picchu’s Glory
- Elevation gain: 200m
- Hours of hiking: 1-2 hours
- Difficulty: Easy
- Sights: Machu Picchu Sun Gate and of course, Machu Picchu!
- Terrain: A light uphill to arrive at Machu Picchu.
On the last day, you will wake up before dawn at an absurdly early hour (our wake up call was 3 A.M.) in order to reach the Sun Gate overlooking Machu Picchu just in time for sunrise.
It probably would have been glorious to see. However, as mentioned earlier, a couple of our team members were really hurting by day 4 so it made hiking to the Sun Gate longer than anticipated and we certainly didn’t see the sun come up.
I wouldn’t be surprised if we were the last group to make it into the historic site. Once you arrive, you will then have half a day to explore the ruins of Machu Picchu before heading back to Cusco by train. Personally, I could have spent the whole day there just in awe of the ruins.
Unlike most archaeological wonders, Peru allows visitors to actually go in and around the beautiful ruins and see firsthand the inside of the structures and the once magnificent buildings. I think doing the gruelling 4-day hike on the Inca Trail really gave us a greater appreciation for the ruins once we got there.
I’m sure you hear this often, but to be honest, it really is nothing like being there in person and seeing it up close and personal. Pictures just don’t do it justice. You can easily spend hours on end walking up and around the magnificent ruins.
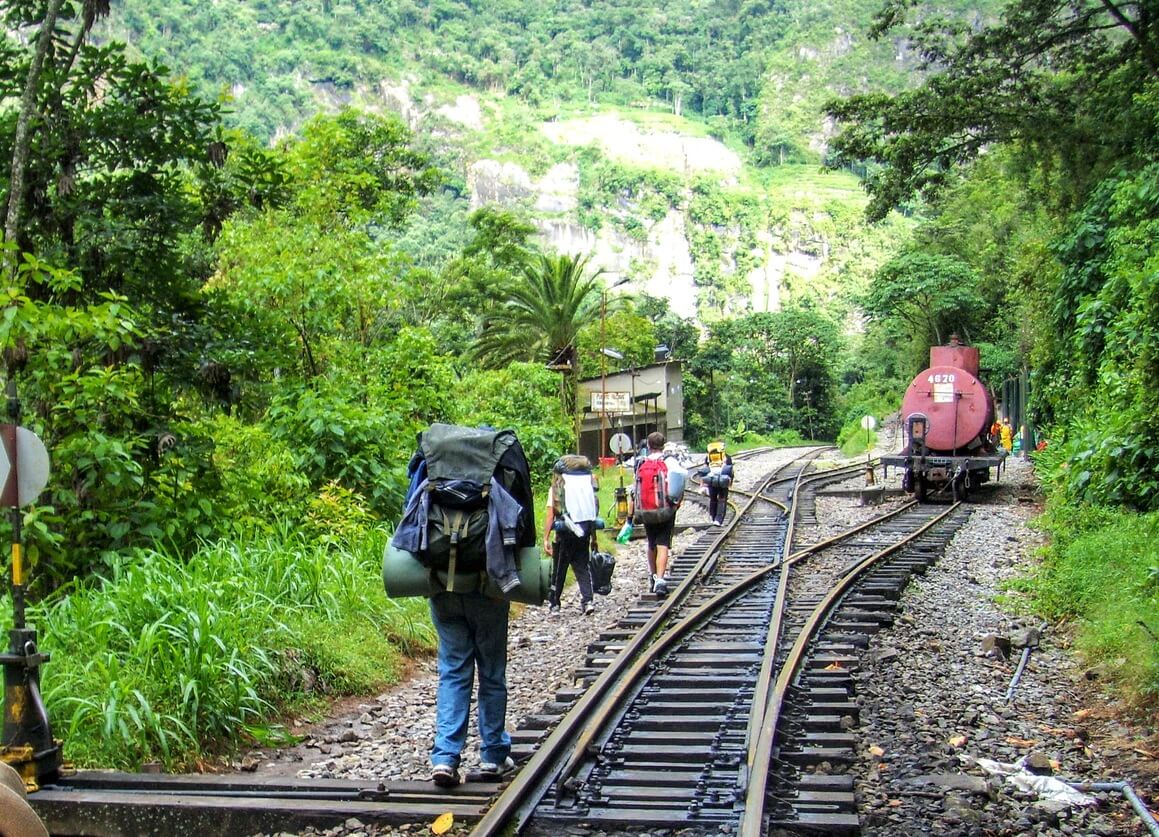
Once the day has come to an end, you’ll take a bus down to Aguas Calientes where you will take a train back to Ollantaytambo before arriving back in Cusco by bus or car.
| WOULD RATHER STAY FOR THE NIGHT? | |||
|---|---|---|---|
BEST FOR BACKPACKERS IN AGUAS CALIENTES  | Supertramp Hostel | VIEW ON BOOKING.COM | |
BEST BUDGET ROOM IN AGUAS CALIENTES 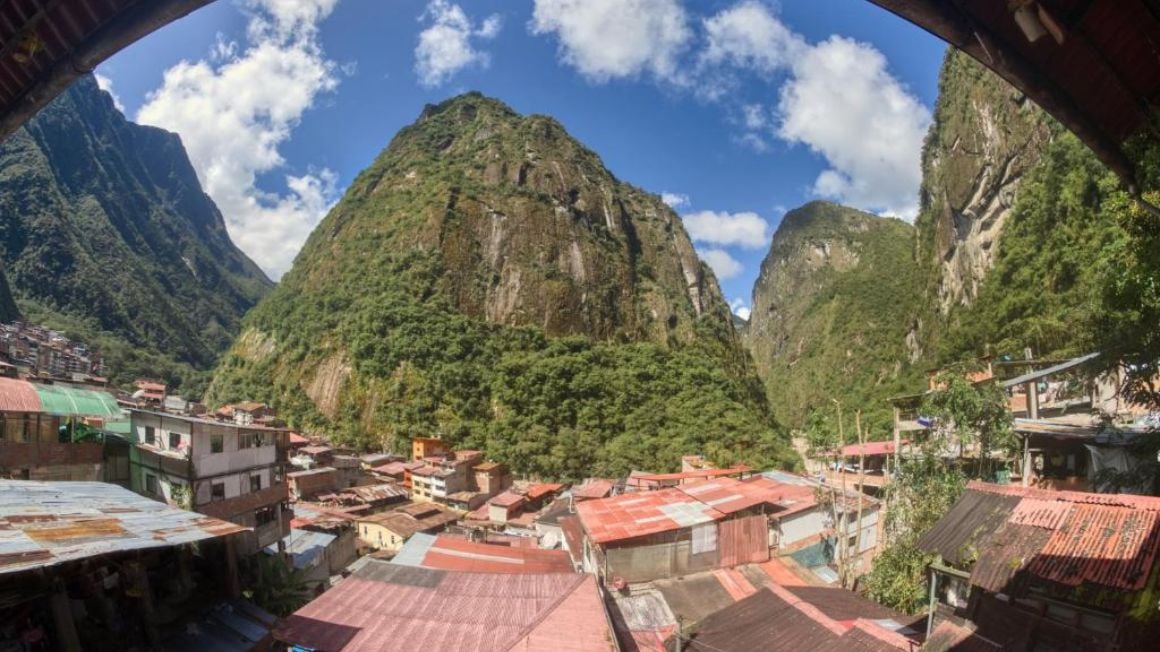 | ECO ART Best View | VIEW ON BOOKING.COM | |
BEST FOR BACKPACKERS IN OLLANTAYTAMBO 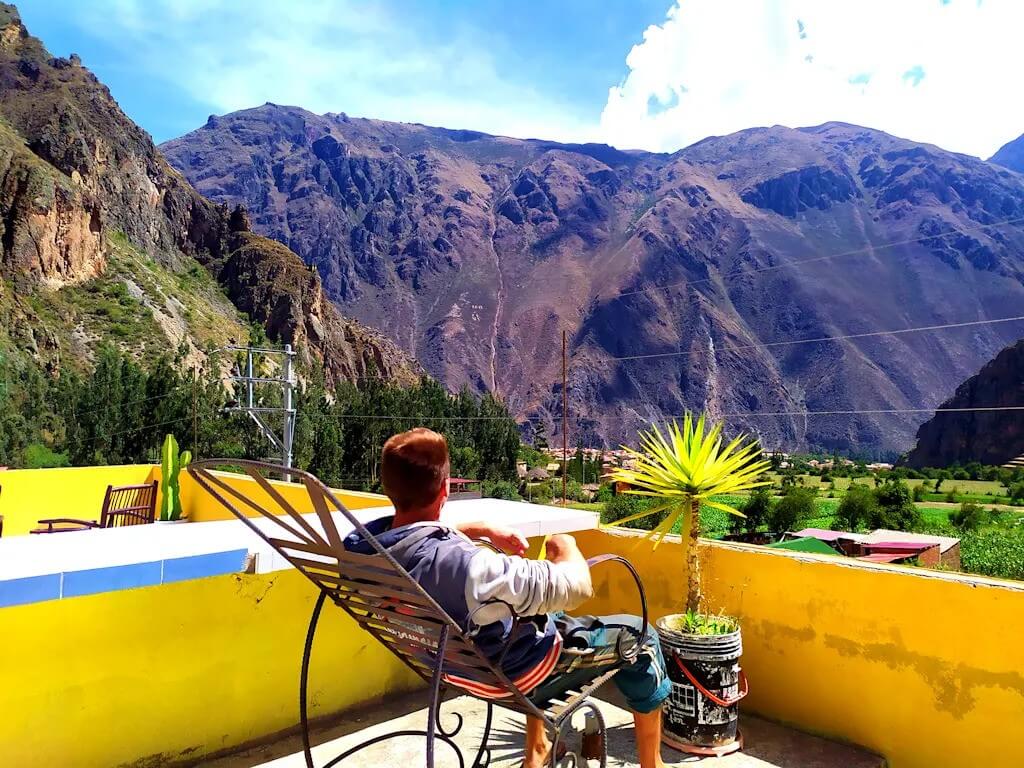 | Mountain View House | VIEW ON HOSTELWORLD | |
BEST BUDGET ROOM IN OLLANTAYTAMBO 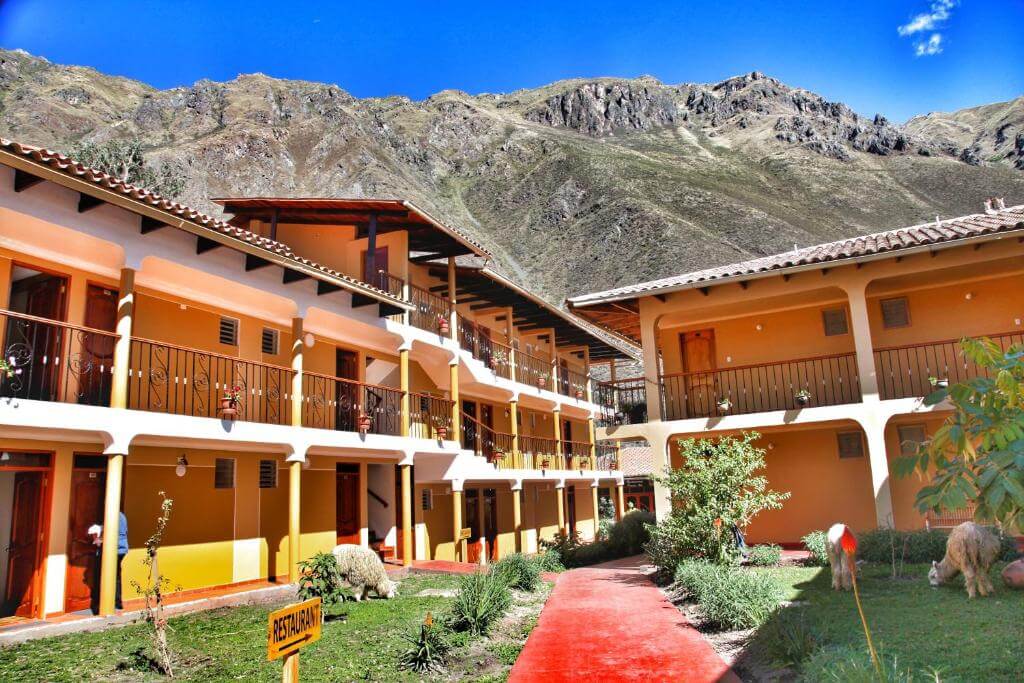 | Tunupa Lodge Hotel | VIEW ON BOOKING.COM | |
If you have the time to take a dip in the hot springs I recommend you do so before grabbing the train out.
The Best Time to Visit Machu Picchu
The Inca Trail to Machu Picchu can be hiked all year round, except for February when the trail is closed for maintenance.
The best time to hike the Inca Trail is May through September when there is less rain and the temperatures are slightly cooler. We went in July and the temperatures were great with a bit of rain on day 2. It was cool enough in the evening to get a good night’s sleep without freezing.
The high season is June to August, but again make sure to book at least five to seven months in advance regardless of when you decide to travel.
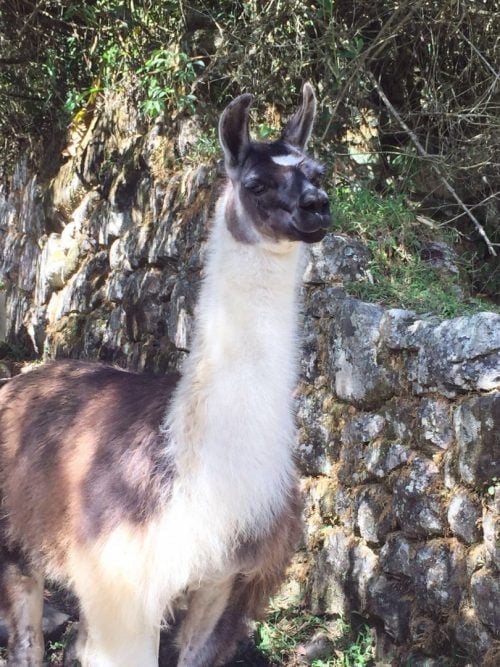
Rain is likely during April and October and almost guaranteed between November and March making them a much less suitable time to walk to Machu Picchu… the wet llamas are cute though!
What to Bring on the Inca Trail

Black Diamond Alpine Carbon Cork
- Price > $$$
- Weight > 17 oz.
- Grip > Cork

Petzl Actik Core Headlamp
- Price > $$
- Weight > 1.9 oz
- Lumens > 160

Merrell Moab 2 WP Low
- Price > $$
- Weight > 2 lbs 1 oz
- Waterproof > Yes
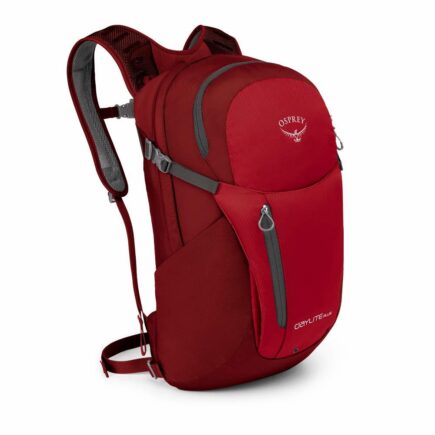
Osprey Daylite Plus
- Price > $$$
- Weight > 20 oz
- Capacity > 20L

GRAYL Geopress
- Price > $$$
- Weight > 16 oz
- Size > 24 oz
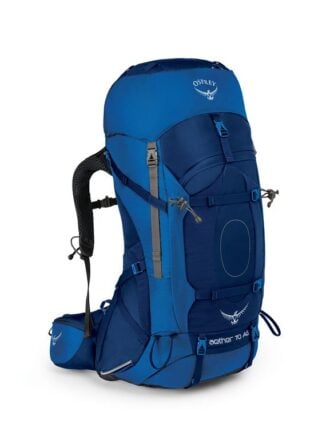
Osprey Aether AG70
- Price > $$$
- Weight > 5 lbs 3 oz
- Capacity > 70L

MSR Hubba Hubba NX 2P
- Price > $$$$
- Weight > 3.7 lbs
- Capacity > 2 person
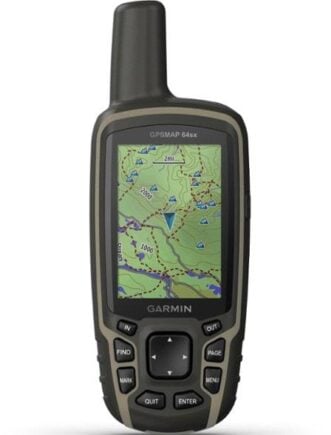
Garmin GPSMAP 64sx Handheld GPS
- Price > $$
- Weight > 8.1 oz
- Battery Life > 16 hours
First up, here’s your beginner’s guide to hiking. That’s an excellent jumping-off point for creating your Inca Trail packing list. All the same, here’s some must-bring packing for the Inca Trail:
- Clothes – Definitely make sure to bring layers of clothing and know your layering system! It can be hot during the day and chilly at night. Dead Woman’s Pass was very cold as we were over 13,000 feet in elevation.
- A Sleeping System – This stuff can be rented or part of your tour but it’s always good to travel with your own, especially if you’re backpacking in Peru. A backpacking tent, sleeping bag, and sleeping pad are all smart investments for any traveler. A snuggly nights sleep in the heights of the Andes awaits!
- Waterproof Clothes – If you are going during the rainy season, you should also bring rainproof clothes and equipment. You’ll be happy you packed that waterproof jacket when it starts pissing freezing rain at 13,000 feet!
- Trekking Poles It’s helpful to have trekking poles for the downward hikes on the Inca Trail. Your knees will thank you later.
- Hiking Boots – Boots for hiking… because you’re hiking… kinda logical, yeah?
- A Hiking Backpack – backpack for hiking… see above.
- Water Purification Tablets – Na, jokes! You don’t need them. Get a Grayl Geopress instead and you’ll never need them again. This thing is a game changer!
- Hiking Sunglasses – Some people like a pair of hiking sunglasses and some don’t. If you’re the former, then invest in a good pair.
Finally, remember to pack light! You’ll have to carry your pack for 4 days so only take the lightweight essentials. Every extra pound matters!
Wait, You’re Not Quite Ready to Hike the Inca Trail – Get Insured first!
Because duh! Remember the part where you’re trekking through mountains at 13,000 feet? Remember the part where my companion busted her knee and had to be carried by porters – goddamn hiking in style! Get insured.
ALWAYS sort out your backpacker insurance before your trip. There’s plenty to choose from in that department, but a good place to start is Safety Wing.
They offer month-to-month payments, no lock-in contracts, and require absolutely no itineraries: that’s the exact kind of insurance long-term travellers and digital nomads need.

SafetyWing is cheap, easy, and admin-free: just sign up lickety-split so you can get back to it!
Click the button below to learn more about SafetyWing’s setup or read our insider review for the full tasty scoop.
How To Prepare for a Classic Inca Trail
A few tips that helped me get ready for the trek…
Focus on the “Downhill” Training:
When bragging about their mountain climbs, hiking friends would always say that the descent was harder than the climb. I never believed them until I was confronted with the 3,000 steep stone steps on the Inca Trail. This is a hike that is harder on the knees than the lungs.
Luckily, you can prepare for the trail by strengthening your knees. Exercises like slow squats and step-downs will go a long way to preventing injury. Training glutes and hamstrings is also worth doing, calf-raises and lunges are my exercises of choice for getting hiking fit.
Trekking poles are also essential for the Inca Trail. They do a lot to distribute the stress on your body, and they keep you steady on irregular steep slopes. There is a bit of an art to using them, so try to practice before hitting the slopes.
Actionable 3-Month Roadmap
The benefit of needing to book the Inca Trail so far in advance is that you will have plenty of time to get into perfect shape. This is an actionable 3-month roadmap to get you skipping up the mountains to Machu Picchu.
The first month should focus on building a base level of fitness and joint resilience. Aim for three brisk walks per week lasting 30–60 minutes, alongside one slightly longer walk of 60–90 minutes. Keep the terrain mostly flat at first, gradually introducing gentle hills as your fitness improves.
A single light strength session each week – targeting legs and core – will help support the knees on the trek. The emphasis at this stage should be consistency rather than intensity, ensuring that walking regularly becomes routine without excessive fatigue.
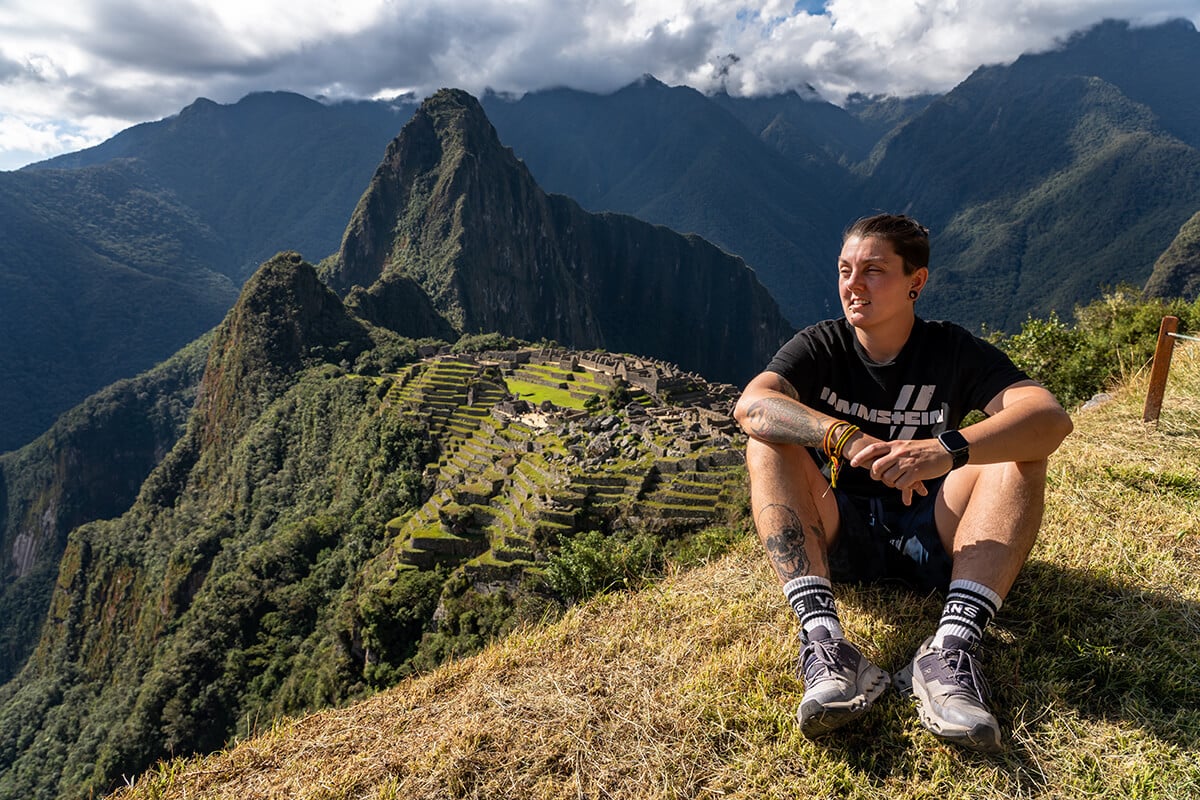
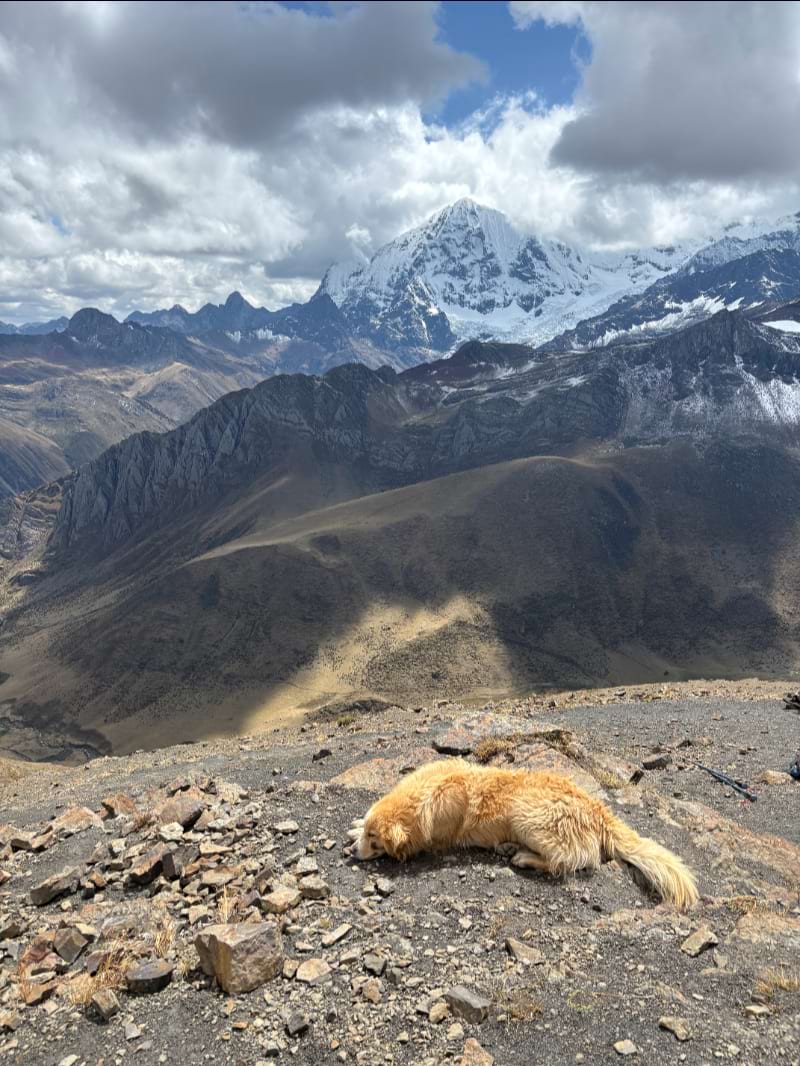
Image: Nic Hilditch-Short
In the second month, target strength and elevation. Replace shorter walks with two mid-length hikes of roughly 8–12 km and one longer hike of 12–15 km each week. Try to find hillier or more uneven terrain to better simulate real hiking conditions. If this is not accessible, a stairmaster at the gym is a good stand-in.
At this stage, introduce a light backpack (around 3–5 kg) to start adapting to load-bearing. Continue with one weekly strength session, prioritising exercises such as lunges and step-downs that prepare the body for downhill strain. The goal is to build both endurance and muscular control.
By the third month, training should closely resemble the demands of a multi-day trek. Plan for two hikes of 10–15 km and one longer hike of 15–20 km each week, supplemented by a dedicated stair-climbing or hill session to build strength for sustained ascents and descents.
Increase your pack weight to around 6–8 kg and, where possible, incorporate one or two weekends with back-to-back hiking days to simulate consecutive days on the trail. This final phase is about developing durability and confidence, ensuring you can manage longer distances, elevation, and loads.
The “48-Hour Cusco Rule”
No matter how eager you will inevitably be to get onto the Inca Trail, the “48-Hour Cusco Rule” is an iron law if you don’t want to be a wheezing wreck on the mountains from altitude sickness. Cusco is 3,400m above sea-level, an altitude that you feel immediately upon arriving.
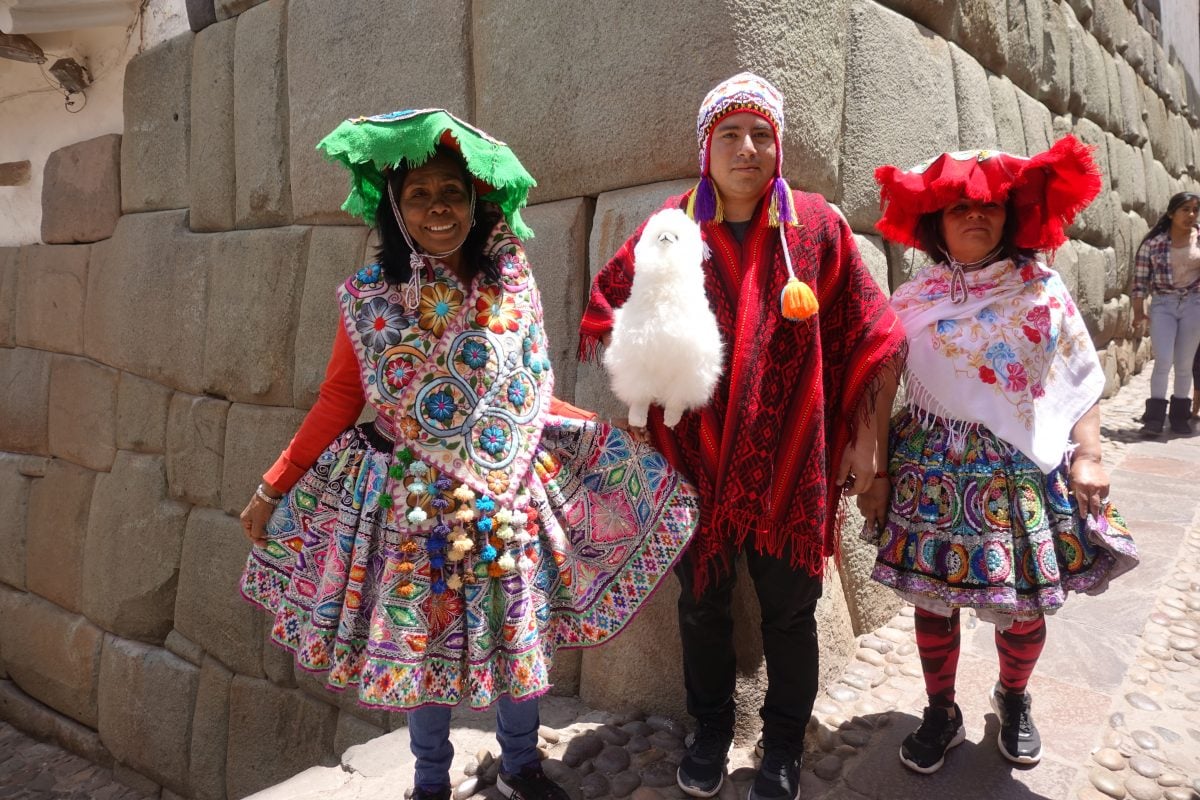
Photo: Chris Lininger
Steps feel heavier and uphills a real struggle. It takes at least 2 days for your body to adjust to the lower oxygen levels. Spend 2 days seeing the sights and ideally do an acclimatization hike to places like Balcon del Diablo or Templo de la Luna in Cusco.
It is important to note that you cannot outtrain altitude sickness. I remember hiking in Ecuador with a super-jacked semi-pro rugby player who could barely breathe while I skipped around the slopes with ease due to him only arriving in the mountains that day while I had been there for days. Don’t think that your fitness will exclude you from the 48-hour Cusco rule.
Local vs. Medical Remedies:
There are traditional and modern options on how to treat altitude sickness, people will swear by each one.
I personally tried Andean cures reasoning that the Incas knew a thing or two about altitude sickness. The main traditional remedy is coca leaves, of course the building block for cocaine. Unlike marching powder, this only has a mild narcotic effect when combined with lime.
When chewed or used as tea, it feels like you have taken an espresso shot, and it suppresses hunger. I found that it was very effective for treating headaches but did not do much for nausea. In my experience, the coca sweets sold in markets were duds. Coca leaves are often included for free in most Cusco hostels, if not, you can buy a bag cheaply at the San Pedro Market.
Soroche Pills, also known as Diamox, was also very effective. When I used it in Huaraz, it reduced my headaches, nausea and dizziness. However, it is more of a preventive measure than a cure – take it before you begin hiking or arrive in Cusco. These are much cheaper to buy in a pharmacy in Cusco than back home in the US or Europe.
Eyes on Dead Woman’s Pass
When you prepare for the Inca Trail, keep the ultimate goal in mind. This is not Machu Picchu. This is the dizzying Dead Woman’s Pass. The pass is the highest point of the trail and is encountered on day 2 of the standard 4-day route.
The 1200m ascent was no walk in the park. Short of enjoying the vistas of the snowcapped Cordilliera Vilcabamba in the distance, my gaze was fixed downwards as I panted and cursed my way up to the pass. Just deep how tall 1200m is. You will ascend 1-and-a-half Burj Khalifas in 5 hours.
The boss-fight against this behemoth will be the ultimate test of your training. Keep this struggle in mind as you gear up for your Inca Trail adventure.
Ok, Now You’re Ready to Hike the Inca Trail to Machu Picchu!
The 4-Day Inca Trail hike to Machu Picchu is one of the most magnificent hikes I have ever done. I’ve hiked all over the USA and other parts of the world but nothing has ever affected me in such a way as the Inca Trail did.
One parting note is to beware of price surges when booking your trek. As a restricted hike with huge demand, operators do take chances to jack up the prices. Book as far ahead you can to avoid a shellacking with extra costs.
While the security situation around Cusco is tranquil, and as the most important tourist site in Peru, the government does all it can to make it safe, there have been occasional disturbances in the last year. A favoured Peruvian protest tactic is to create roadblocks. As there is only one road or railway line out of Aguas Calientes, tourists can be vulnerable to this technique.
The populace are also very restless as governments rise and fall. Discontent can unpredictably boil up, and to your surprise, find that there is a tree log across the railway line that stops you from catching your flight. Try to give yourself a few days lee-way between finishing the Inca Trail and any important flights to avoid this situation.
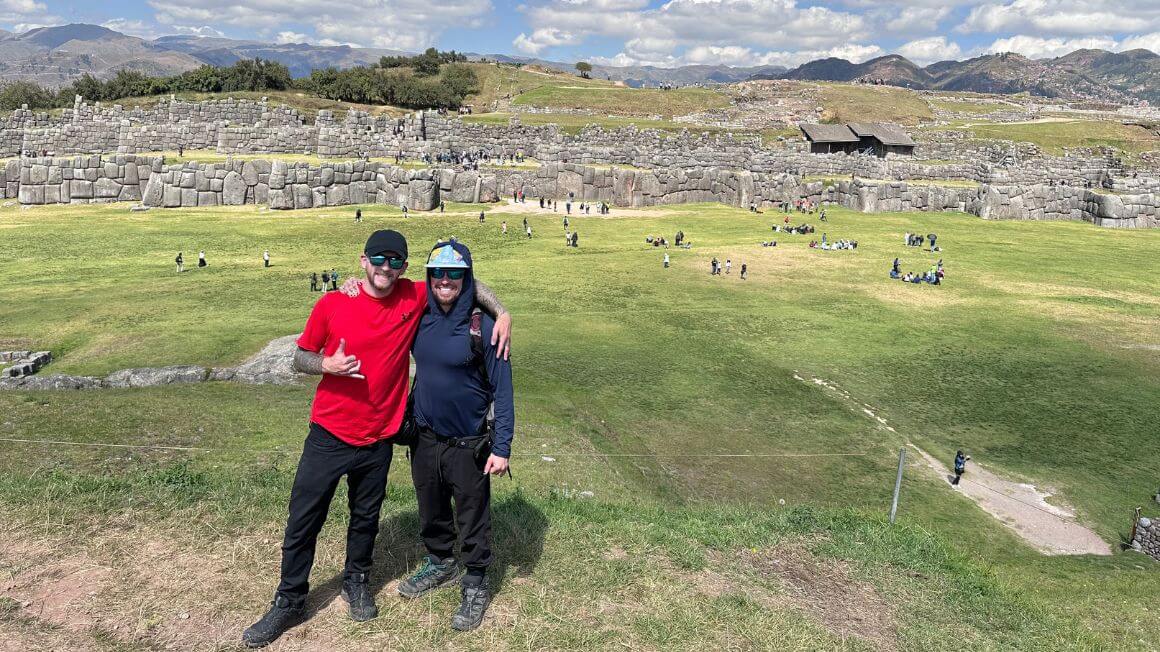
Photo: @willhatton__
It’s a somewhat strenuous 4 days so it’s important to consider what you are getting yourself into before leaving for the trip. If you are injury-prone or have had issues in the past, think twice before committing to the full hike. Remember, you can always pay for an extra porter ahead of time if you need help carrying your things.
Get used to walking long distances before embarking. The Inca Trail trek is over 3,000 meters in altitude. Altitude pills can be the difference between a great trip and a terrible one.
Plan to spend two to three days staying in Cusco acclimatizing before beginning the trek. There are amazing hostels in Cusco that offer a comfy bed so you can start the next day well-rested and ready to go. You can spend those days sightseeing in and around Cusco as there are plenty of archaeological sites like Pisac.
You would be greatly remiss if you do not visit Machu Picchu at some point in your life. The intricate detail that the Incas put into each and every stone structure is mesmerizing. In all my experiences traveling and adventuring, the hike to Machu Picchu along the Inca Trail still stands as my most spectacular.
Any Inca Trail you finish is an achievement worth feeling proud of. So why not mark this hike with some custom produced award medals? GSJJ Custom Medals offers fast customisation with no minimum order quantity. Just add your hiking date, trail name or personal thoughts to keep the Andes scenery and your effort as a lasting souvenir. It’s a great treat for yourself and a beautiful, meaningful gift for your trekking crew.
What can I say? It’s a damn good journey!


I cannot say the Inca Trail was my favorite hike of my life because, truth be told, it’s my ONLY hike. I was a complete novice to hiking. I had trained and was in very good shape (albeit I was 56) but I was completely overwhelmed on this hike. It was much more physically demanding than I had been led to believe but was also so majestic, the Andes are incredible, that it all balanced out. I would recommend this journey to anyone but, as the author stated, it’s no walk in the park. Dont even think about doing the 4 day hike to Machu Picchu if you arent in great shape. Day 2 was the most demanding thing I have ever done in my life physically. Our tour was amazing with a great guide and the food was fantastic. And, at the end of it all, is Machu Picchu, which is truly magnificent.
Thank you for all the wonderful detail with your experience hiking the Inca Trail. My wife and I, along with 2 of our friends are making this trek at the end of April of 2025. We are all pretty fit and plan on investing in medication that one can take for the altitude (along with arriving 2 days early to acclimate). I am the only group member that doesn’t love heights. I know everyone’s fear of this is different, but what is your take on this. Is this a hike that can be done where this fear can be managed, or would I be miserable the entire time because all you are doing is looking over cliffs the entire time.
Thank you!
Hi Justin,
I think in this case heights will just become part of the unique environment you are experiencing and should not be considered as a deciding factor in taking this trip. There will be other things to do along the way as well that will be just as rewarding, immersive and inspiring.
Hope you have a great time.
You tipped the porters $15 for 6 people for a 4 day trek after they literally carried one of your friends??? That’s messed up.
LOooove what you do and how you present it.
Can you make another recommendation for Peru tours as CachiLife appears to be out of business.
We like the idea of our dollars going as muchas possible to locals.
Thanks
I would suggest getting out there and booking with local guides, business, accommodation etc directly.
Visit local shops and eateries.
That way you will be able to spread your dollars round and ensure as much of it as possible goes directly to real locals.
Thank you for your detailed daily itinerary. I am homeschooling my kids during the Covid pandemic and we are doing a unit on the Pre-Columbian cultures in South America. So I decided to make our own version of the “Oregon Trail,” and we’re gonna hike to Machu Picchu! Your guide was invaluable in creating the game and scenarios we might encounter, broken knee and all! I have always wanted to go, but this is probably the best I’ll get to do. We are also using an app that lets you hike all over the world, virtually, and then gives you a medal when you finish. We get to look at Google street view/hike view as we go, so hopefully that motivates my kids to get moving and see the sights on the trail! I’ll let you know how the game goes. Thank you so much!
Thanks for the post Nate. As a former pro photographer, this hike interests me greatly.
Not sure if I can make it though. Back in the day, I hiked a 14,000 ft mountain in CO, and had some difficulty in the last part due to a lack of preparation. Now, 10 years older, and having neuropathy in my feet and legs, I’d really like to make this hike, but with numb feet, may have to pass. Would check with my physical therapist for extra advice.
Sounds like I need to find an option. Ideas?
I believe you can get a bus to the site from a near by town and return the same day, this would mean you could avoid the walk in but still visit the site.
Thanks for all the details you provided. My hubby and I along with some family/friends are scheduled for the hike this coming November. I’m sad that’s the rainy season. I didn’t pick the time though. Looks like I need to do some physical training before November!
Awesome guide very informative keeps writing.
Thanks for sharing!!
Glad you found it useful Mark!
Very detailed and helpful review of your trip to Peru! Enjoyed reading without getting bored in a bit. Simple, straight and full of useful info. Great job guys! Carry on travelling and sharing! ?
Nate,
Who was your guide I need recommendations.
Thank you,
Tons of great things to do around Cuzco. I’d check out Nazca if you get a chance.
This photo is amazing! Well from the photograph it pretty clean that you are very good photographer. Thanks for sharing this lovely travel experience with us
I went to Peru in spring of 2012 and the crown jewel of any Peruvian getaway is Machu Picchu. We also were able to snap a few pics with limited people since we waited out a rain storm. But we were treated to the clouds climbing up Machu Picchu which was beautiful! ?
Thank you George! Glad you found Machu Picchu to be just as spectactular as we did.
This place is very beautiful and such a great piece of art. Machu picchu can amaze every traveler. This place is look like a puzzle game where one can enjoy hide and seek game like I did .:)
I am hiking up to Machu Picchu next month and I can’t wait. I am spending a few days in Cusco before. Any tips or ideas for other fun things to do around there?
Thanks for your post Nate.T he Inca Trail is an unforgettable experience that I did last year. It is not only the trek and the landscapes that surround the Inca Trail, but the spectacular arrival to Machu Picchu. It is an emotional mixture between having fulfilled the objective of concluding the walk and the spiritual recharge offered by the place.
Machu Picchu is a magical place definitely, the tiredness, the pain of muscles and bones disappear when you walk between its streets and historical places.
In addition to doing the Inca Trail to Machu Picchu for 4 days, I stayed two more days in the town of Machu Picchu, the next day I was able to visit Machu Picchu again and go up to Huaynapicchu, a completely different view of Machu Picchu but from the heaven.
It is important to visit during the dry season, they told me that the views are different when there is rain and sometimes it is not so spectacular.
I recommend to Elvis from Kenko: https://www.kenkoadventures.com/inca-trail-machu-picchu
Regards!
Robert
This is one of the most detailed and exceptional guides for hiking the Inca trail, Nate! I love your day by day itinerary which will definitely come in handy. Well done!
Thanks so much Agness, glad you found the itinerary useful!
Thank you so much for sharing your vivid experience on the Inca trail. I have found it very useful as I plan my trip. Do you recommend a tour group?
I also heard there was a train. That sounds nice, I think I’ll take that option.